WordPress is a versatile content management system (CMS) that powers a significant portion of the web (over 43%). It's renowned for its ease of use and flexibility, enabling users from novices to experts to create and manage websites. Out of the box, WordPress offers a robust platform for blogging, but its real strength lies in its customizability through themes and plugins. With these tools, users can extend the functionality of their websites to include online stores, portfolios, forums, and virtually any other web-based application. Its capabilities are further enhanced by a large community of users and developers, ensuring a constant stream of updates, features, and support.
CyberPanel is an excellent hosting solution for WordPress due to its focus on speed and user-friendliness. Leveraging the power of LiteSpeed server technology, CyberPanel delivers exceptionally fast website performance, essential for enhancing user engagement and improving SEO. Its intuitive control panel simplifies website management, and the one-click WordPress installation feature makes setting up a new site a breeze. Furthermore, CyberPanel provides strong security protocols, effortless SSL integrations, and automatic backups, ensuring that WordPress websites are not only quick but also secure and well-maintained. This blend of features positions CyberPanel as a top-tier choice for anyone looking to run a WordPress site efficiently. Discover how to get your first website up and running!
Cyberpanel Advanced WordPress Install (recommended)
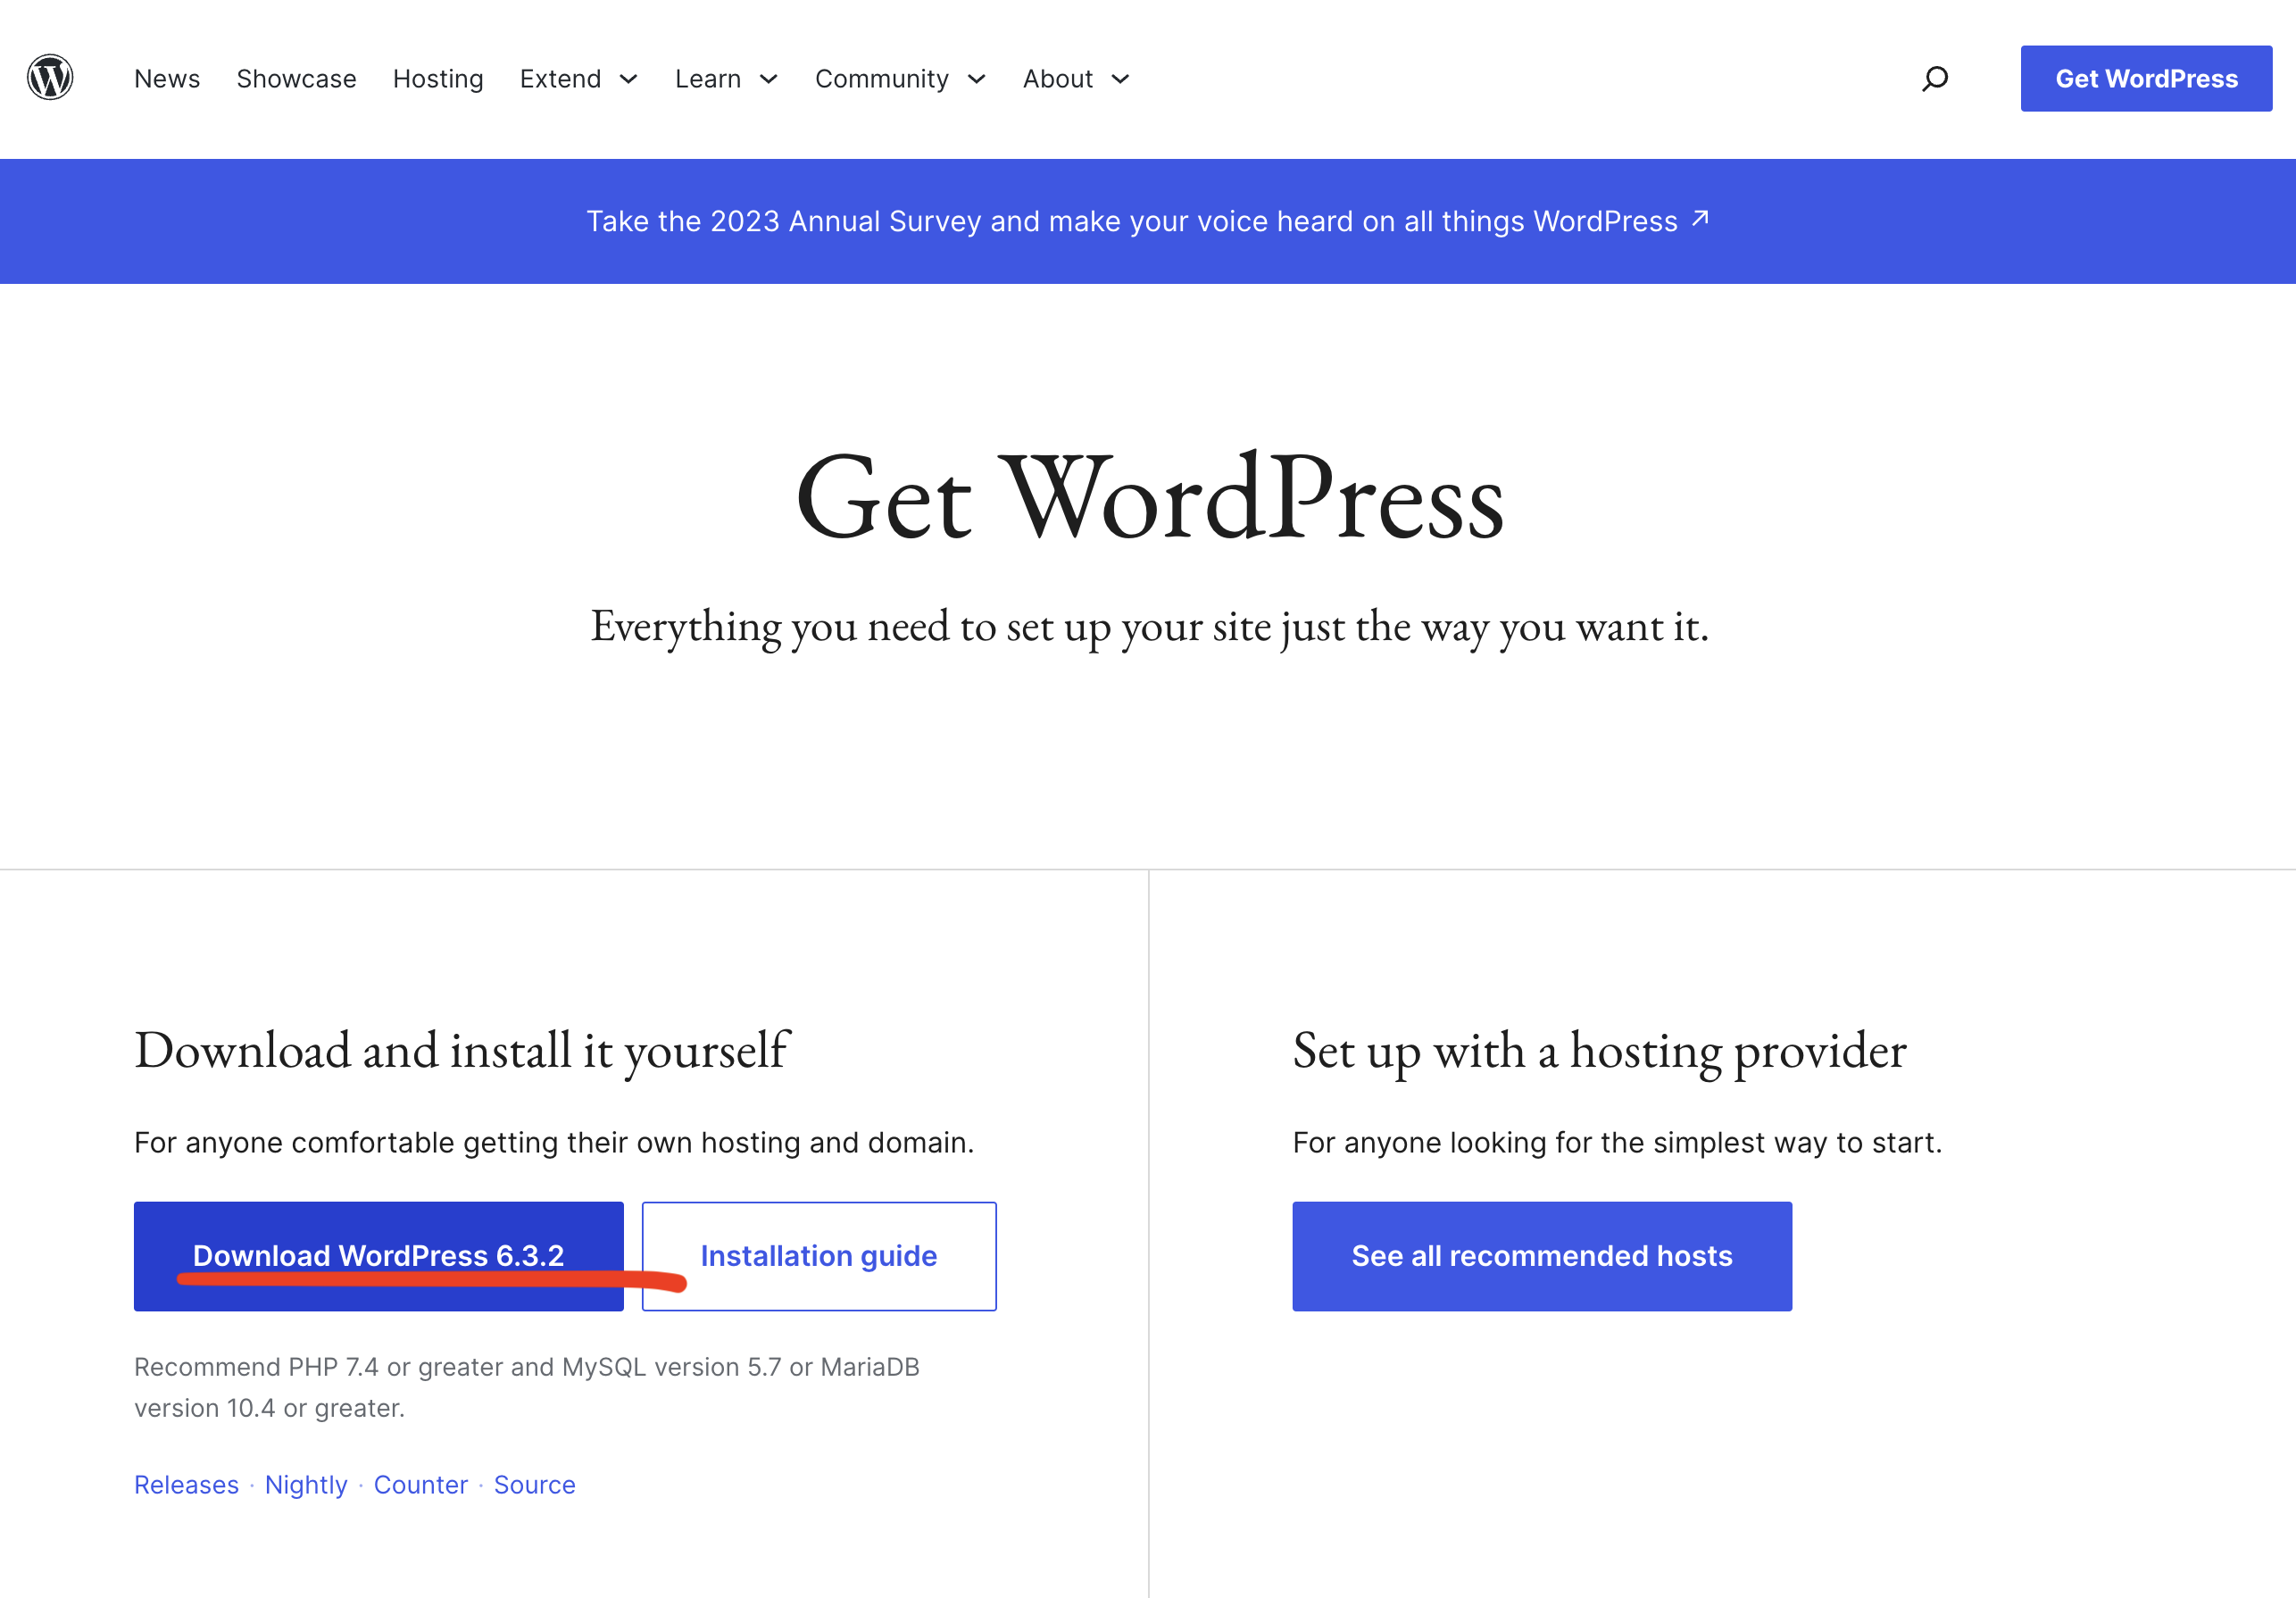
- Before doing anything else you need to visit WordPress.org and download the installation package. Make sure you remember the place where you saved the package on your computer.
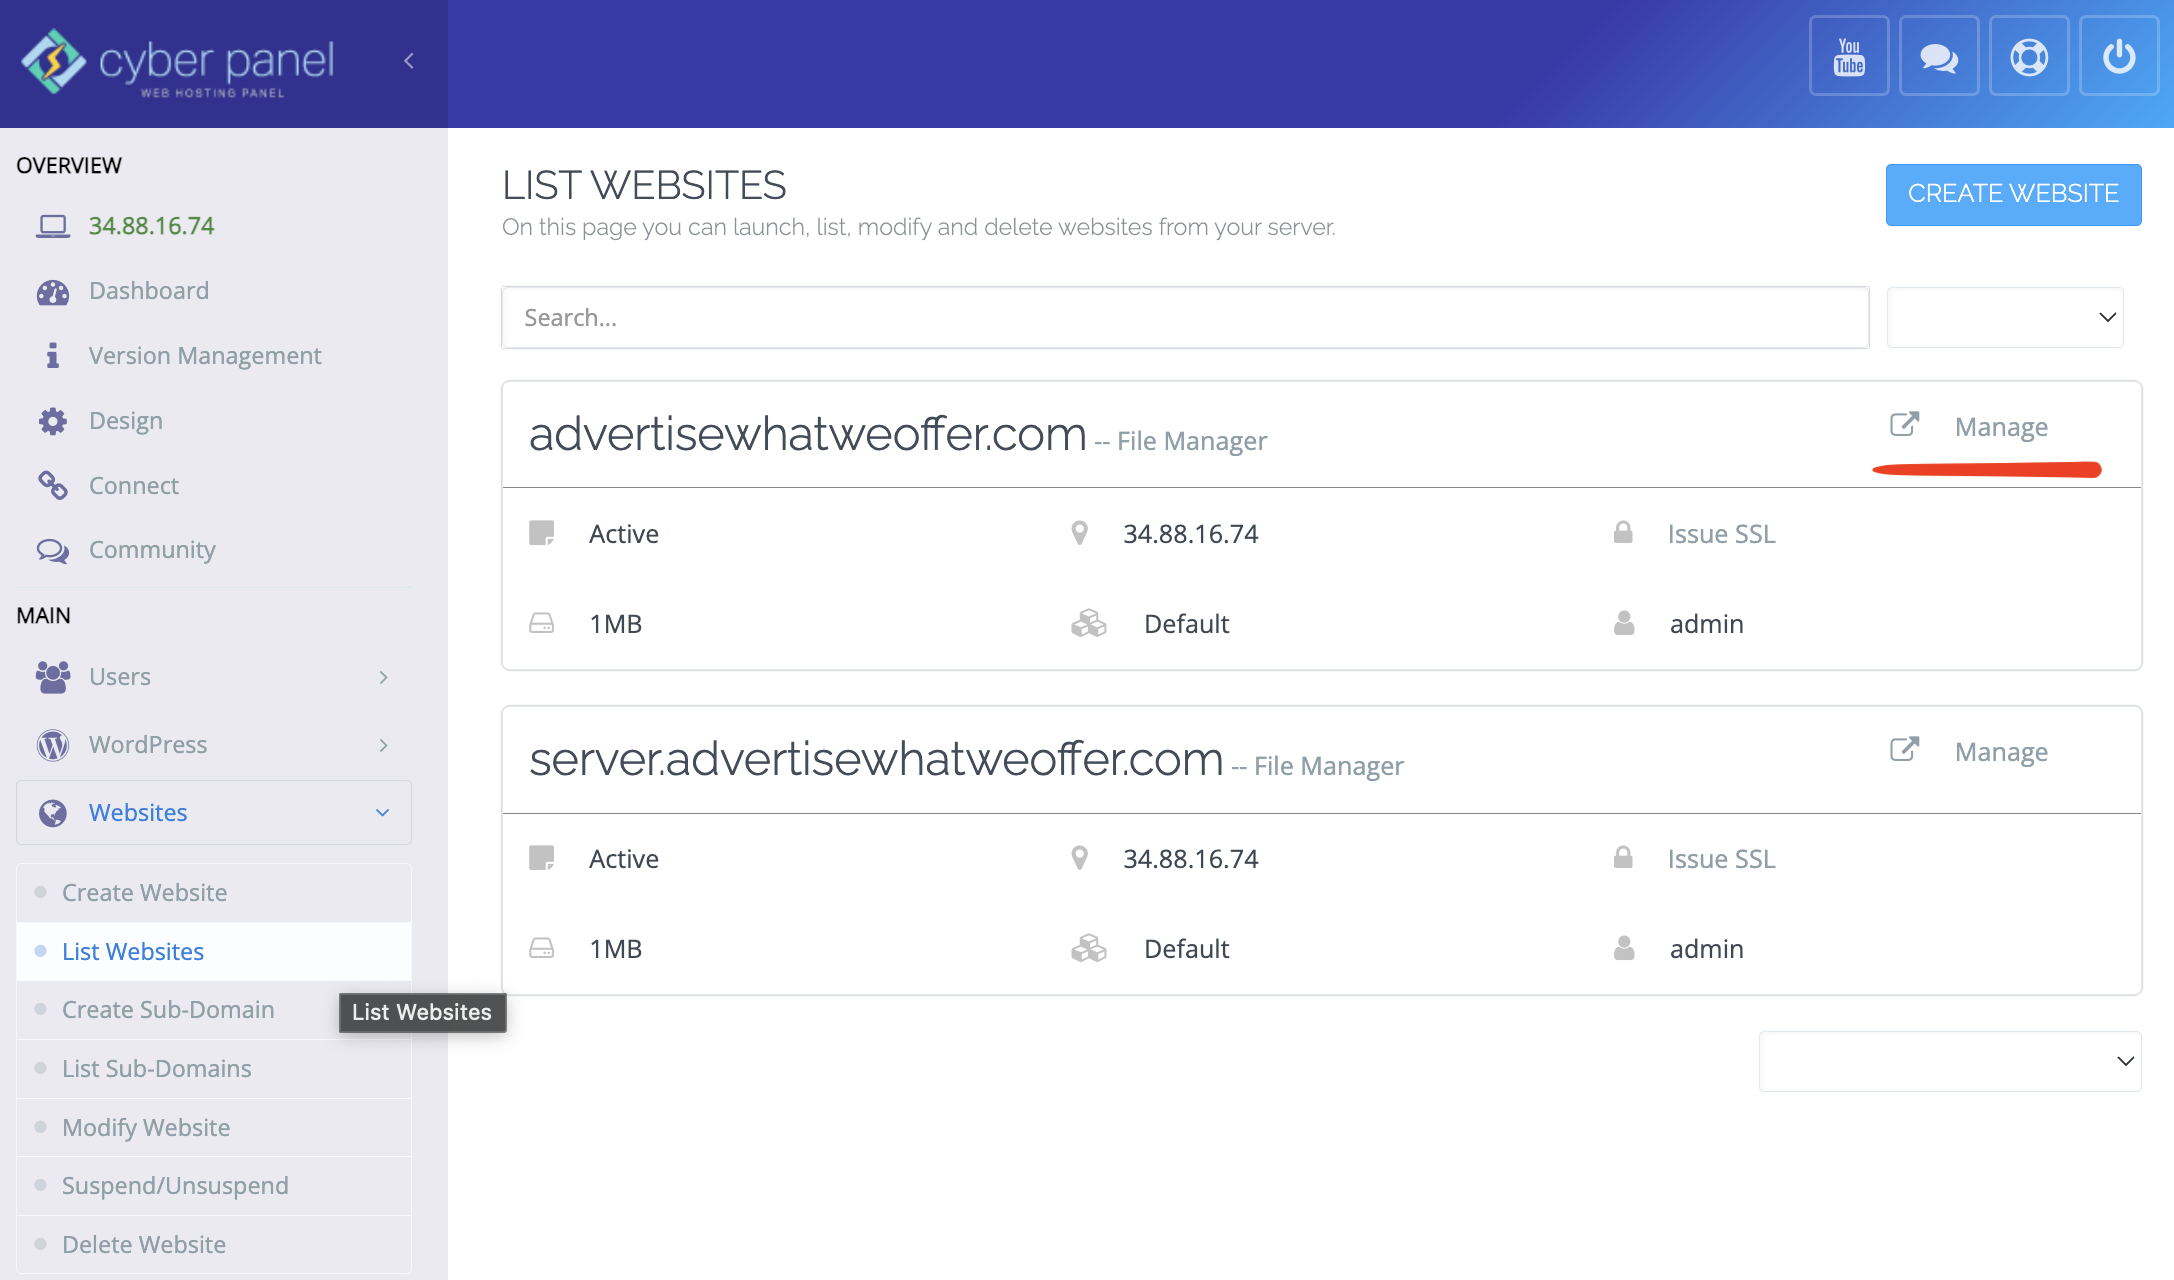
- To deploy WordPress for your domain, access the Cyberpanel interface and go to Websites > List Websites and click the Manage button.
- Scroll down to the Files box and click the File Manager button.

- Now double click the public_html folder.

- Select the index.html file and click the Delete button. This is the default page Cyberpanel will install each time you create a website on your server. In our case, we no longer need it, because we need to install WordPress.

- Confirm index.html deletion. Use the checkbox to Skip Trash Folder and click the Confirm button.

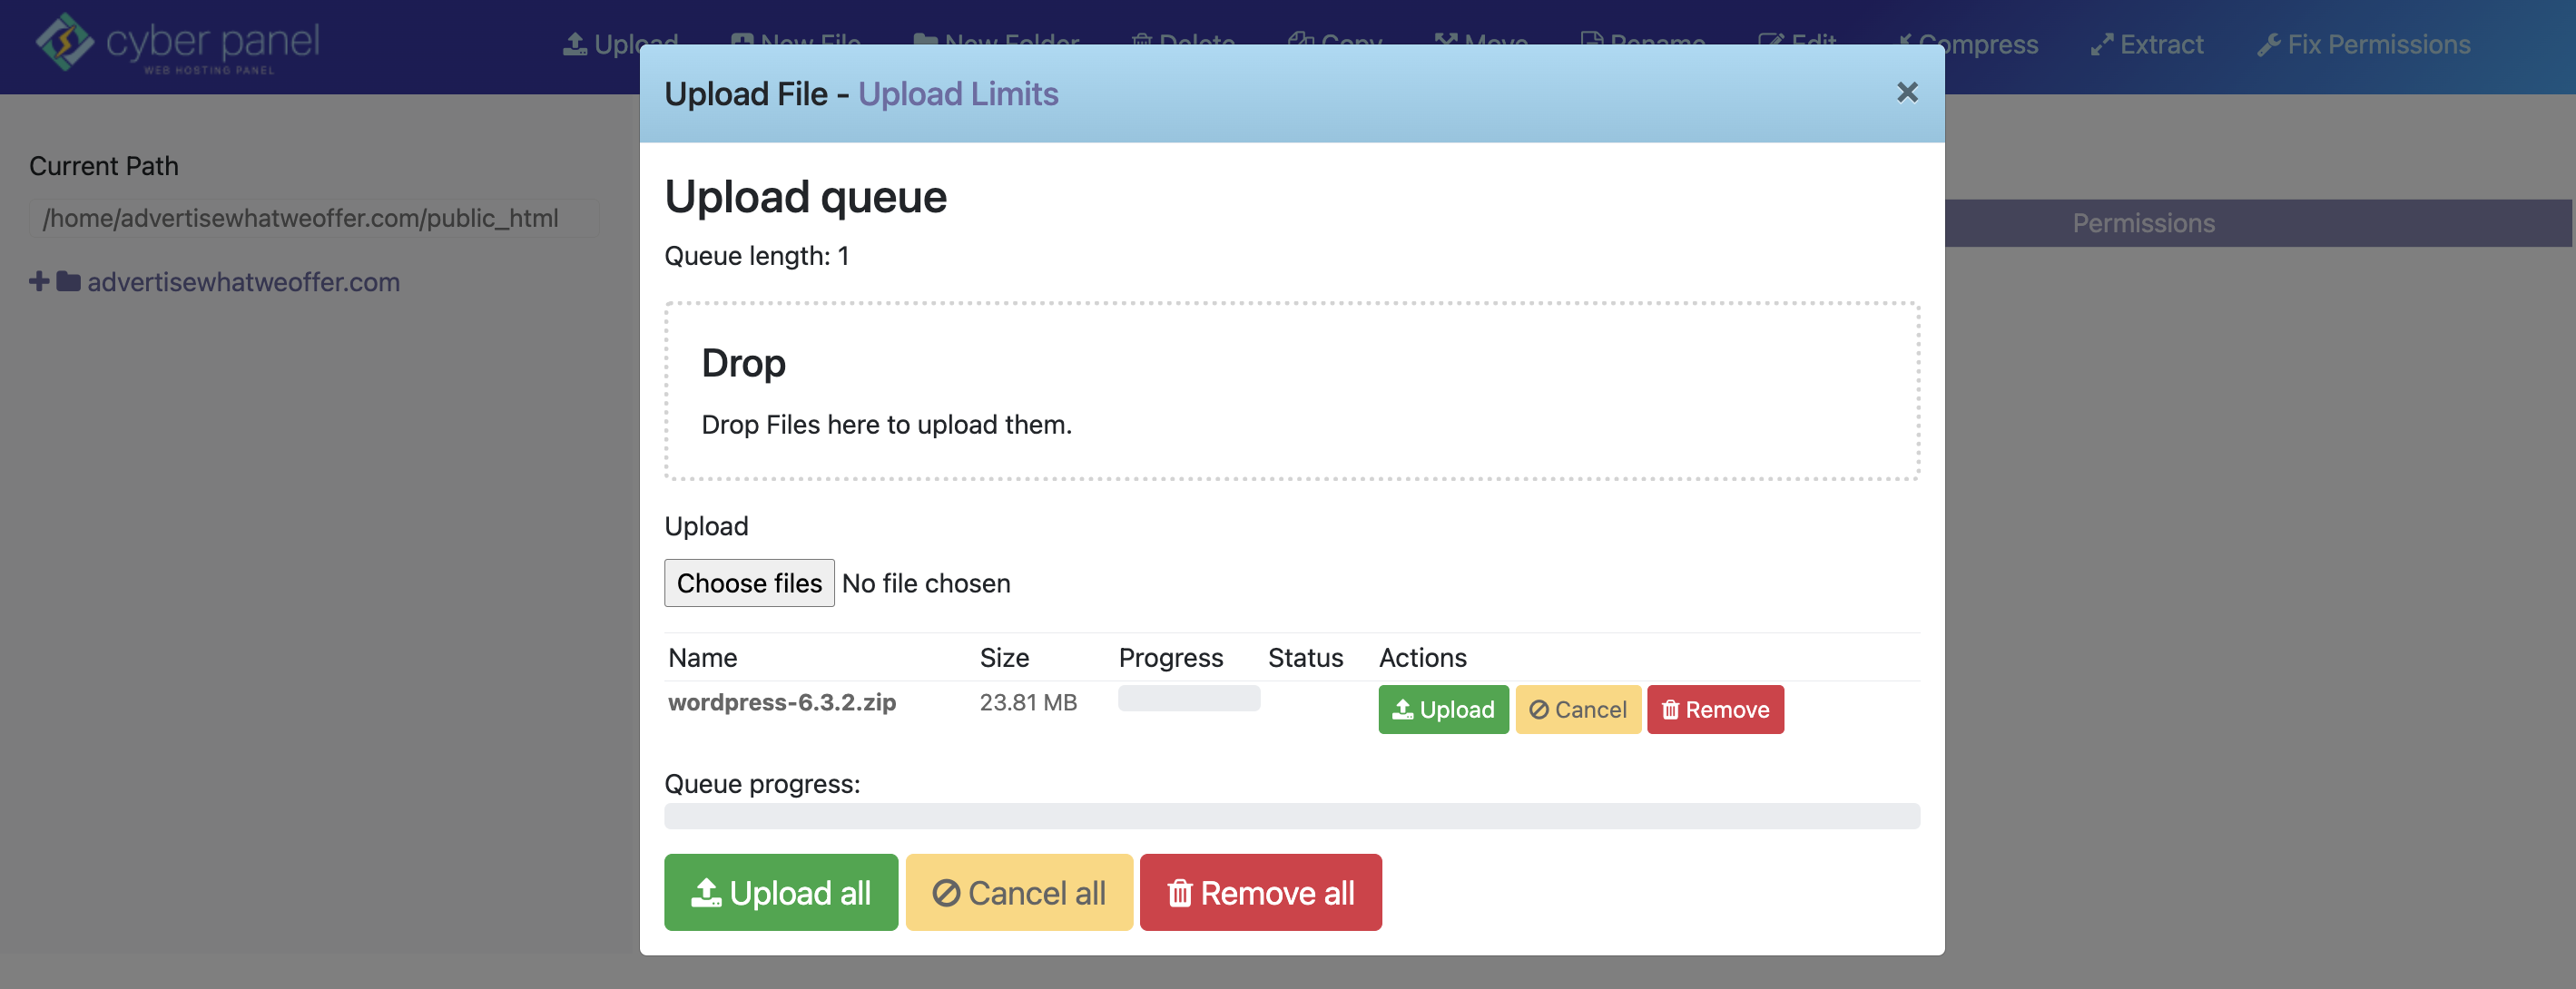
- Now click the Upload button from the top bar, choose the WordPress file from your computer and click the Upload All button.
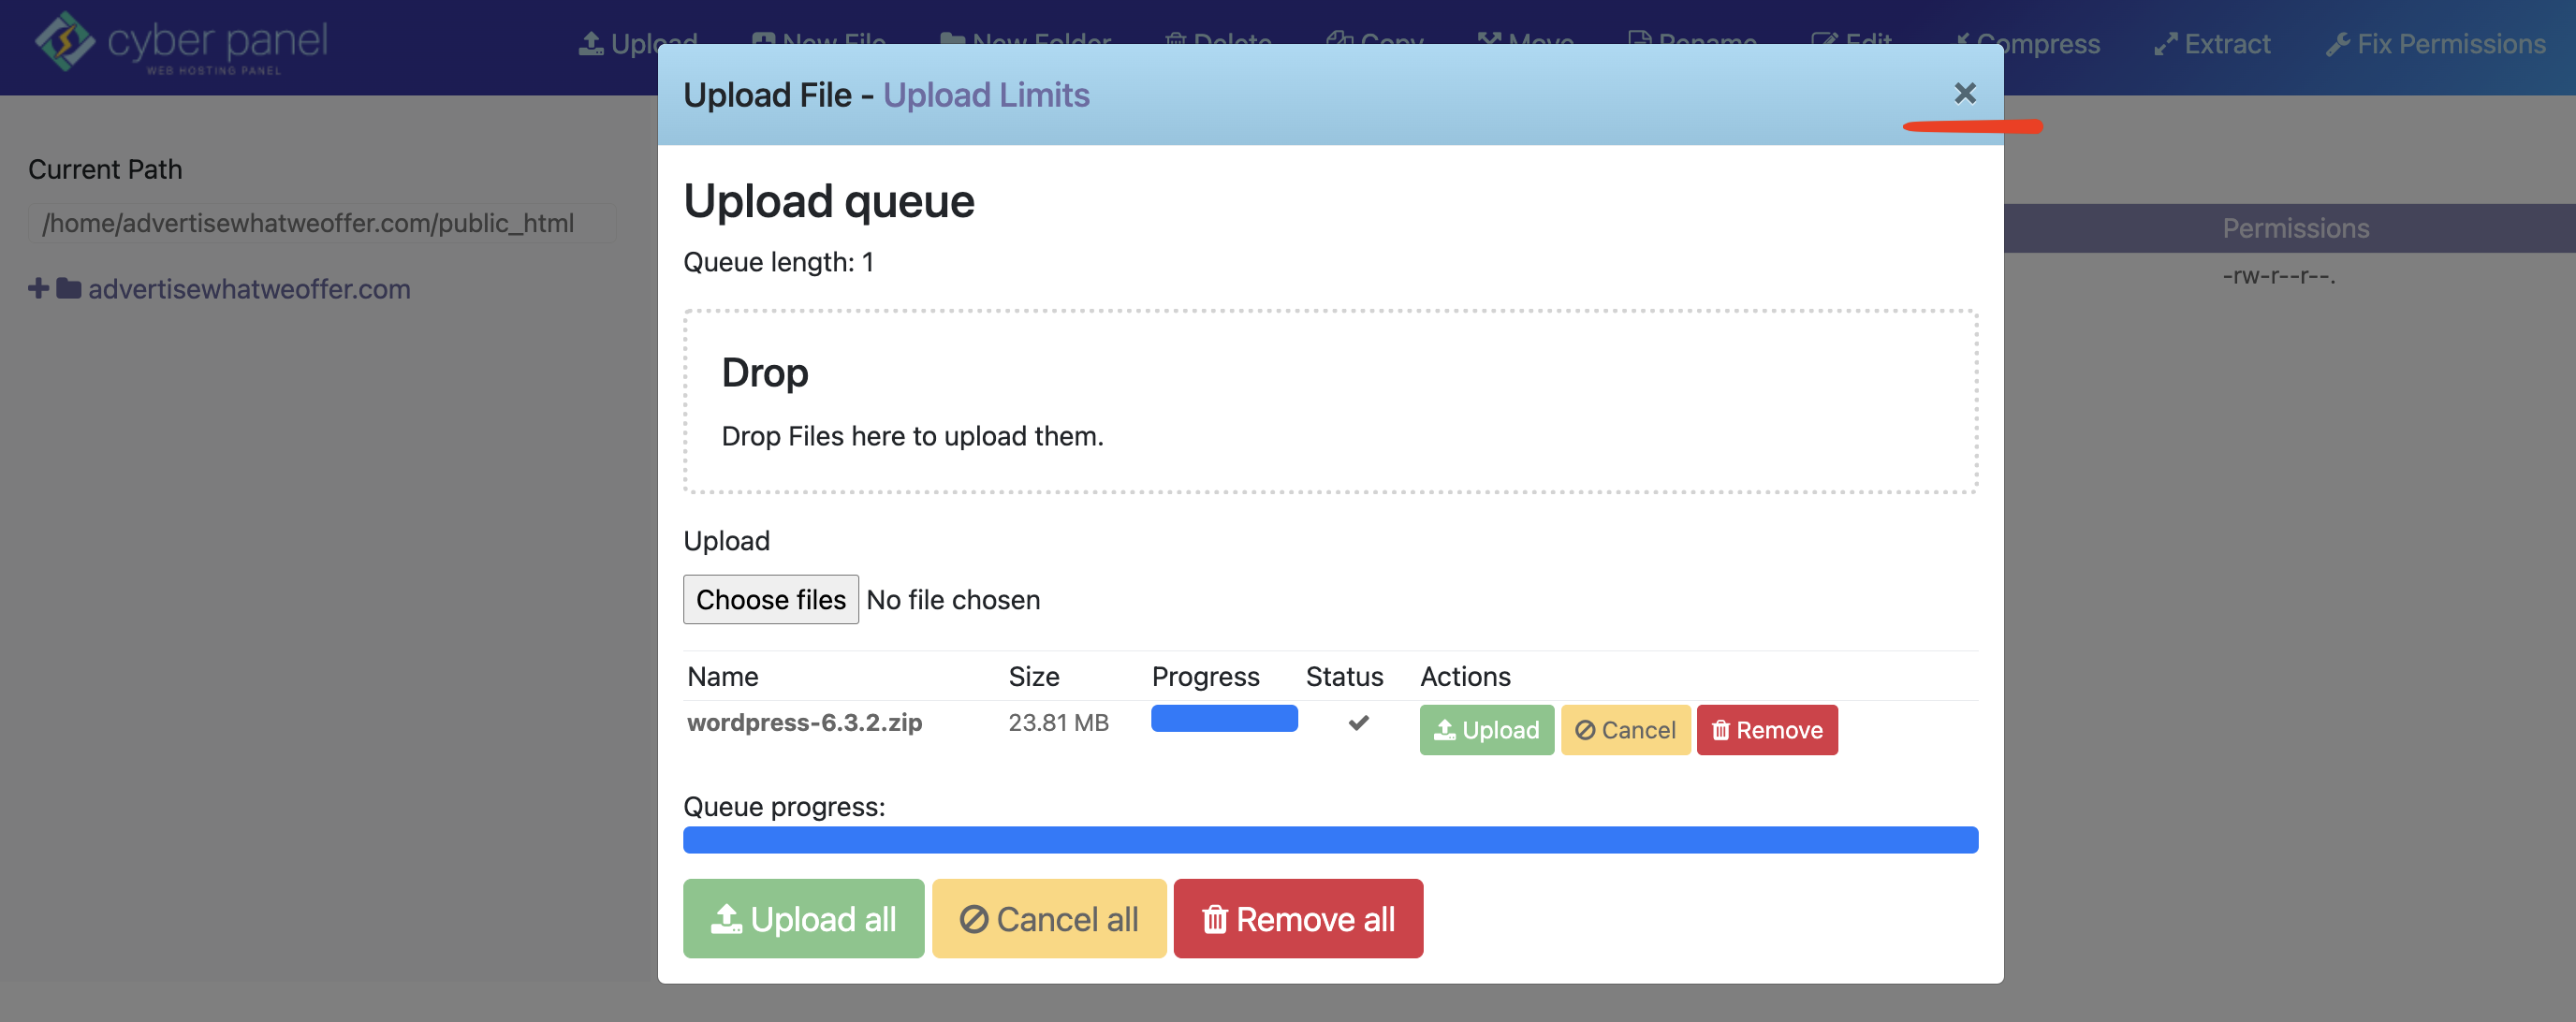
- Once the upload is successful you will notice that the Status column displays a checked symbol. Now close the window using the top X button.
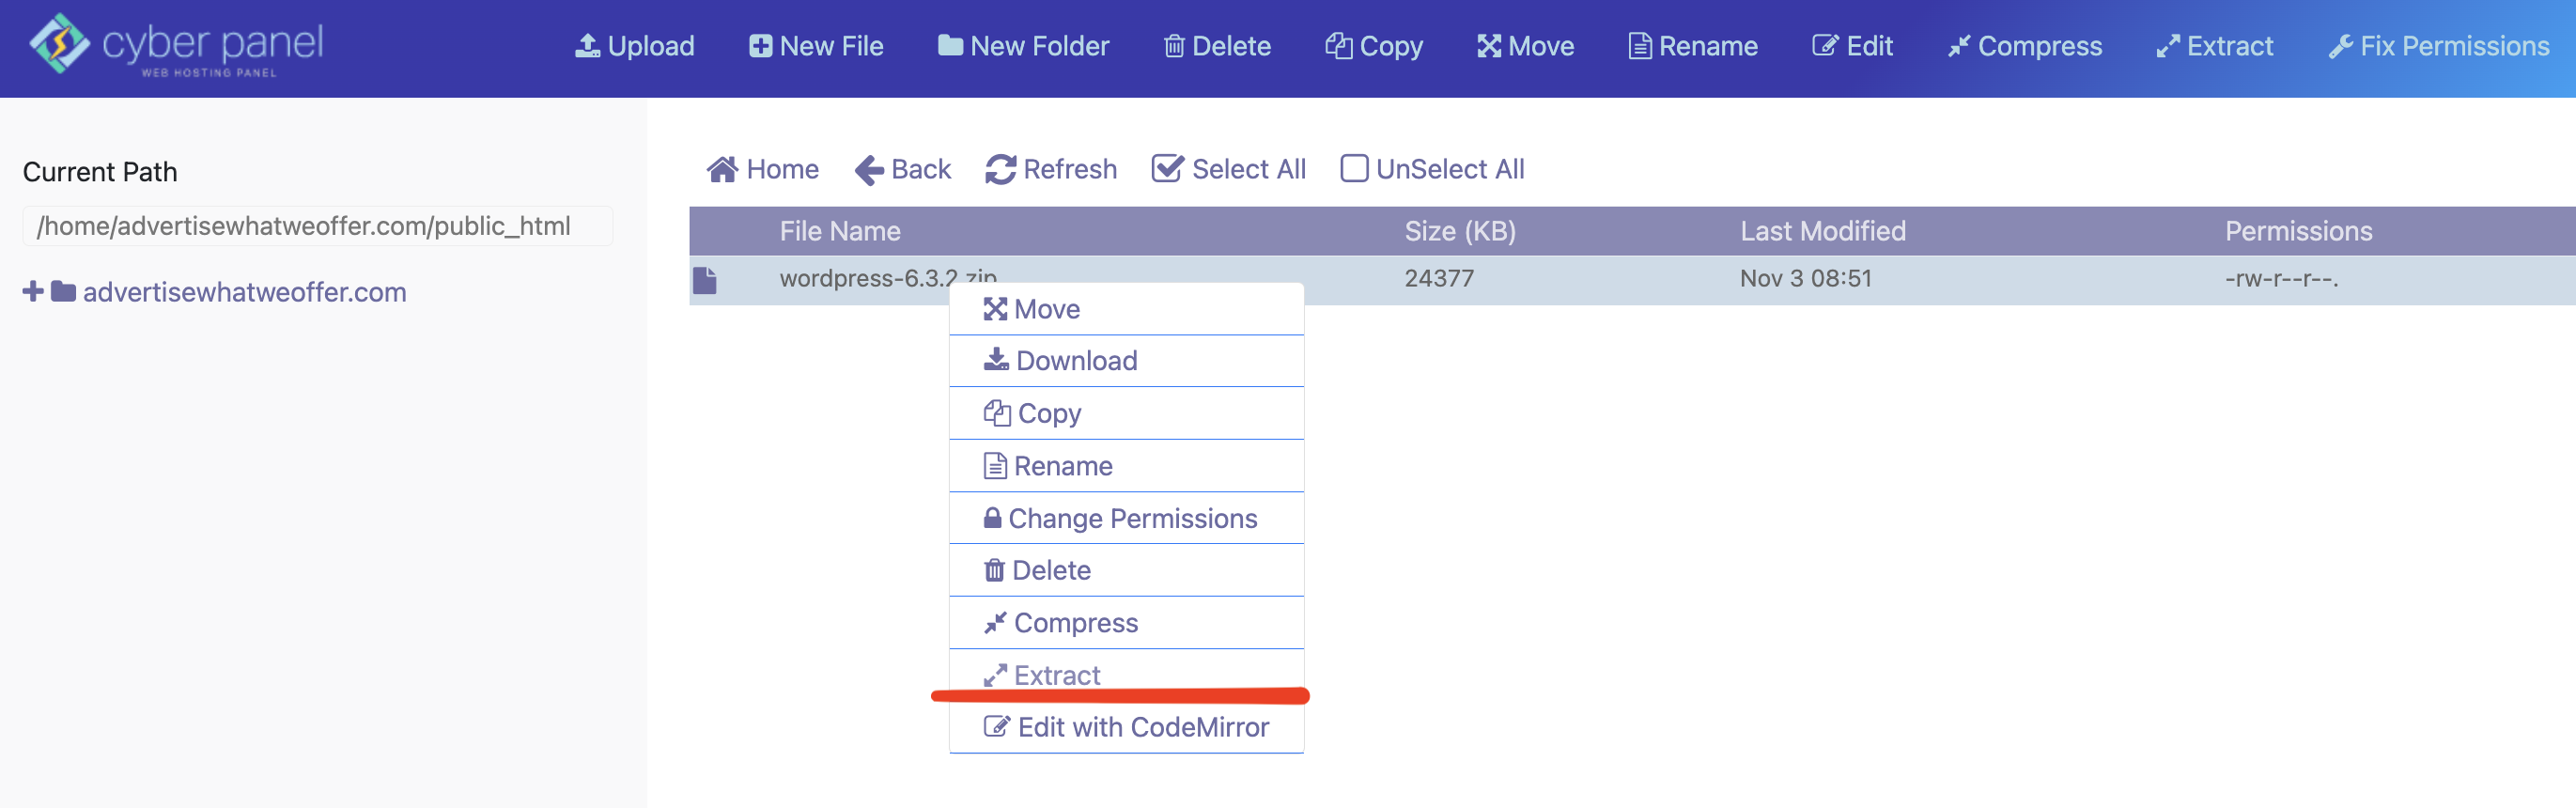
- Now right click on the WordPress file to open menu and hit the Extract button.
- Delete the WordPress file as you will no longer need it. Follow the same method as for the index.html file.

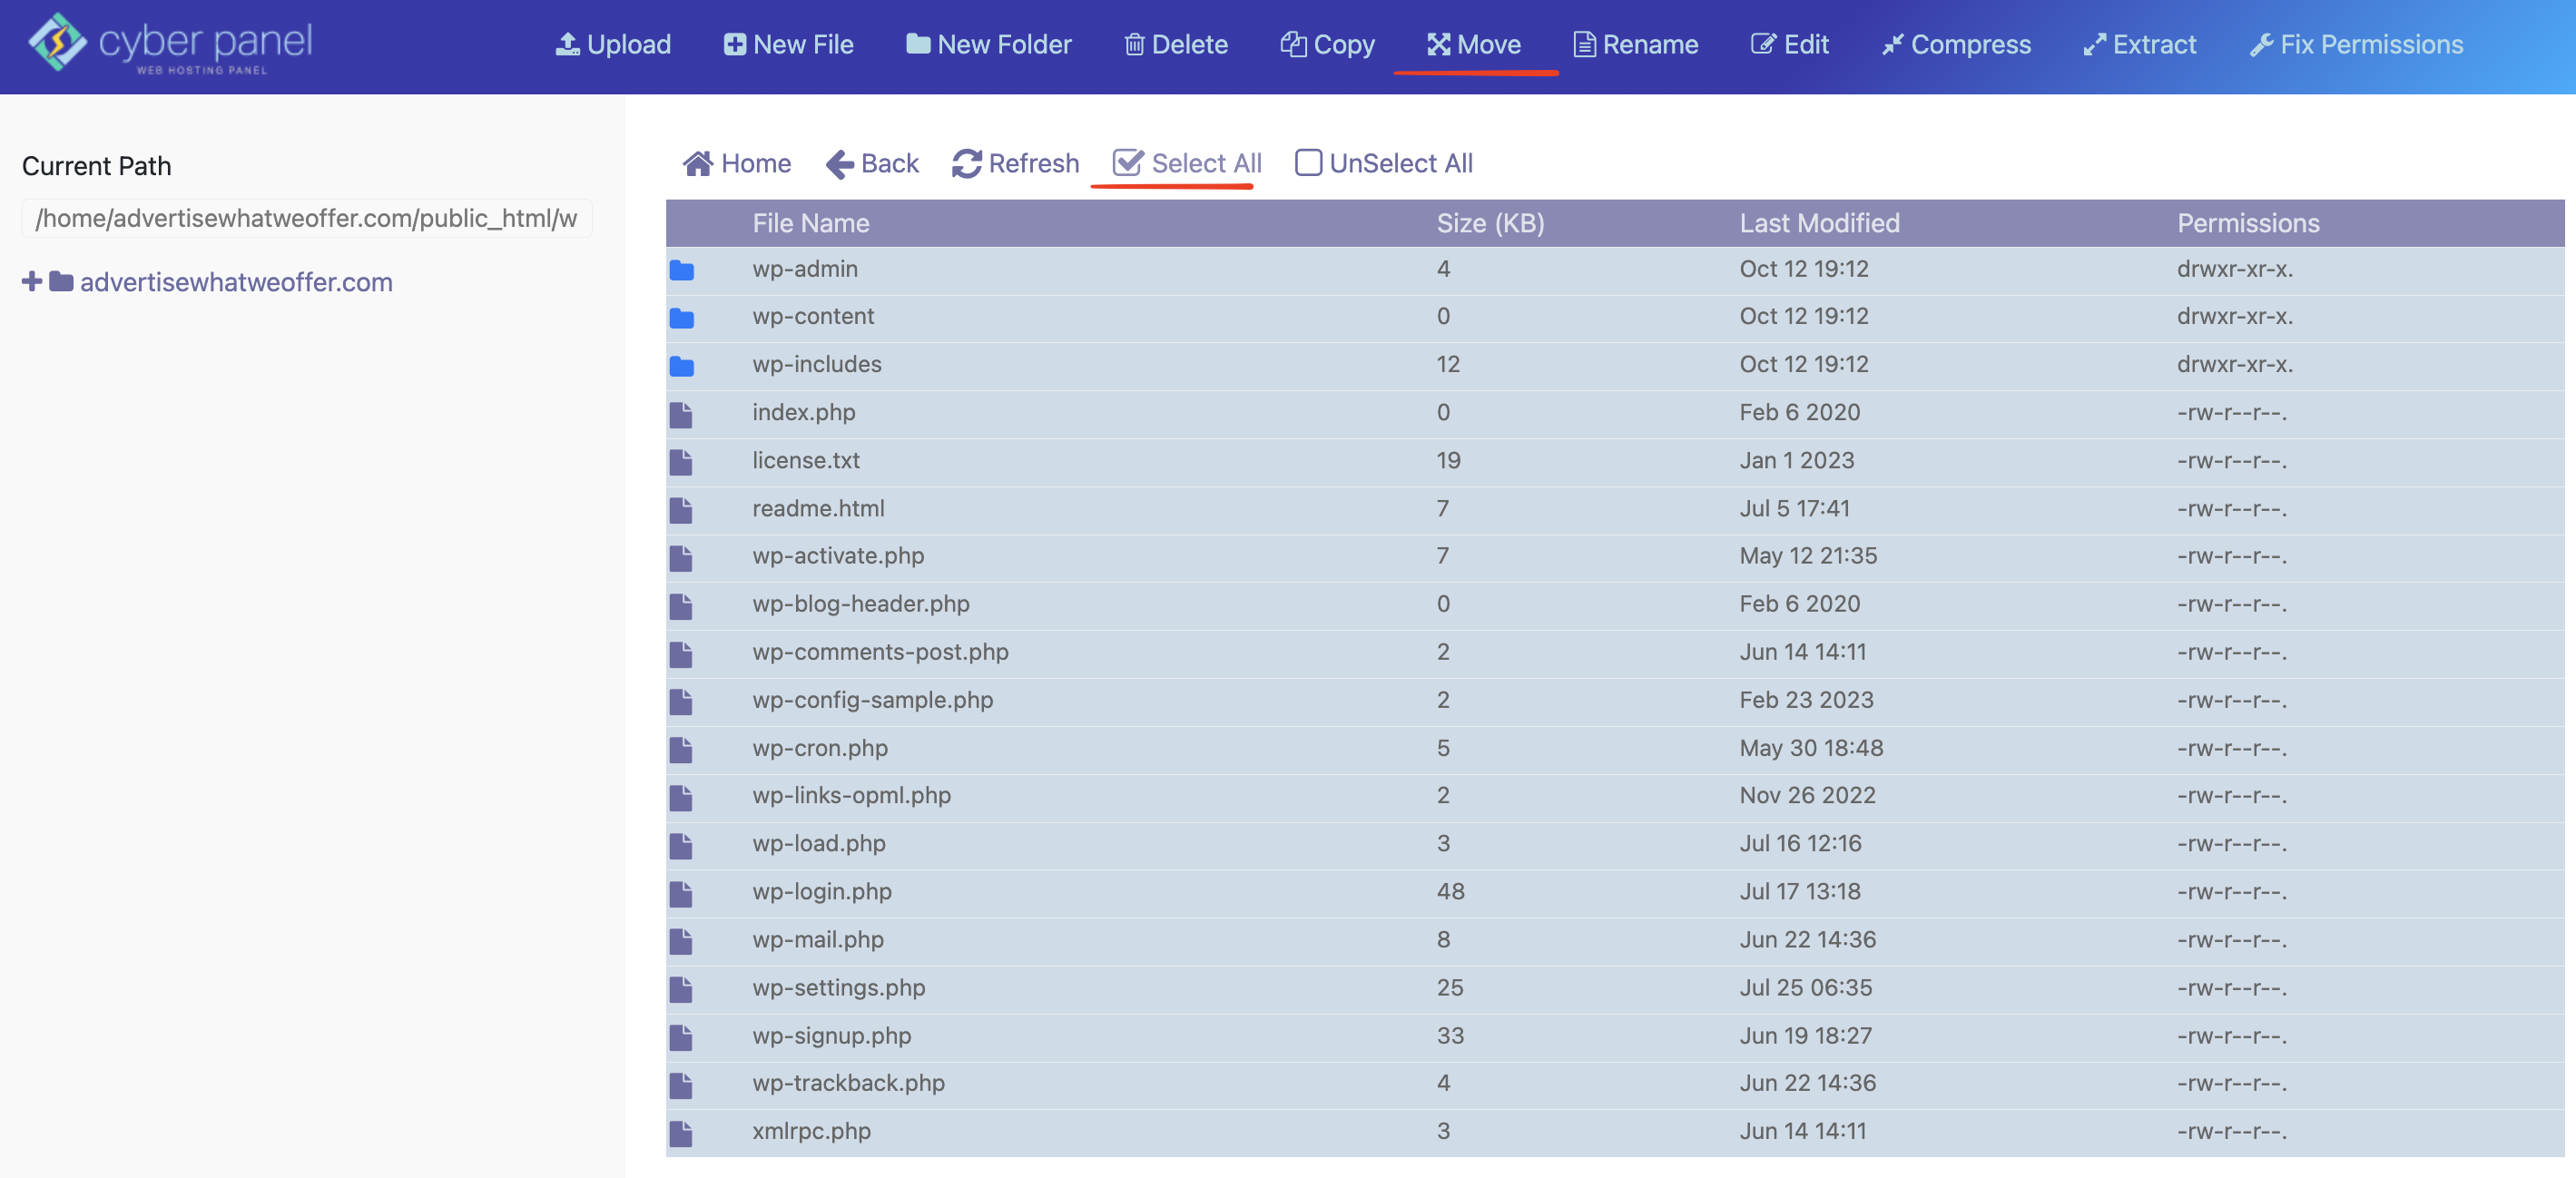
- Double click on the wordpress folder to access it. Inside this page use the Select All button then click the Move button.
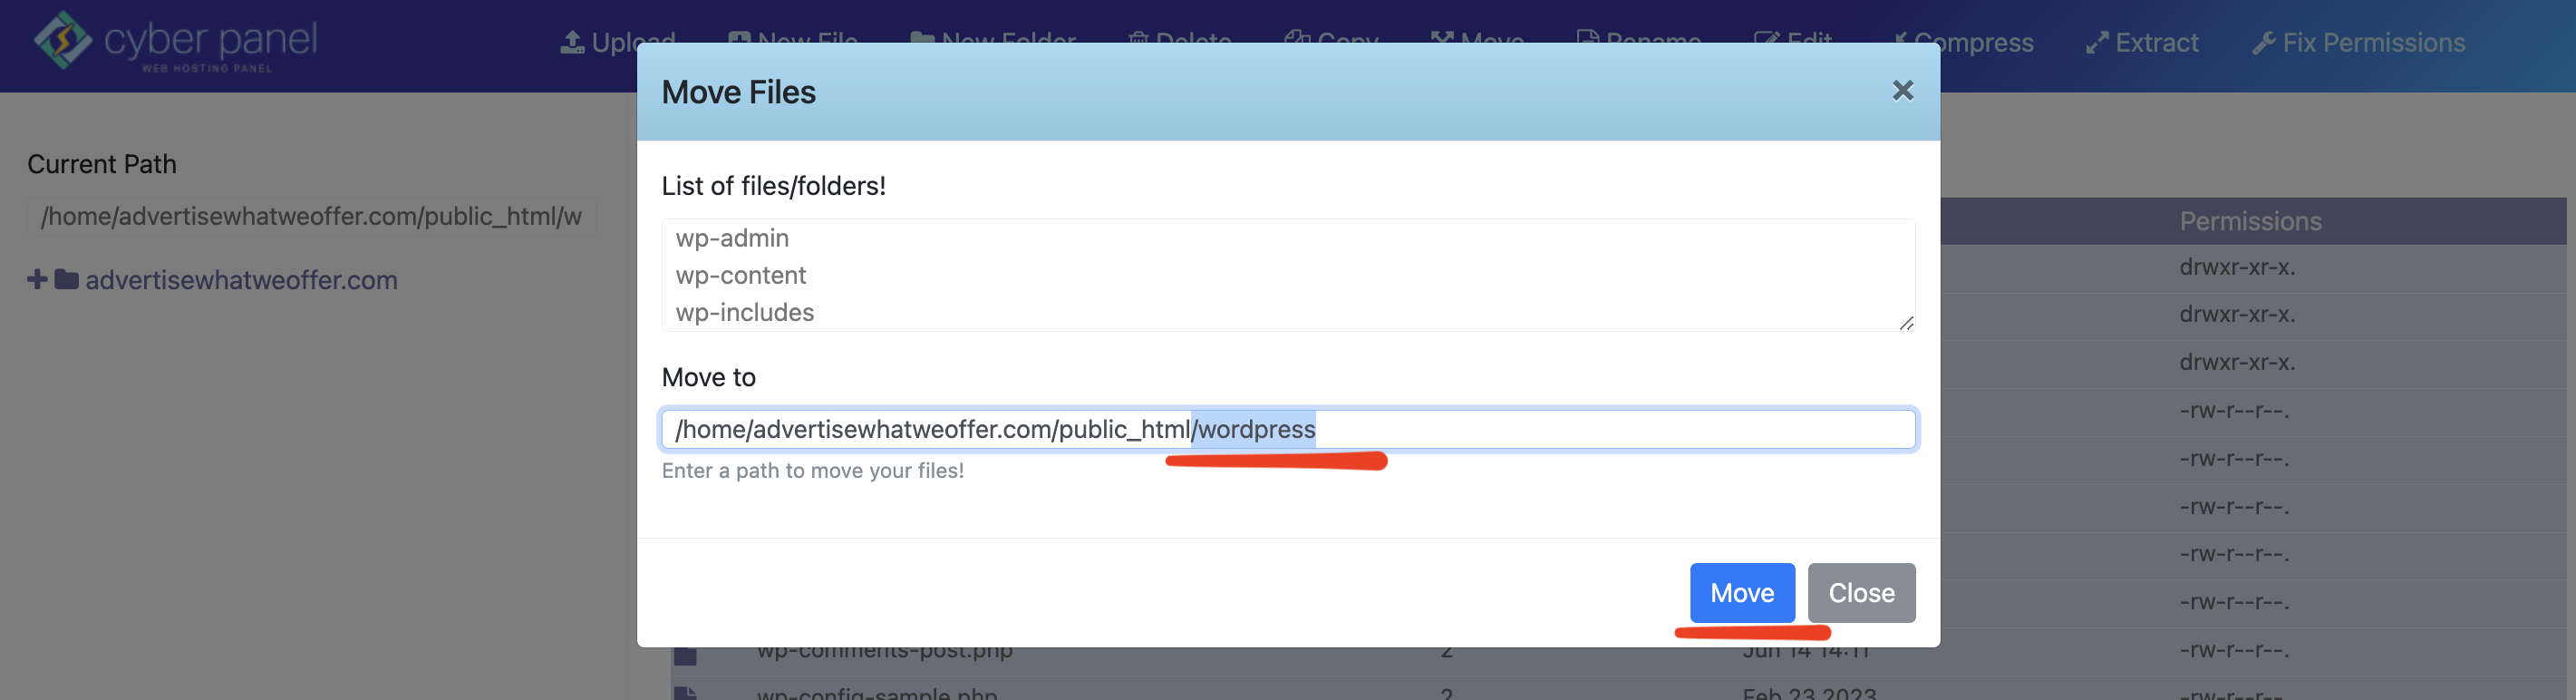
- Delete /wordpress from Move to, then click the Move button.
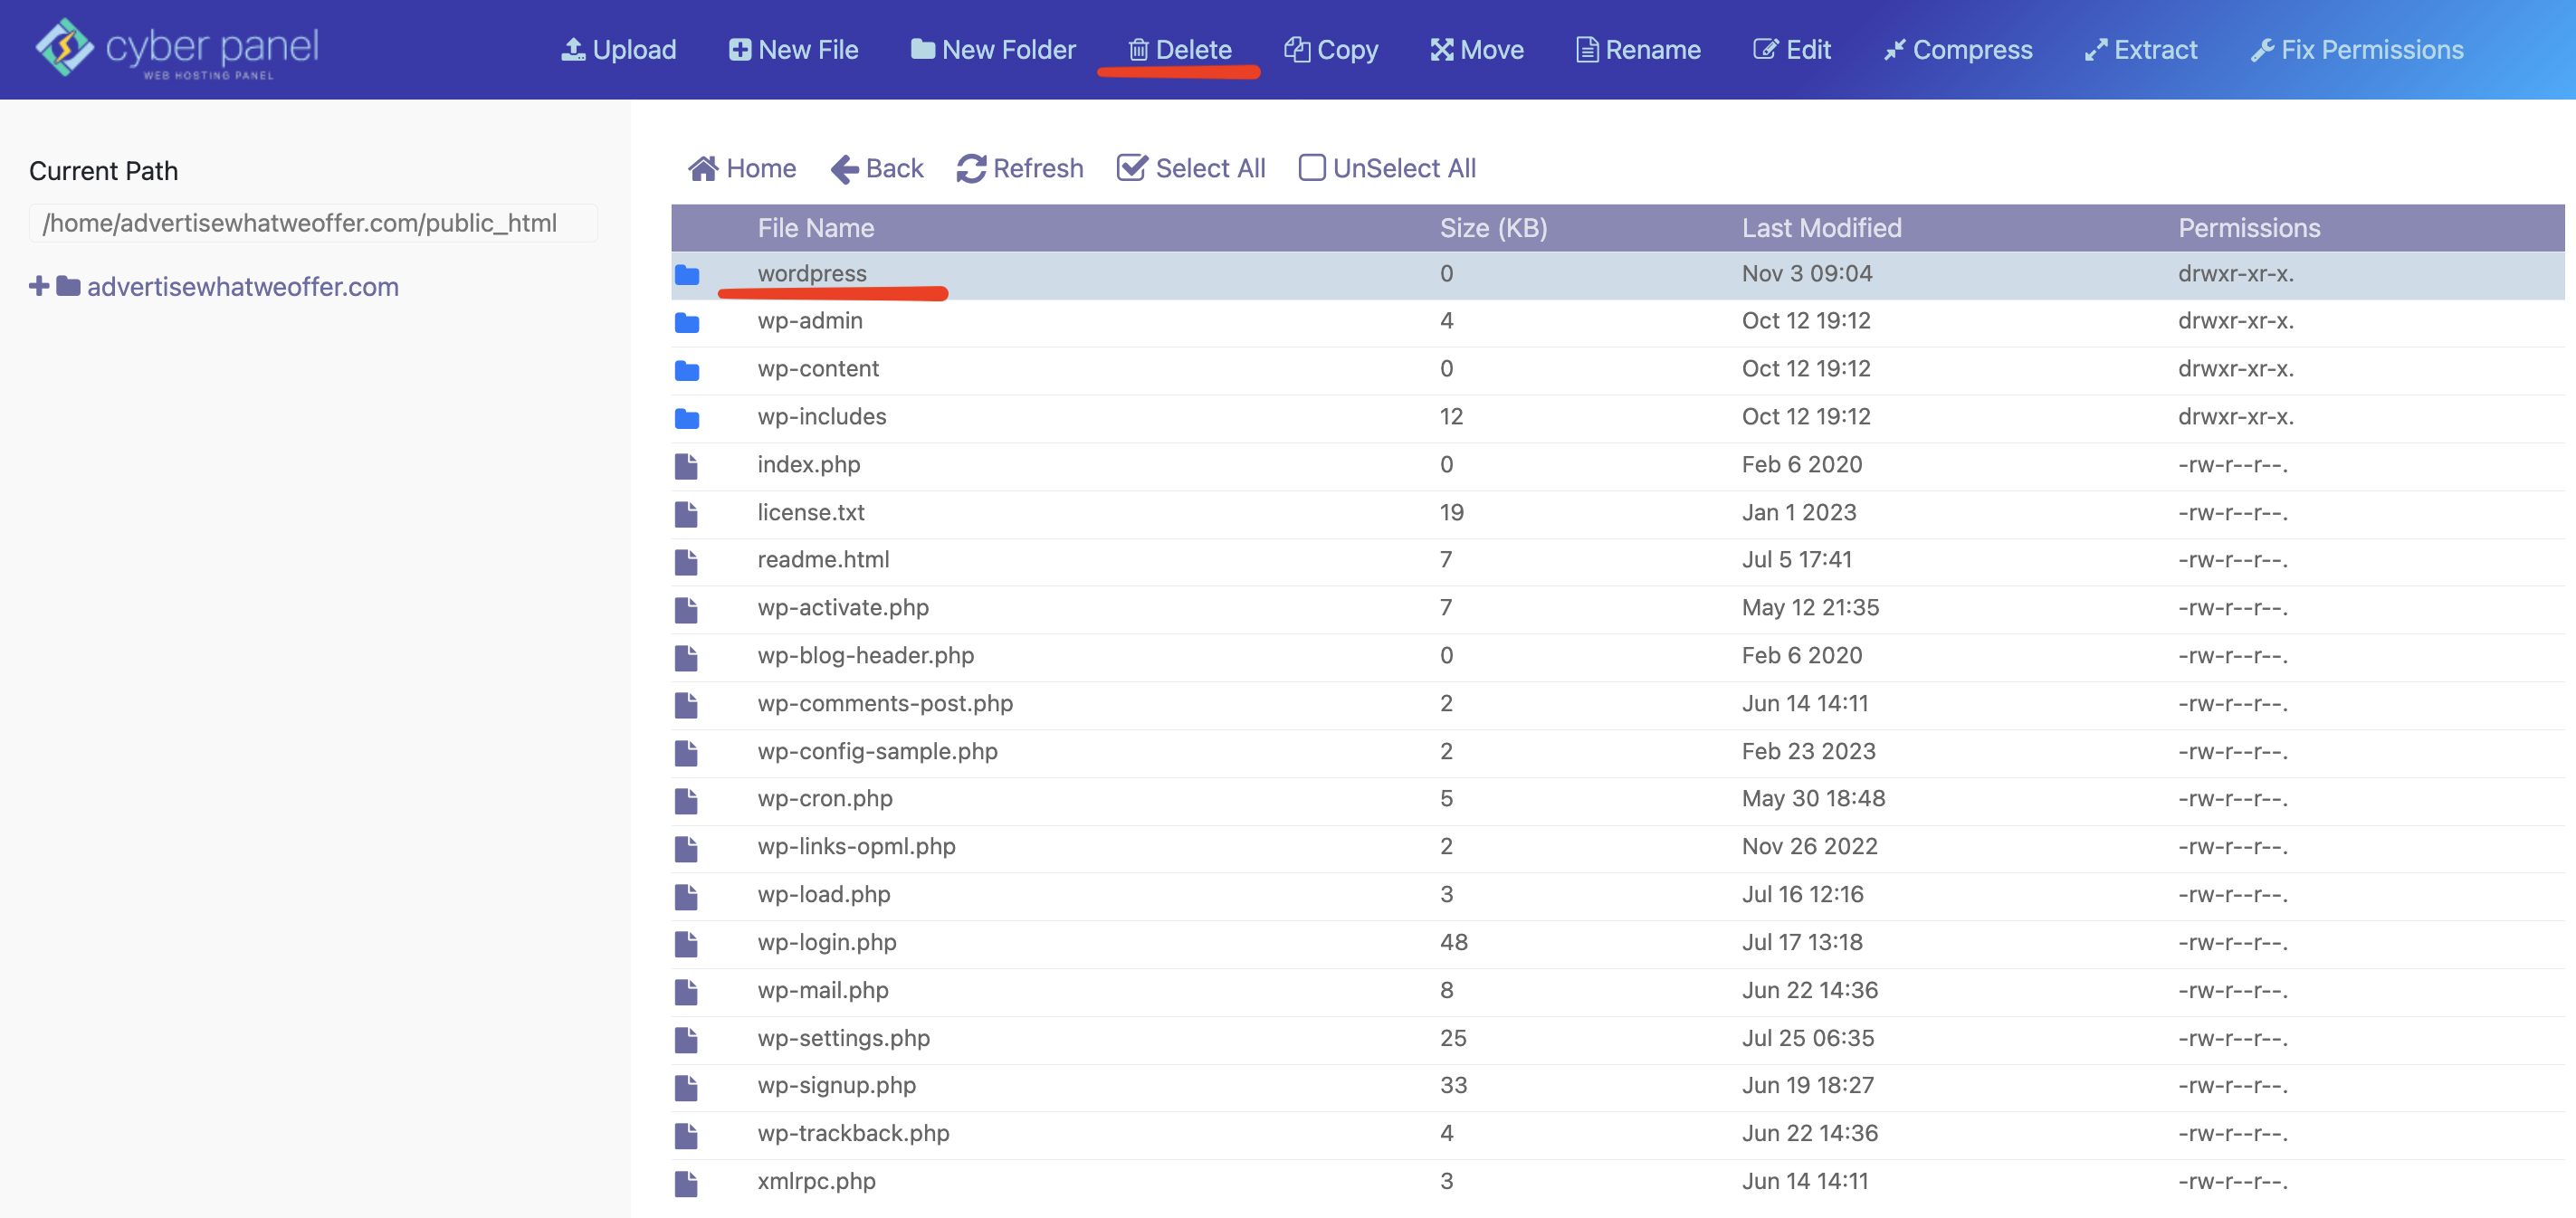
- Because you moved the files to a different folder, your wordpress folder is now empty. Click the Back button from the menu.

- Last thing to do is to delete the wordpress folder.
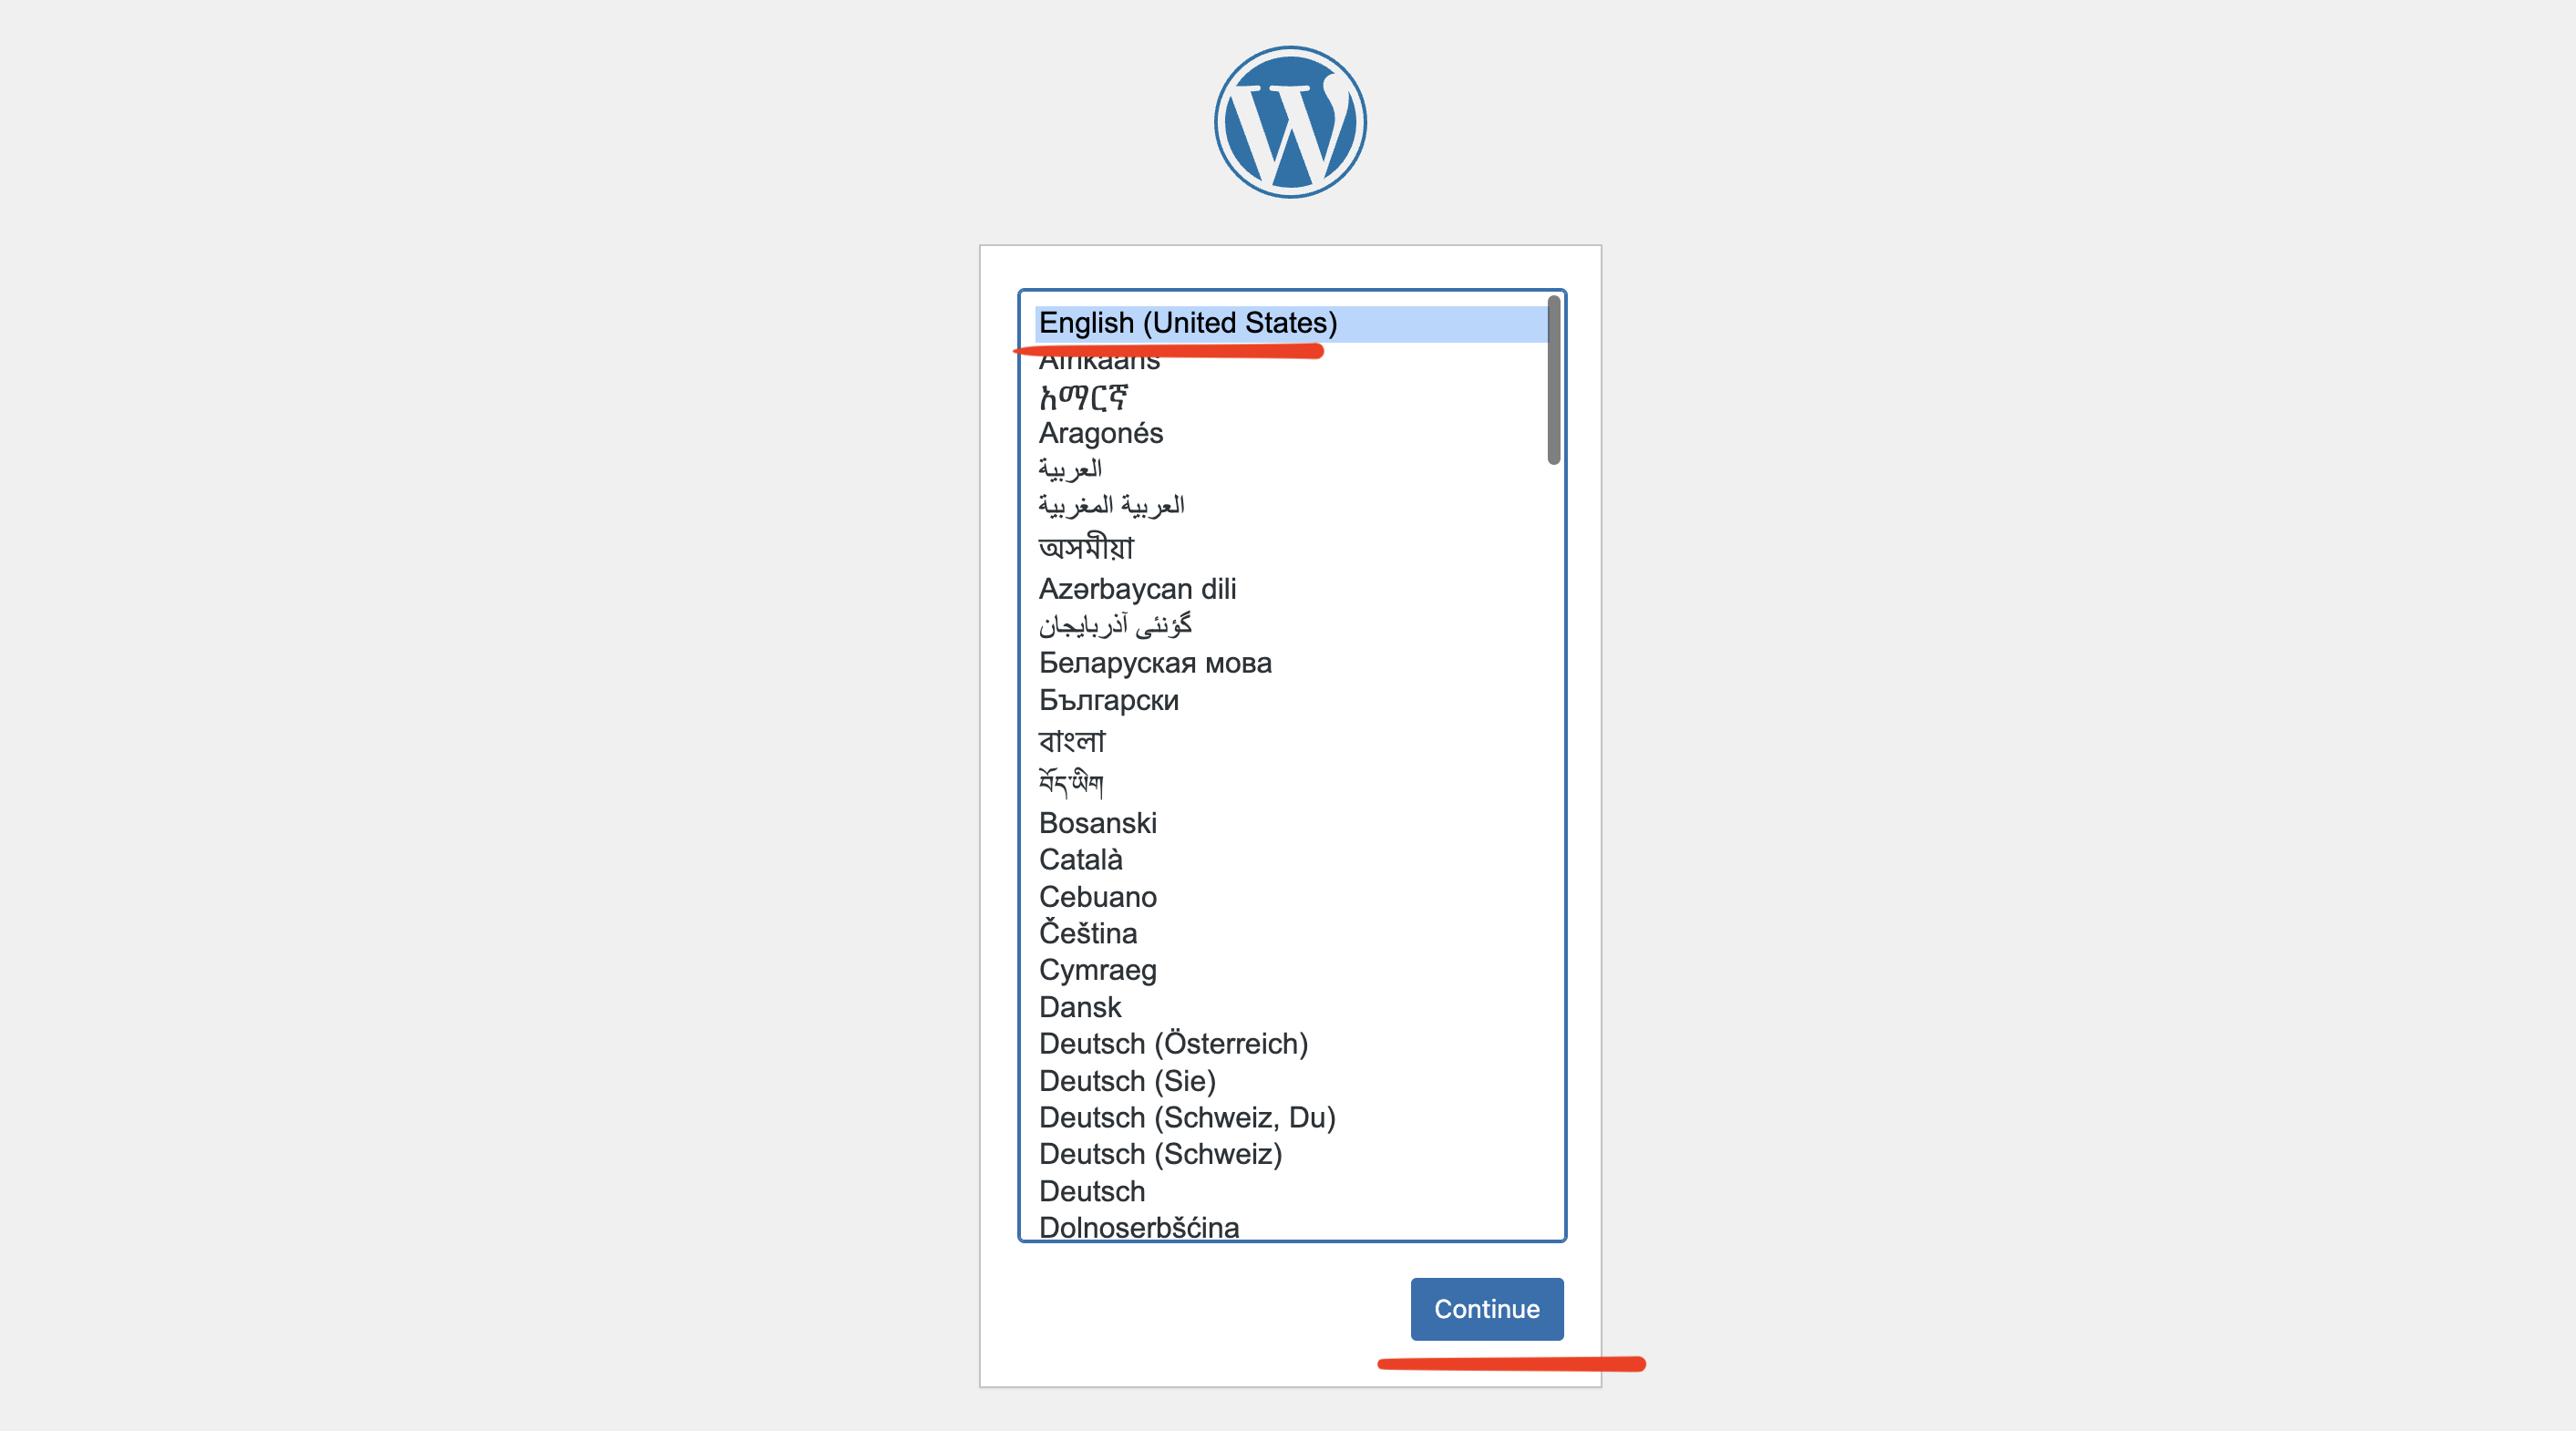
- You are now ready to configure your WordPress CMS. In order to do so, access your website through your domain name inside a new tab on your browser. Make sure to double refresh the page in order to load the setup screen for WordPress. By default WordPress will indicate the English language, we recommend using it for seamless management as you can later on change it through the admin interface. Click the Continue button.
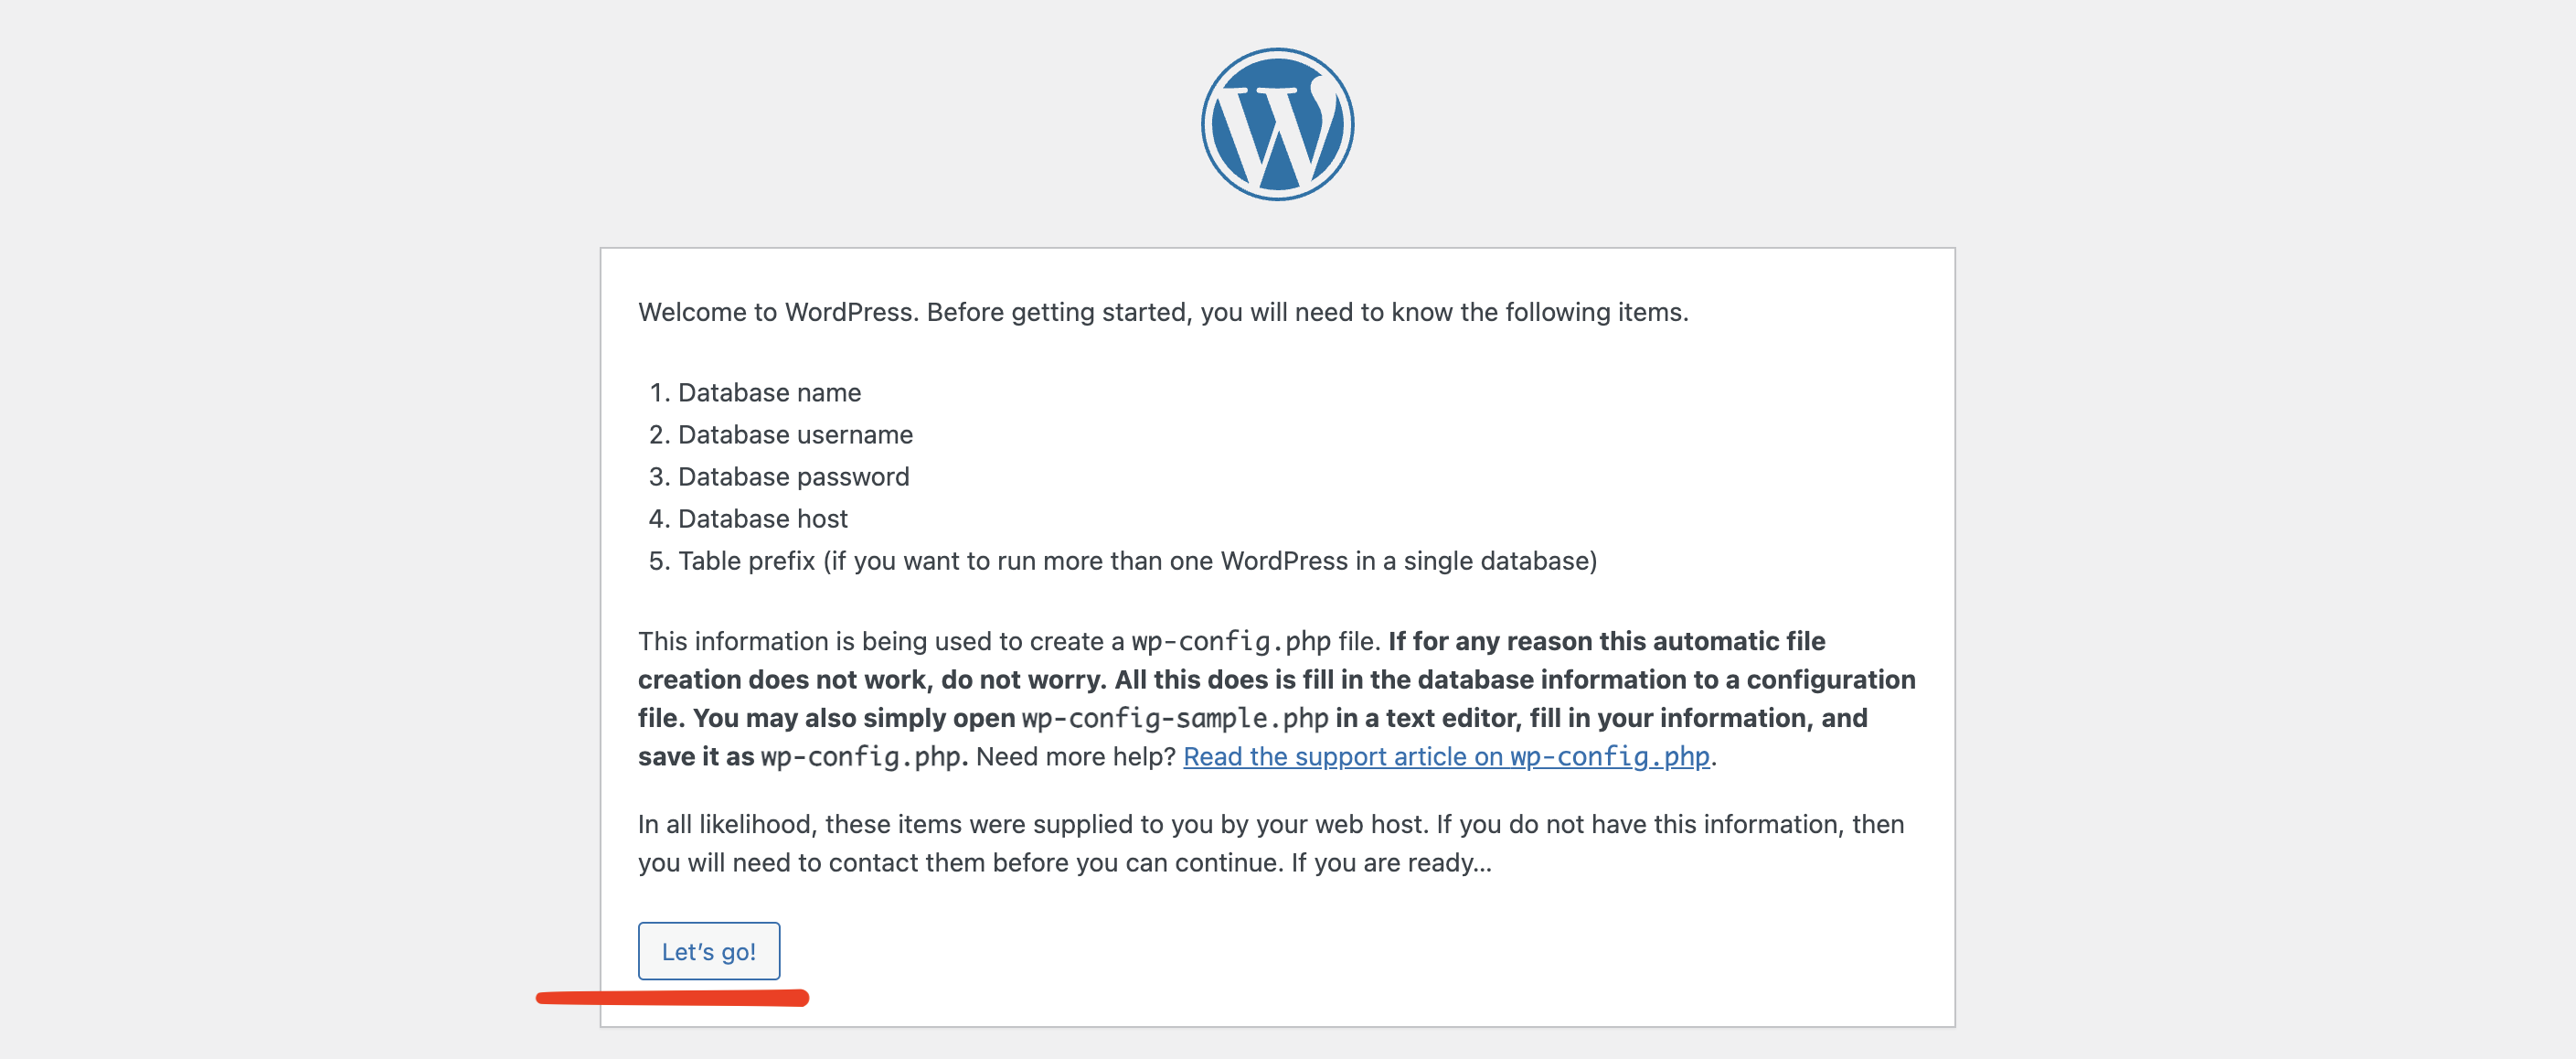
- WordPress will now display a new screen mentioning about some parameters you need to setup in order to complete the installation process. Hit the Let's Go button to proceed.
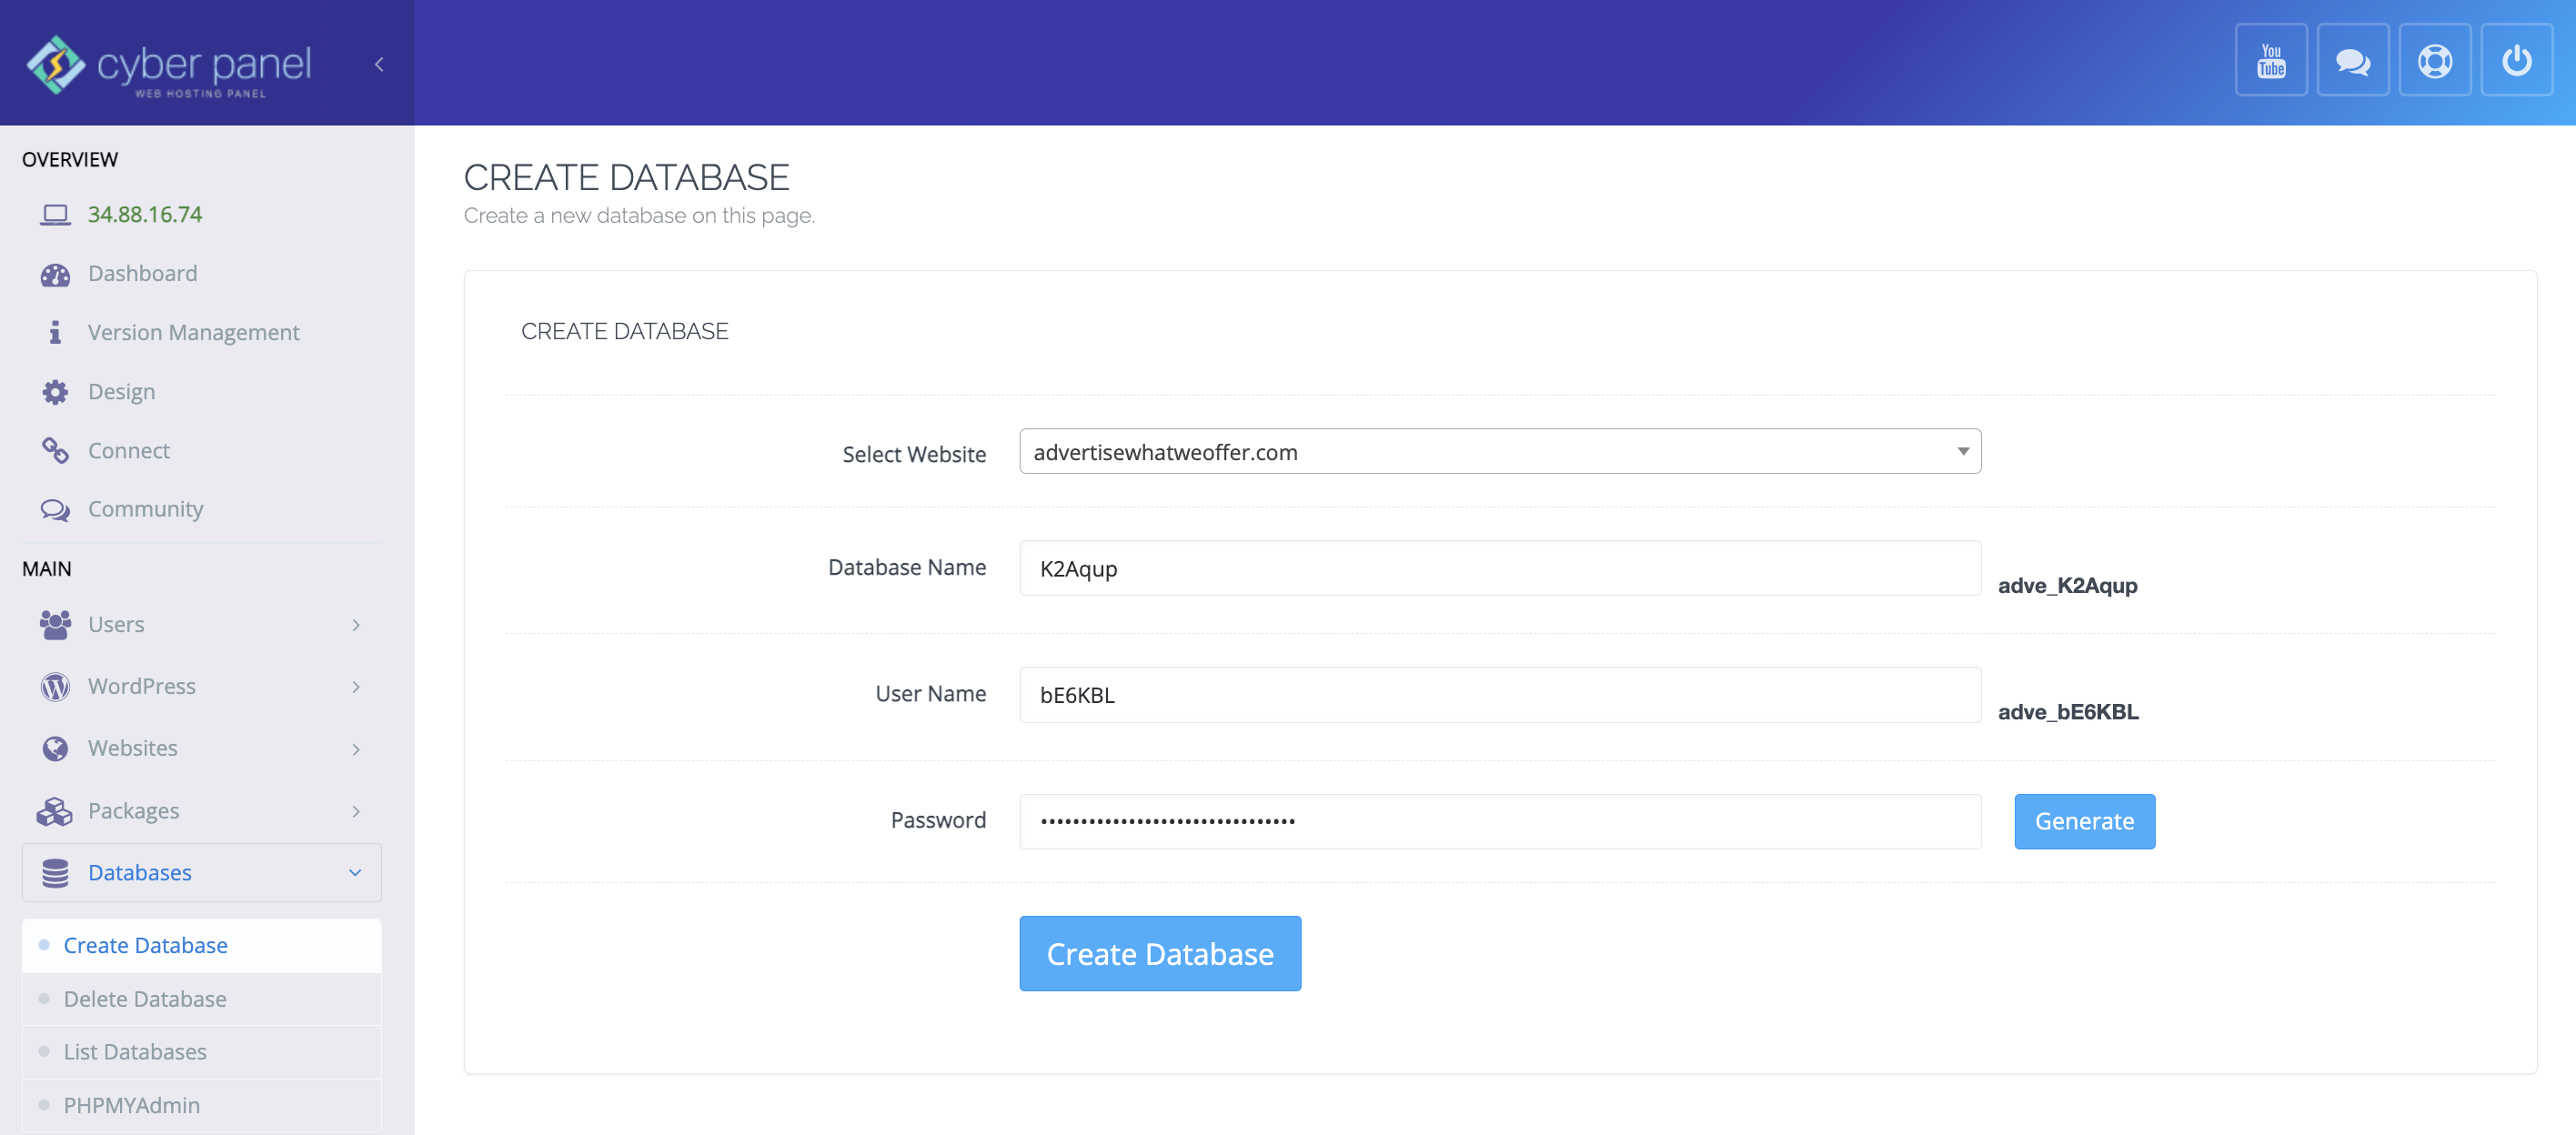
- Before moving with the next step for the WordPress setup you need to access your Cyberpanl interface in order to create a database for your CMS. Leave the current WordPress setup page open, and access a new tab inside your browser with the Cyberpanel interface. Using the left side menu, go to Databases > Create Database. Select Website and type inside the Database Name, Username and Password fields. We recommend using 6 characters strings for Database Name and Username and 32 characters for Password. Keep in mind that these strings should never start with a number. Notice that on the right side of the Database Name and Username fields you'll see the final strings you'll be using for your WordPress setup. Once you finish typing in, hit the Create Database button. Keep the page open.
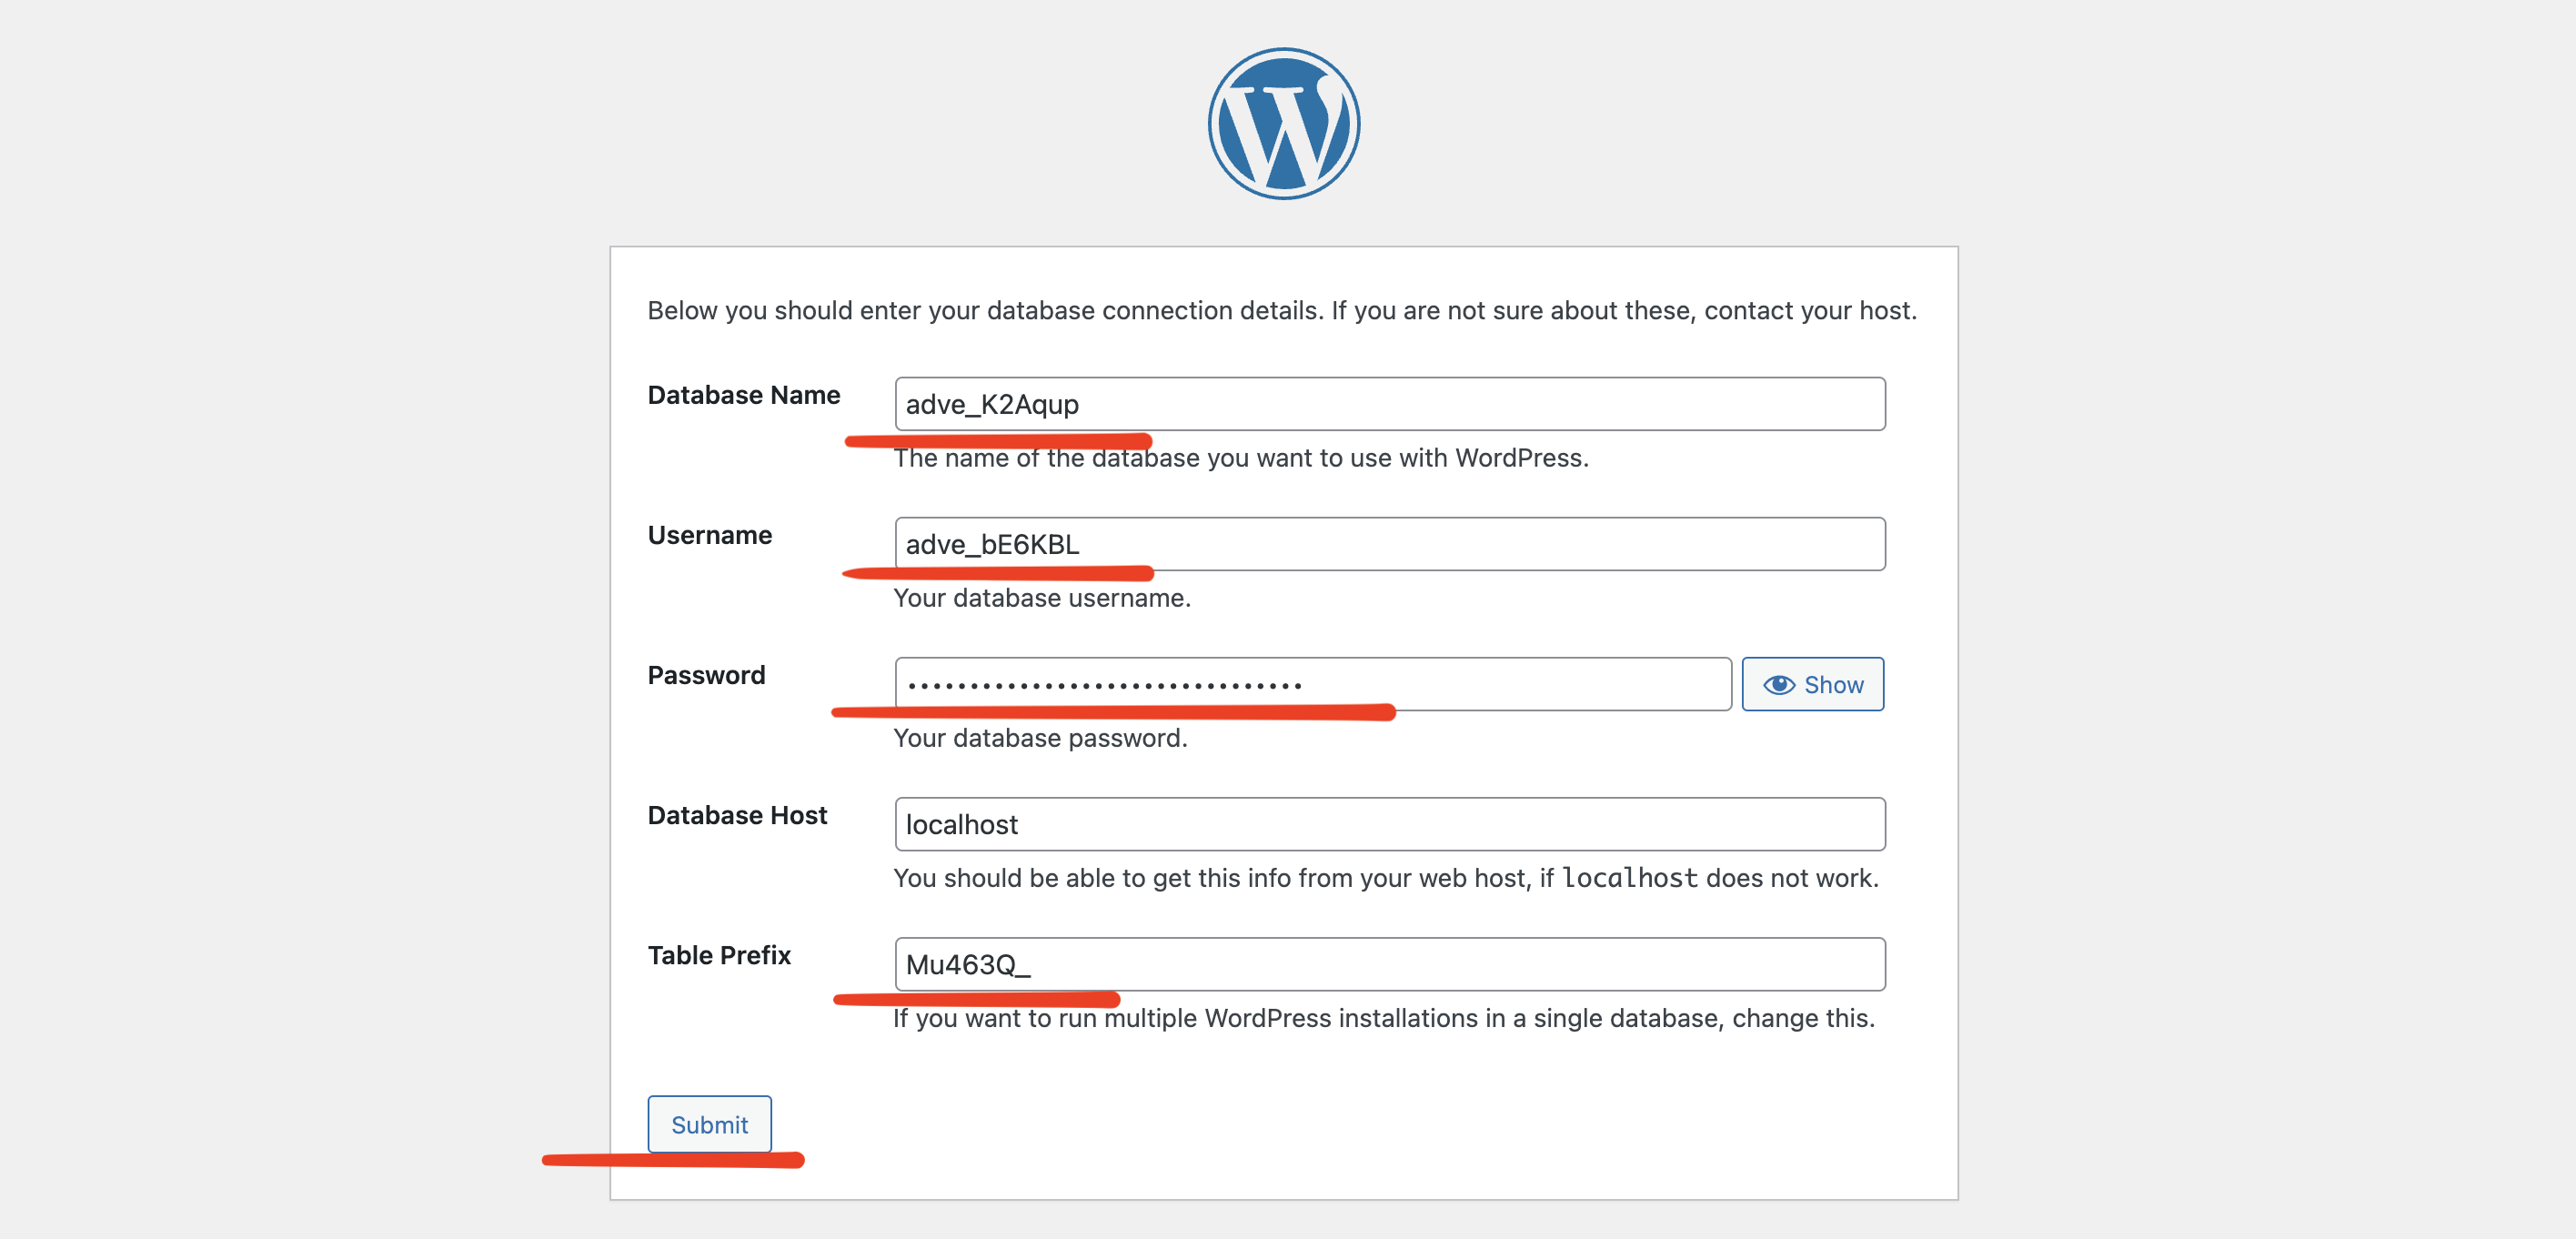
- Now go back to your WordPress setup tab inside your browser and fill in the required details. You can copy the Database Name and Username final strings from the other tab. Type inside the Password field the same 32 characters long password you used for the database creation. By default the Table Prefix will display wp_. For security purposes, make sure your replace wp with your own 6 string. Confirm all details are valid and click the Submit button to proceed.
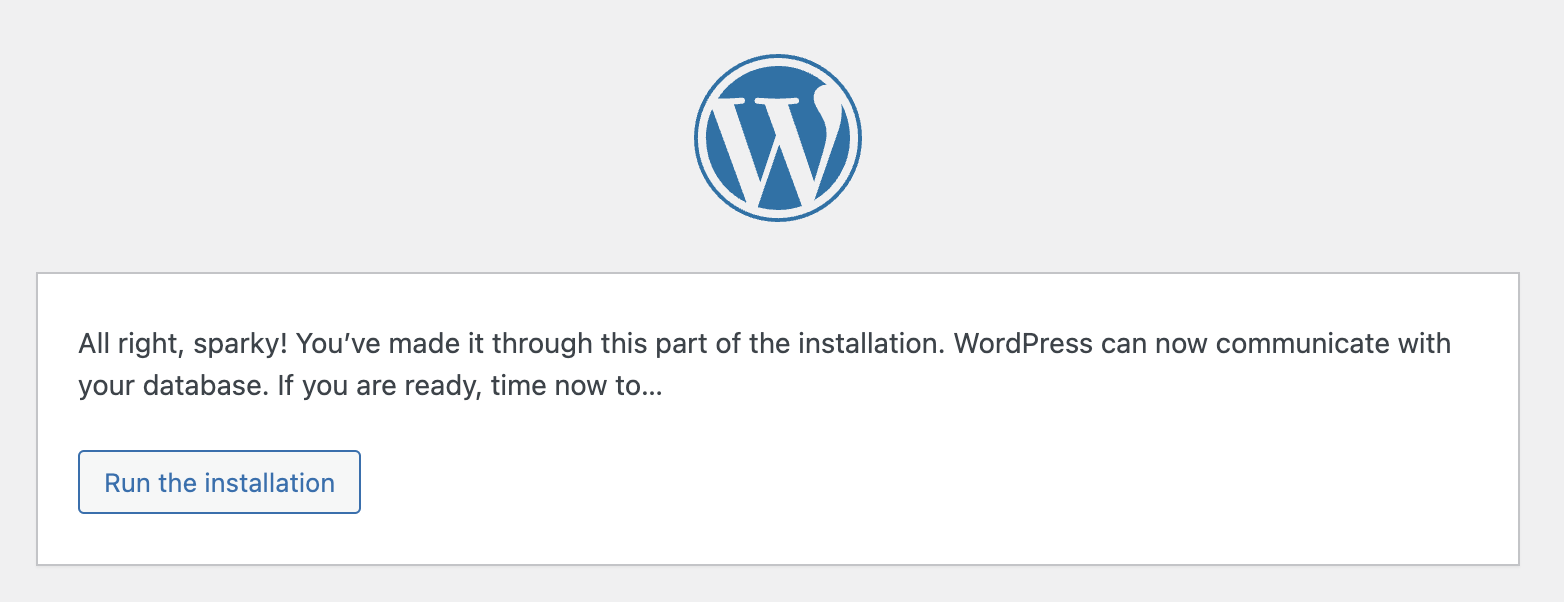
- If the previous step was done correctly, WordPress will display a successful connection message. Now click the Run the installation button.
- This is the last step for installing the WordPress CMS. You need to type in the Site Title, Username, Password and Your Email. By default WordPress will generate a random password for your CMS access. Keep in mind that you'll be using the Username and Password to access your WordPress CMS. Make sure you input all the field, then click the Install WordPress button.

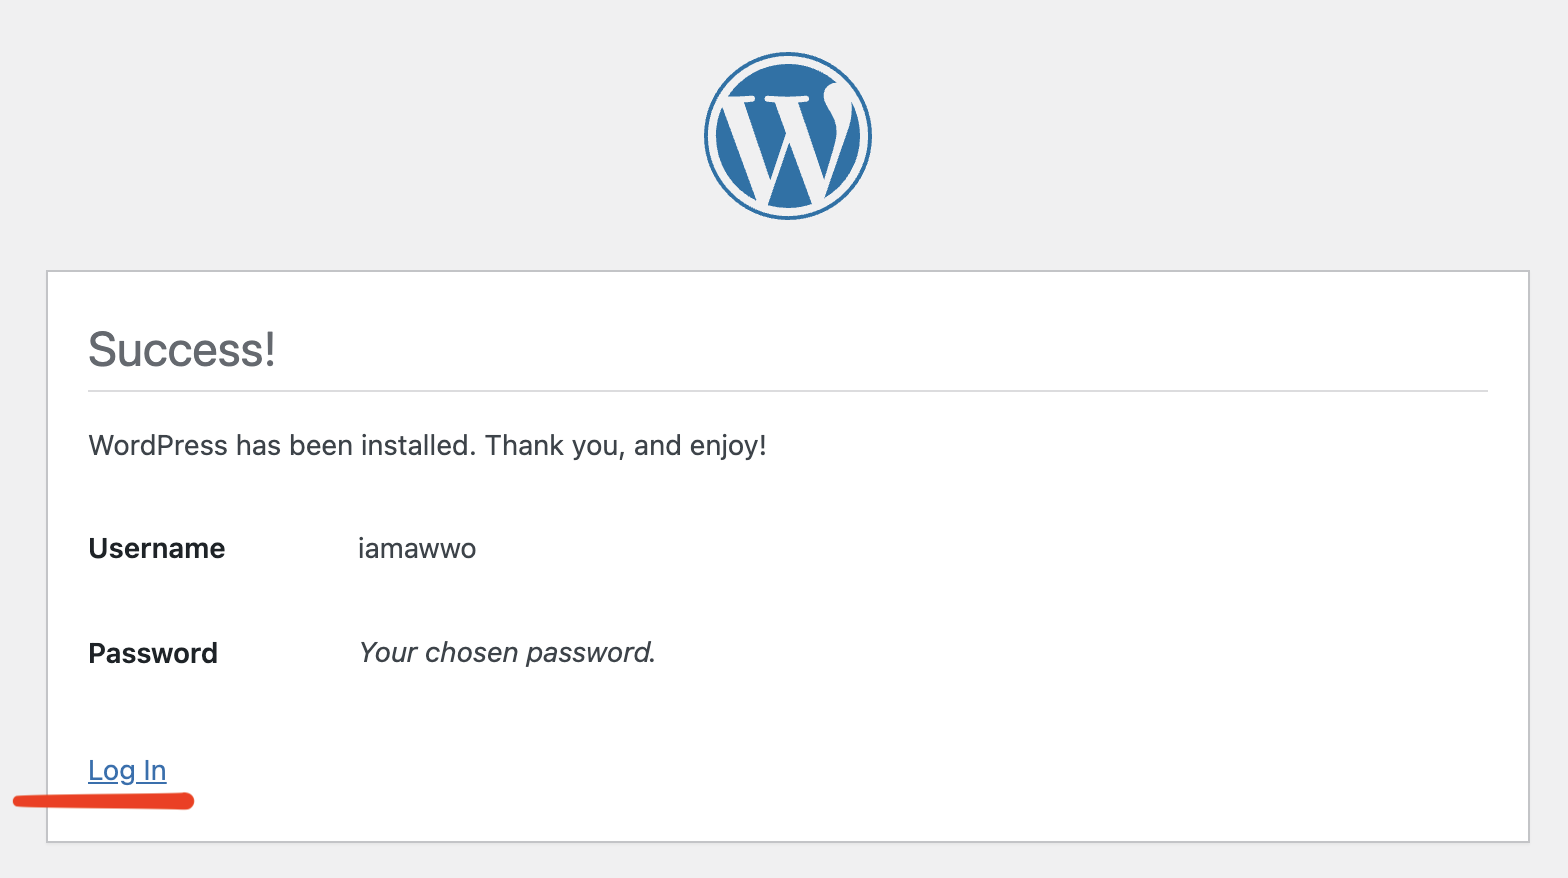
- Upon finishing the process, WordPress will prompt you with a Success message. Click the Login button in order to access your WordPress admin interface.
- Type in your login credentials, the ones you setup in the previous steps and hit the Login button.

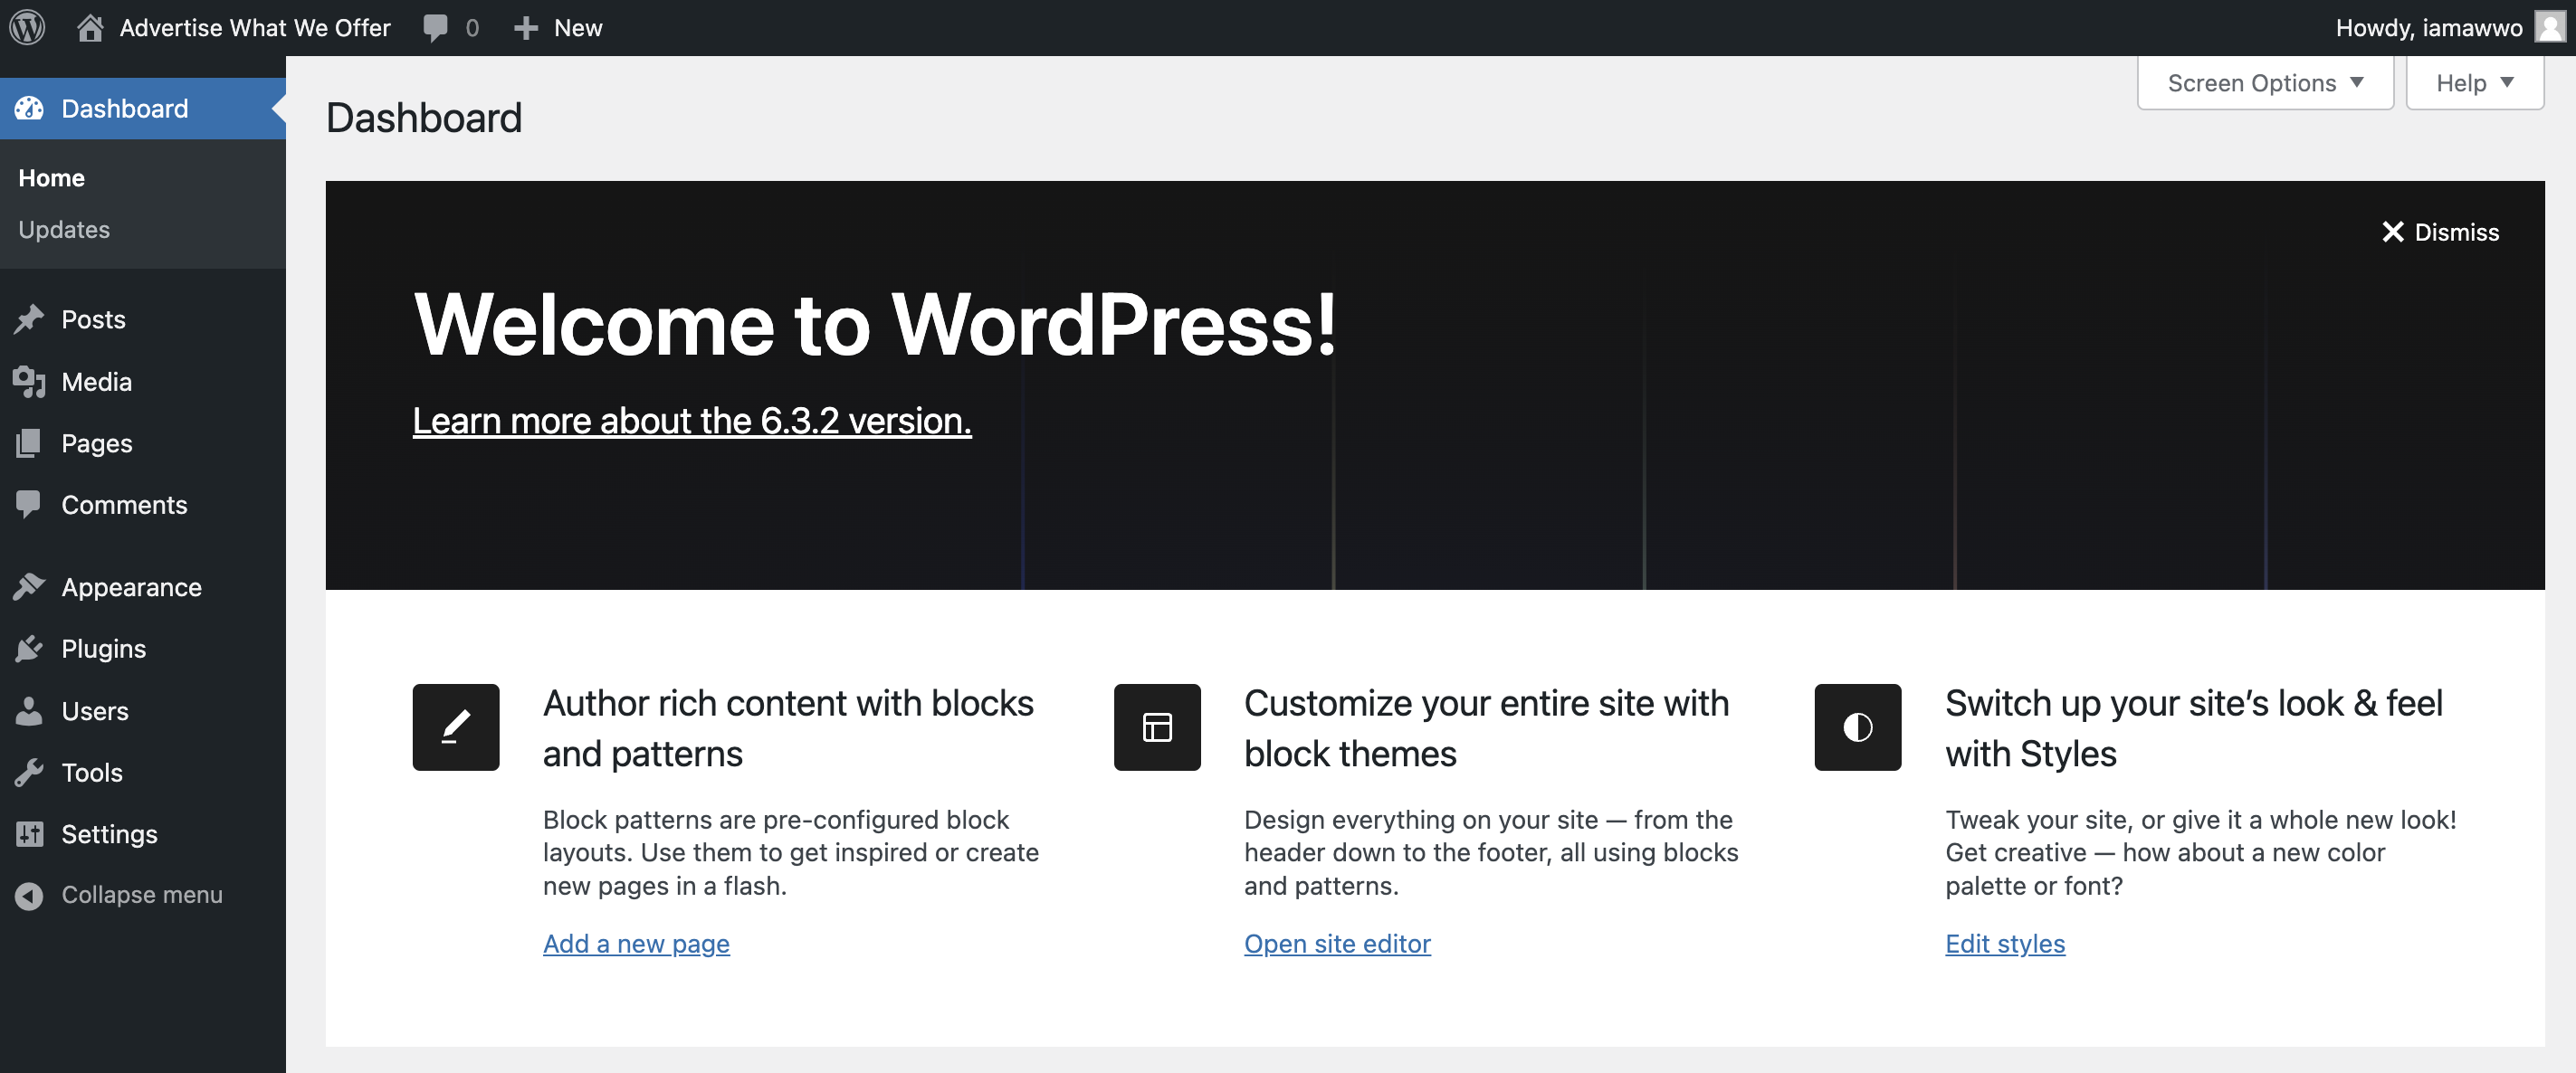
- If everything was done properly, you'll be able to successfully login inside the WordPress Dashboard. Keep in mind that each time you want to connect to your WordPress admin interface you need to access the following link: https://[yourdomainname]/wp-login.php. Replace [yourdomainname] with your actual domain name.
- Finishing the setup process will make you the official owner of a fresh/clean WordPress website. From now on you can start customising your platform to your needs.
Cyberpanel Automatic WordPress Install (Cyberpanel All Addons Package Required)
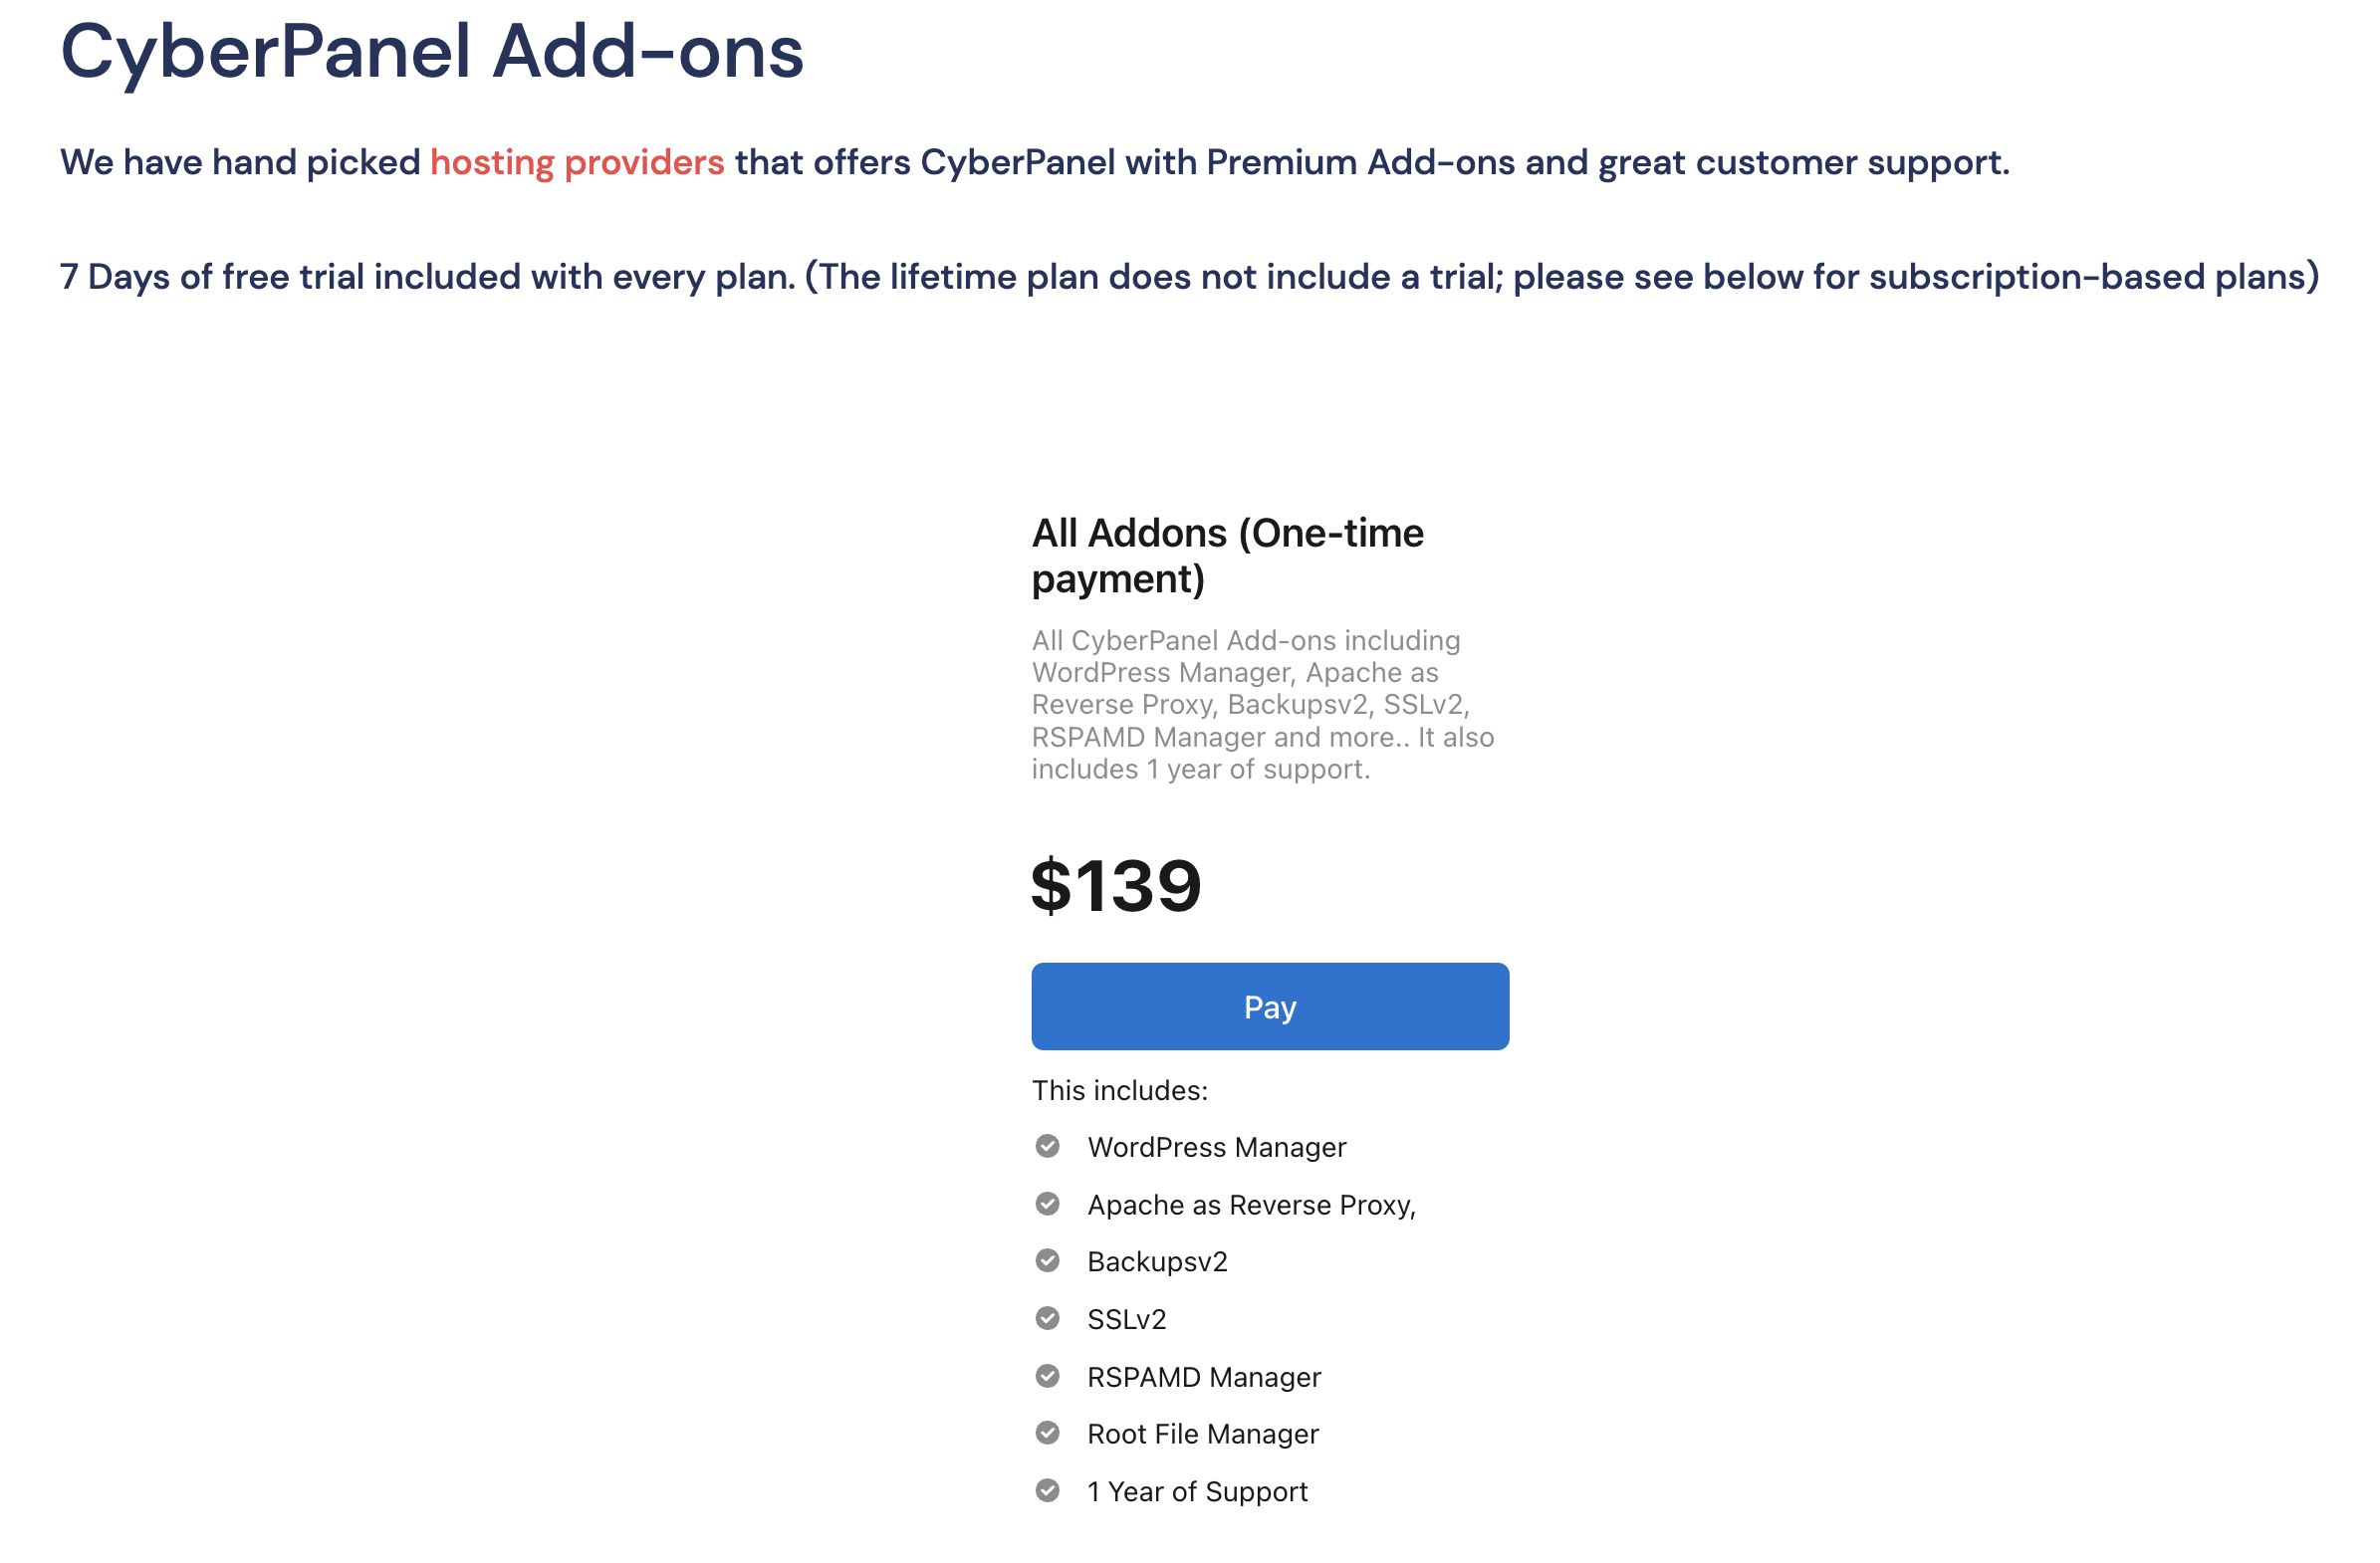
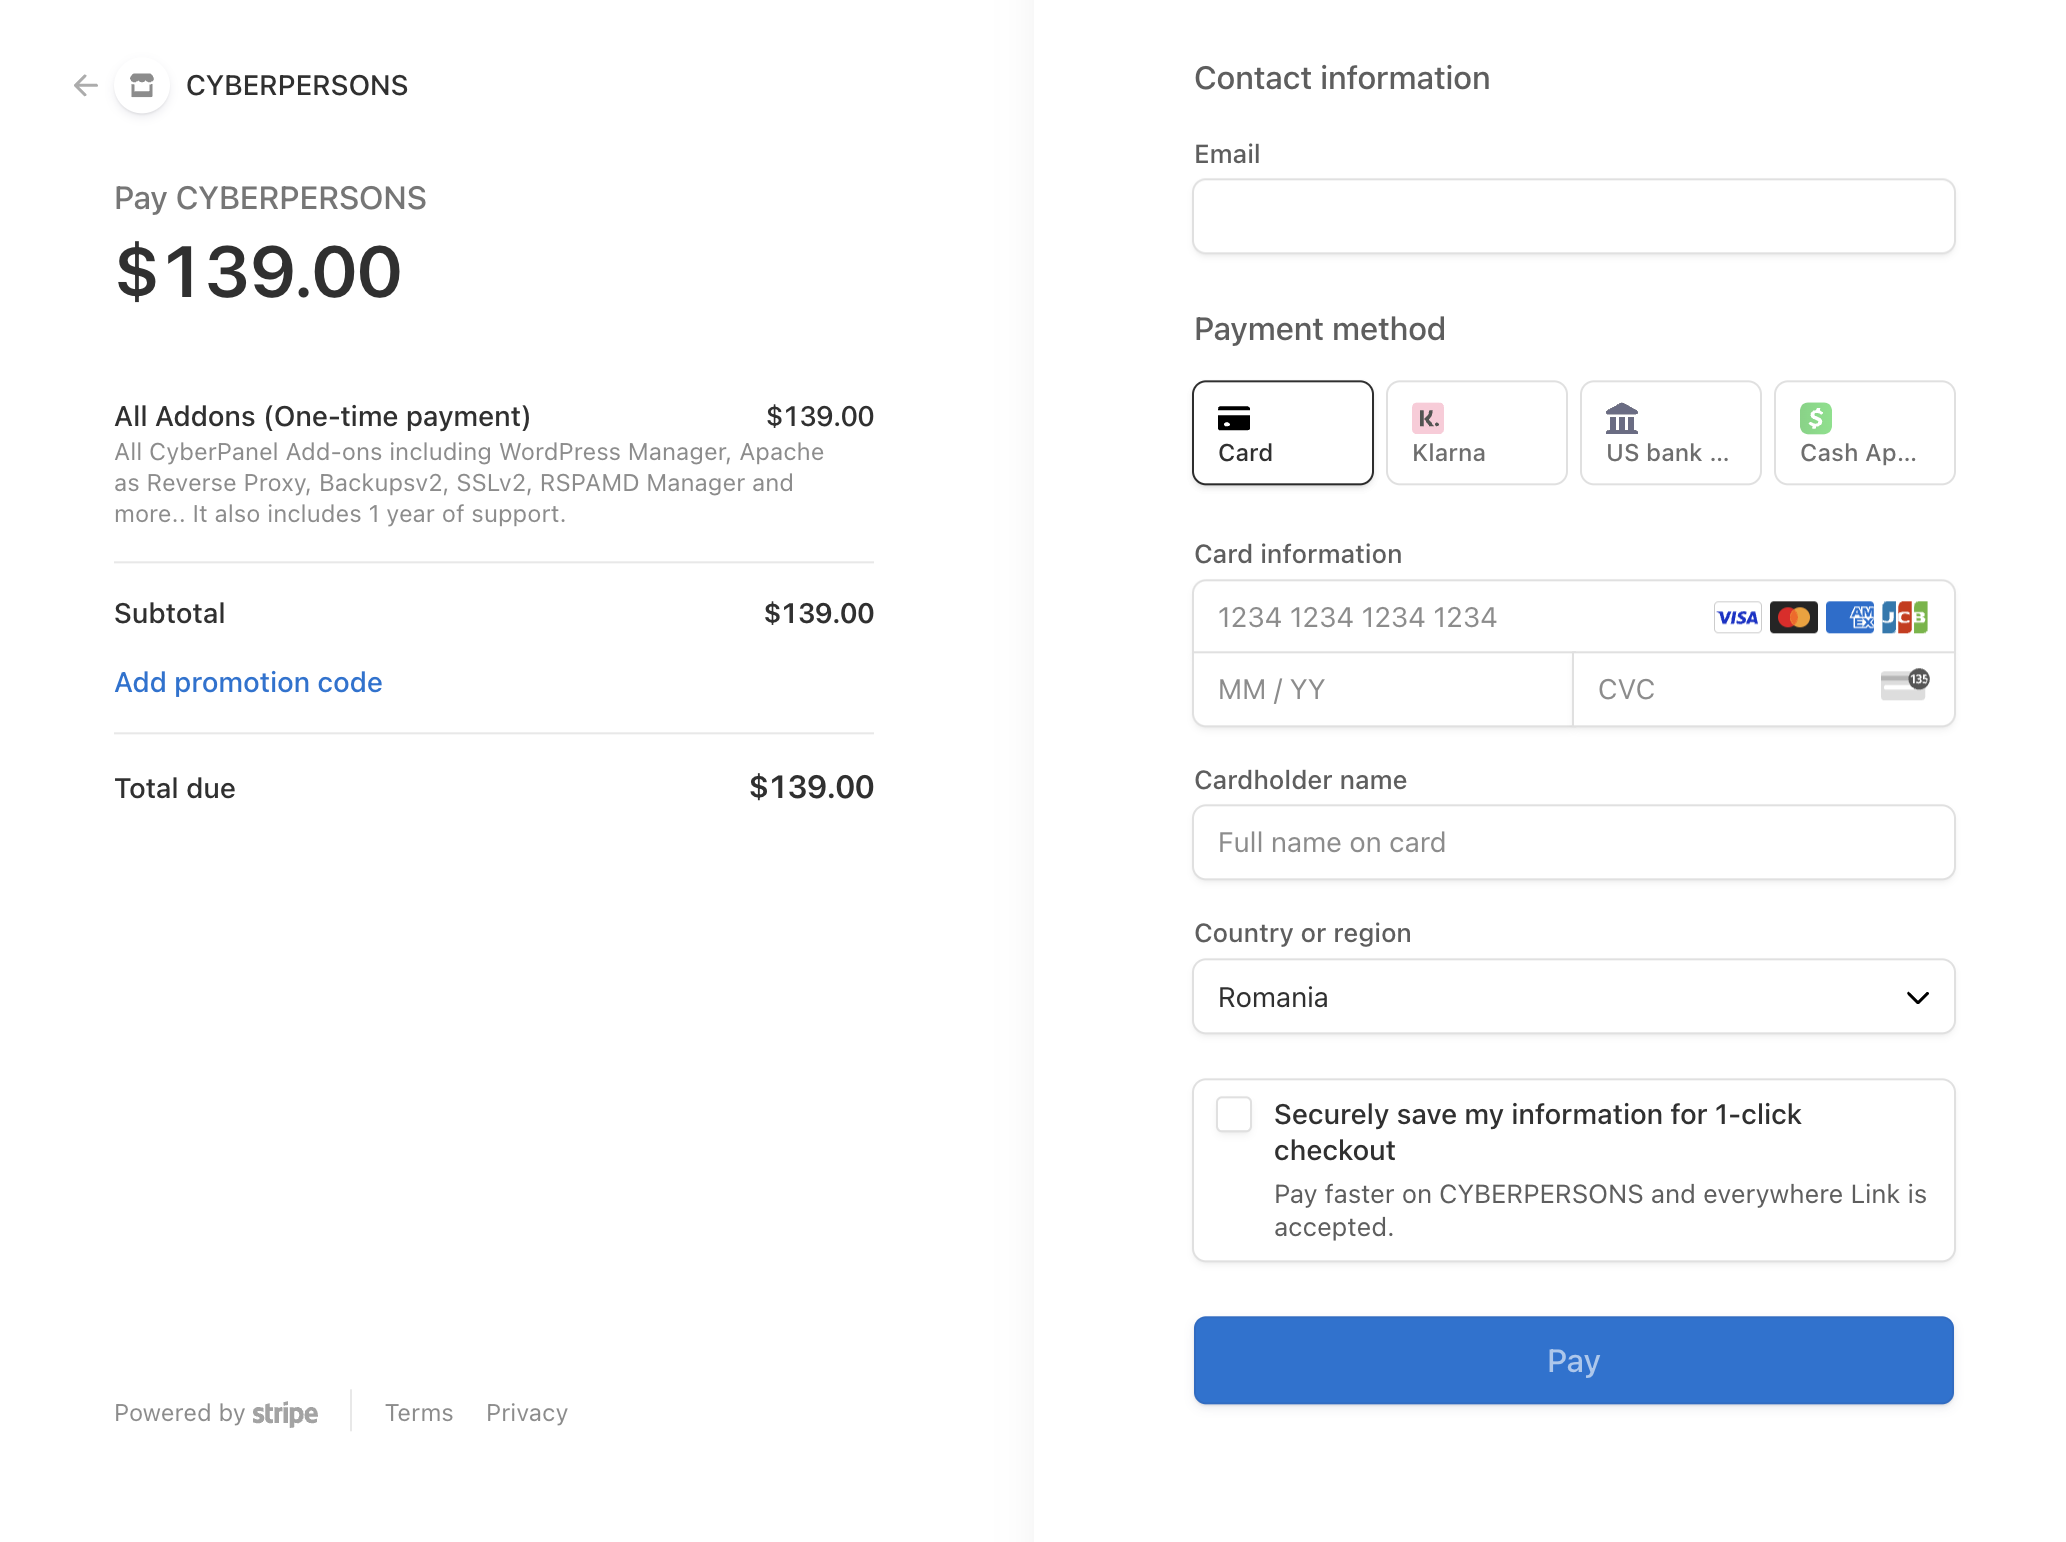
- In order to automatically deploy WordPress through Cyberpanel you need the All Addons Package. Go to their official website and purchase a license. We recommend you get the One-time payment version because it is cost effective and you won't have to deal with an additional subscription plan (more independence). Click the Pay button to proceed.
- In this page you have to input your billing details. Please make sure your email address is correct, as it will allow you to manage and activate the Cyberpanel license. Once your finished, click the Pay button.
- Once you finished purchasing the License, Cyberpanel will instruct you on how to activate the license. Keep in mind that this license will be activated using your server IP address, so before doing anything make sure your setup is done correctly.
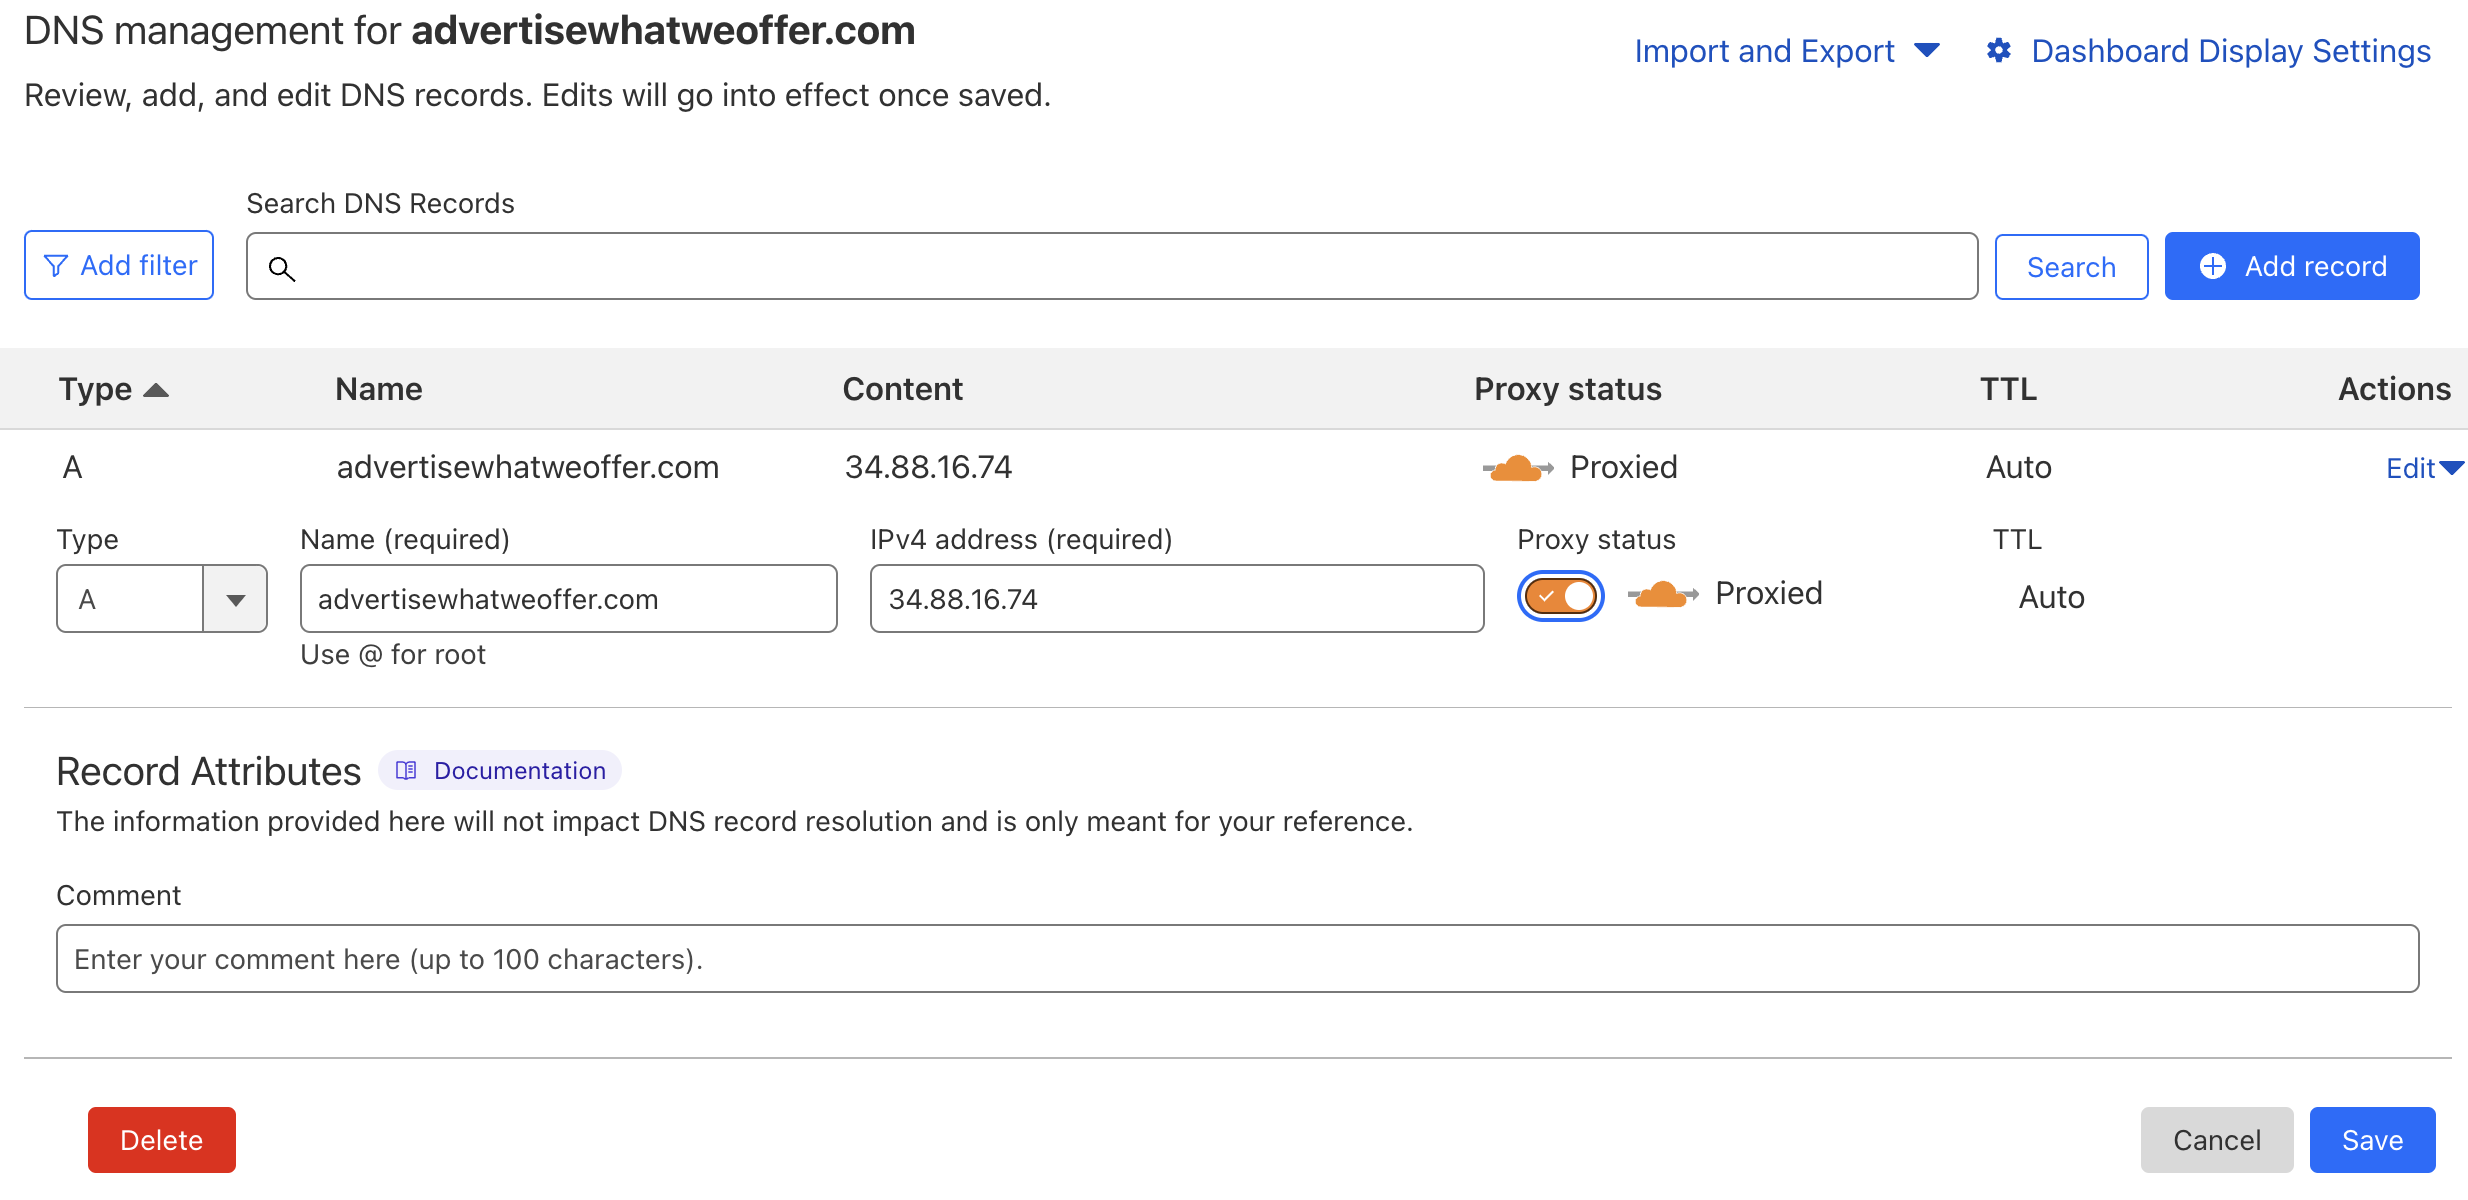
- Before deploying your WordPress install, make sure your domain name is pointing to your server IP address through Cloudflare DNS. Proxy protection should be switched off in order to get an SSL certificate. Click the Save button.

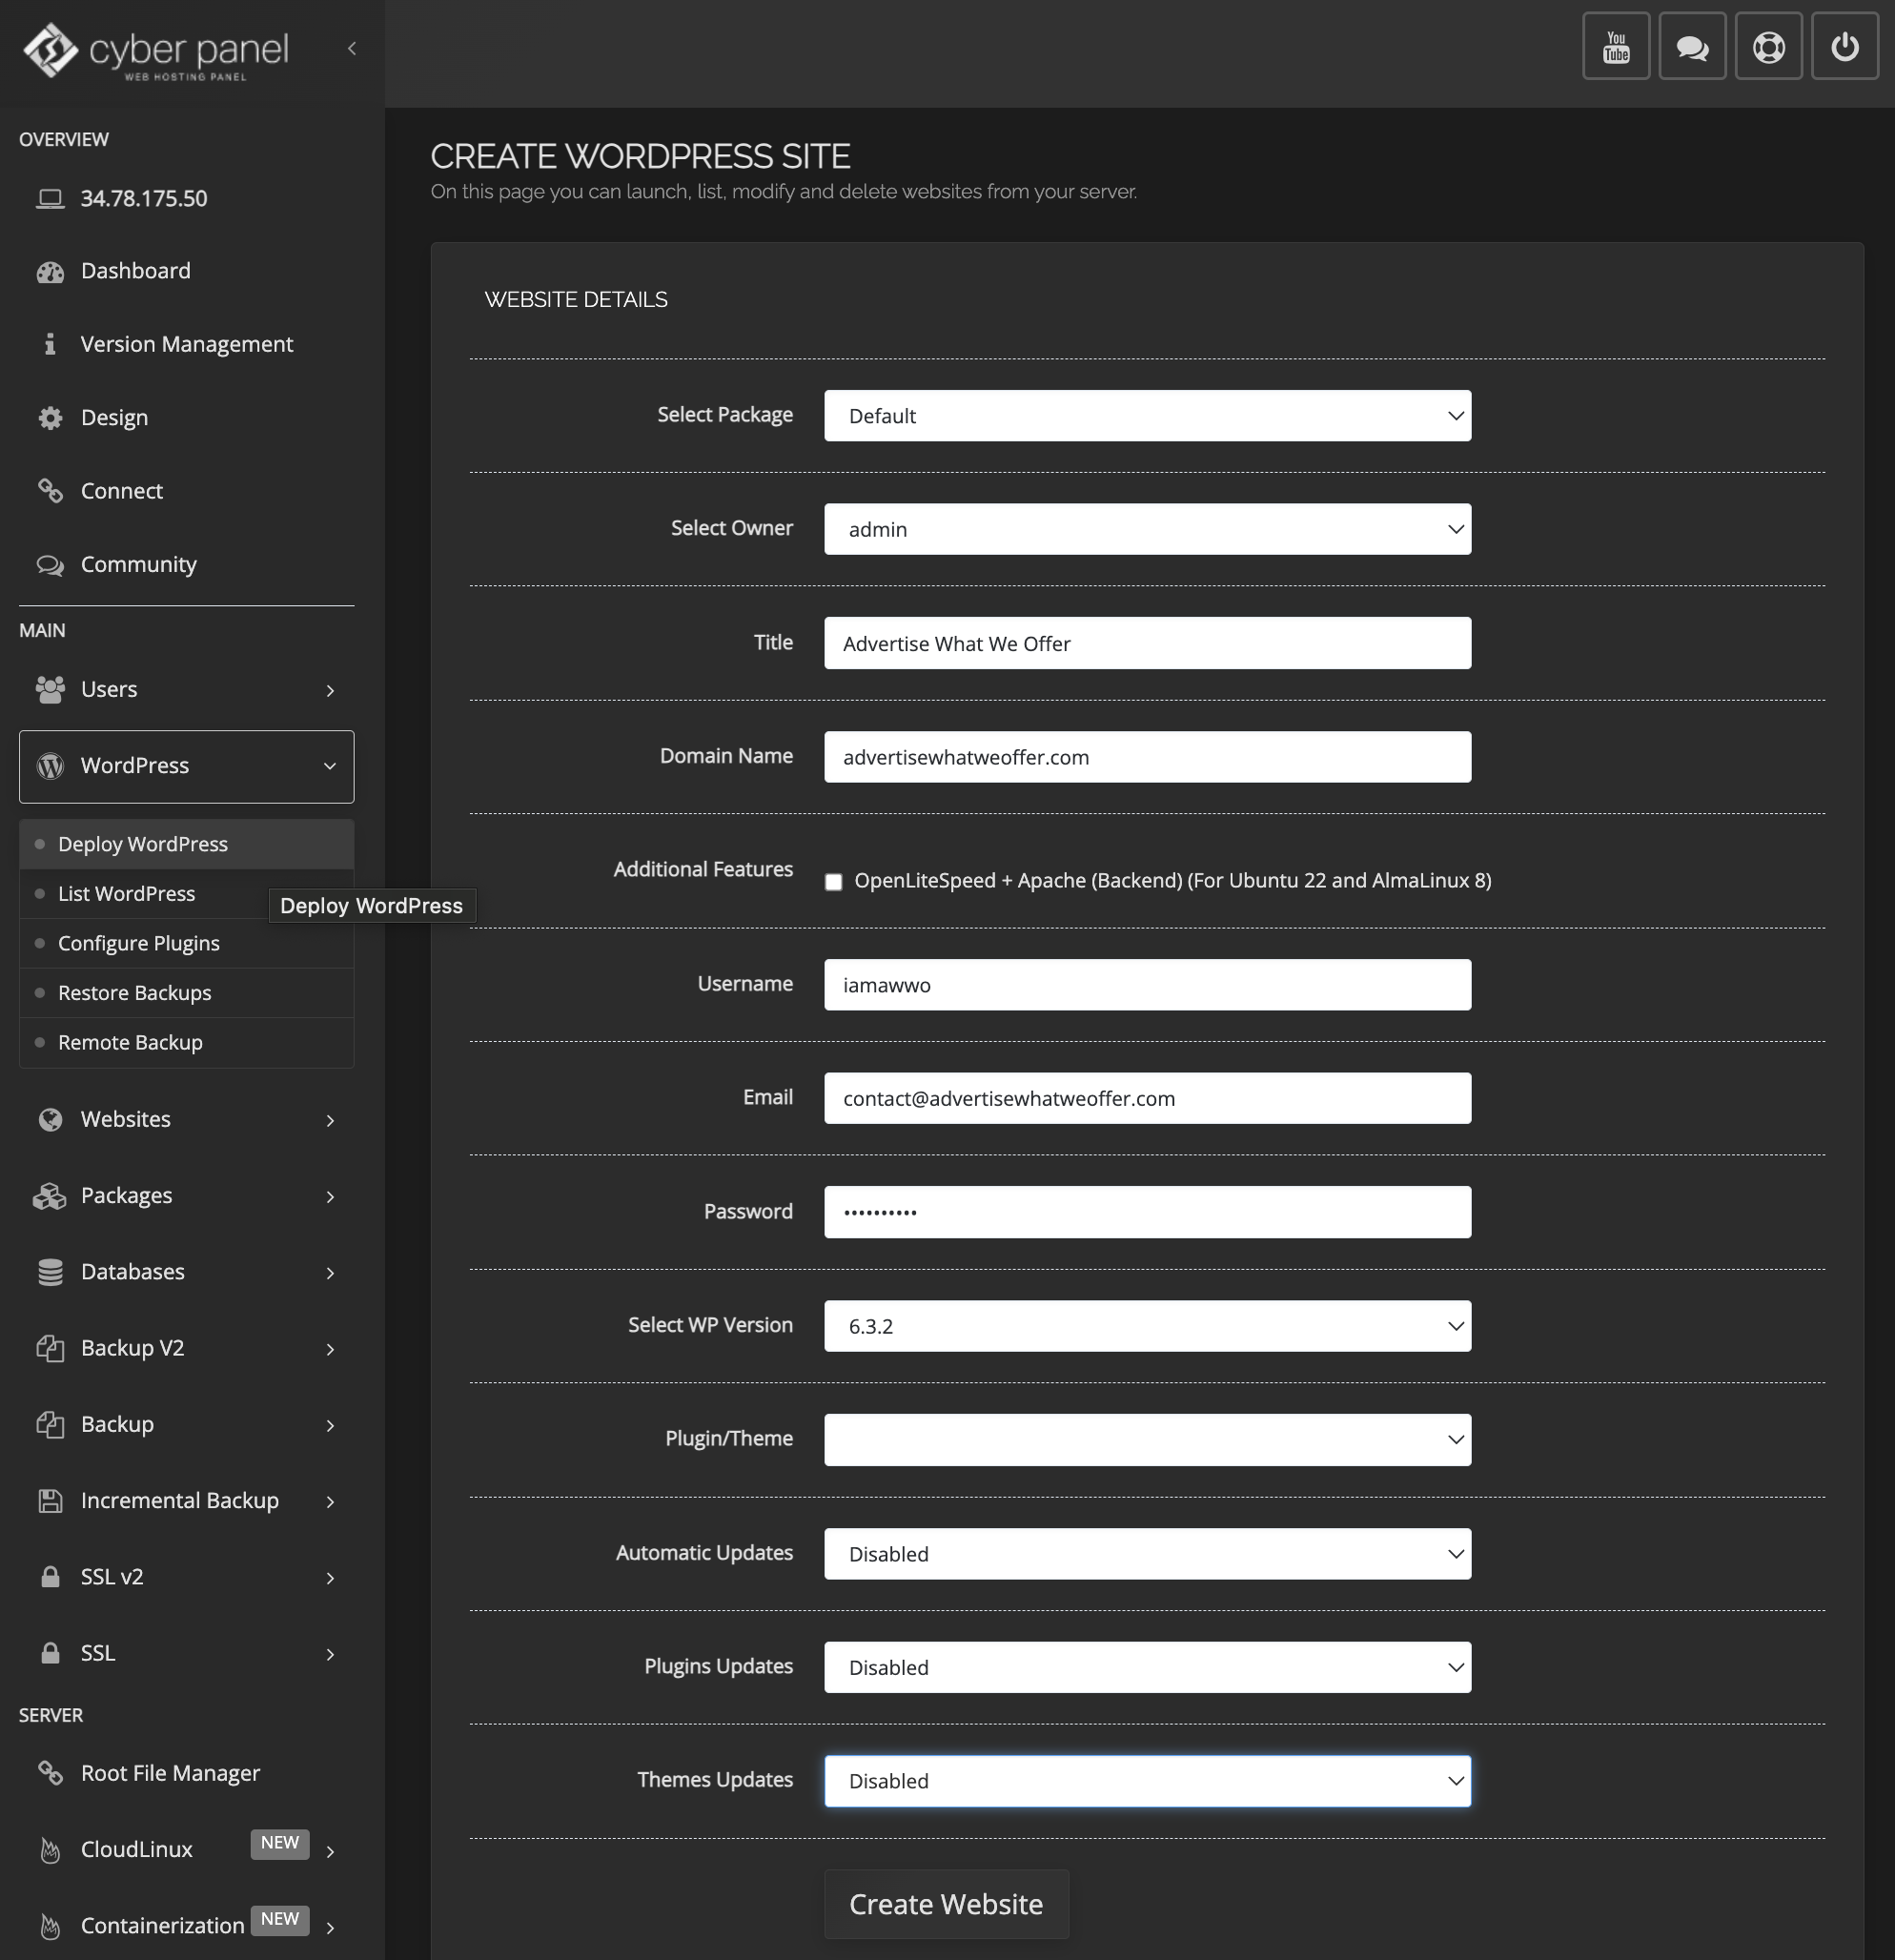
- Login to your Cyberpanel admin interface and go to WordPress > Deploy WordPress. Fill in all required information as instructed in the bellow image and hit the Create Website button.
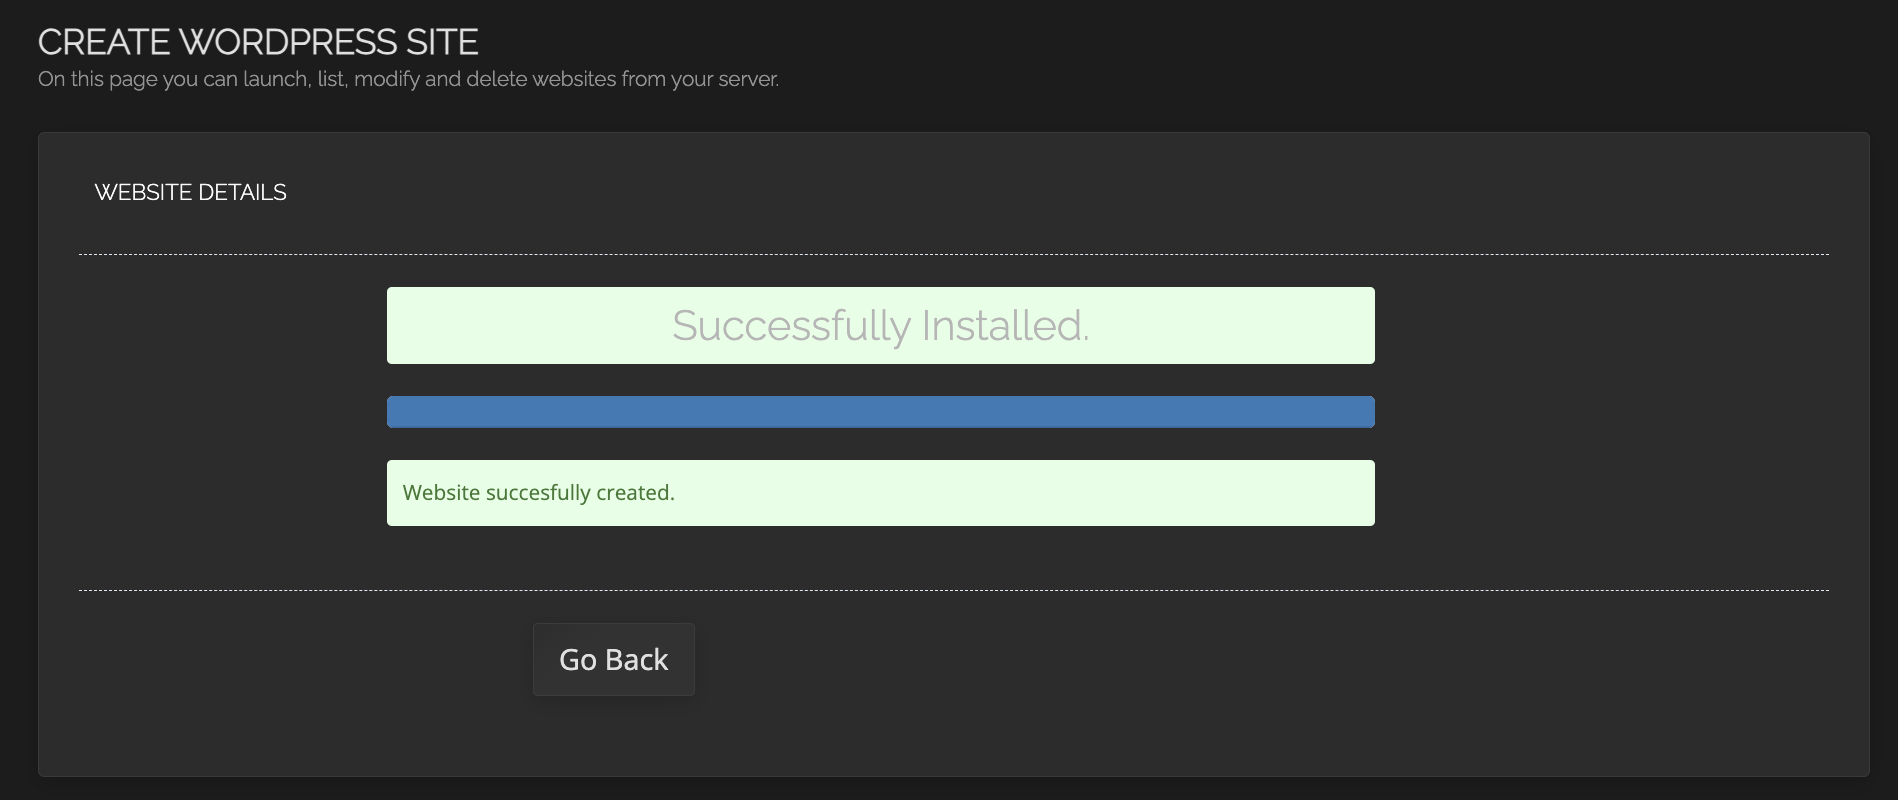
- You will be prompted with a new windows displaying a successful install message.
- To connect to your WordPress website go to your browser and access the following address: https://[yourdomainname]/wp-login.php. Replace [yourdomainname] with your actual domain name. Type in your login credentials as you setup during the deployment process and click the Login button.
- Once you finished this process, head back to your Cloudflare Dashboard and activate the proxy protection and click the Save button.
- Now you are ready to manage your WordPress CMS.