Setting up a temporary email receiving service is a must. We recommend doing this before proceeding to other stages in this course, as it helps you create accounts on other platforms using the same email address. This will simplify your workflow and centralise data. You can skip this chapter if you want to use an existing email address without the branding perks.
Setup Email Routing
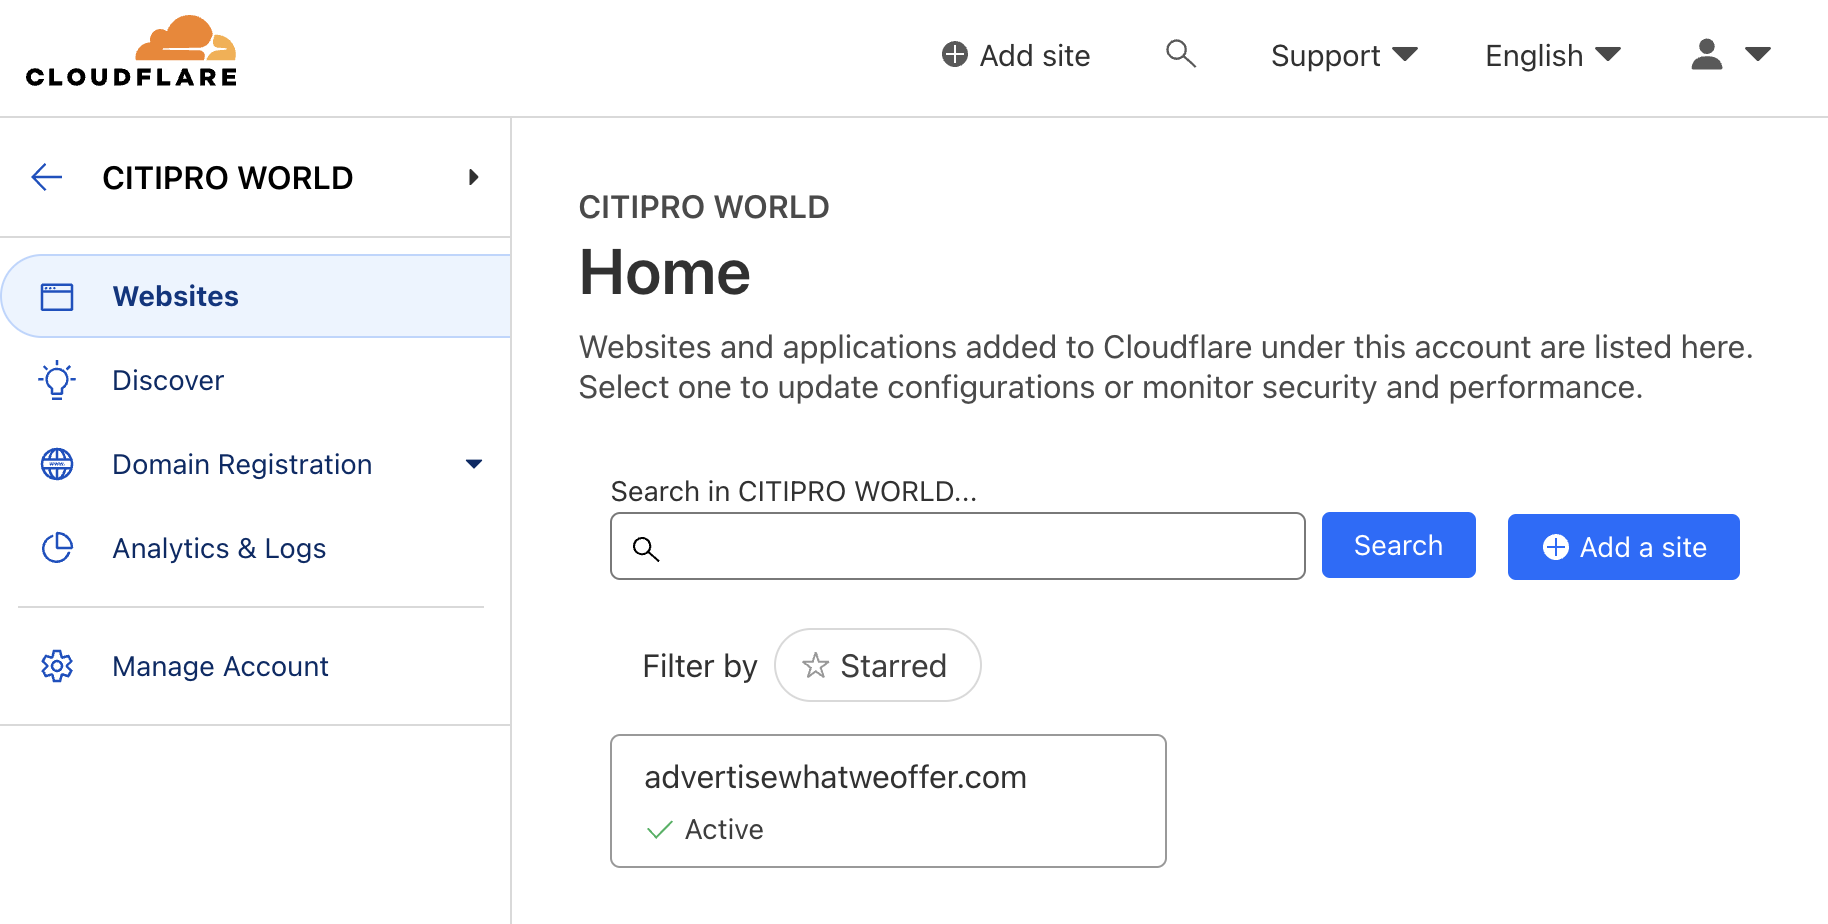
- Go yo your Cloudflare dashboard.
- Using your left navigation menu, go to Websites and click on your active domain name.
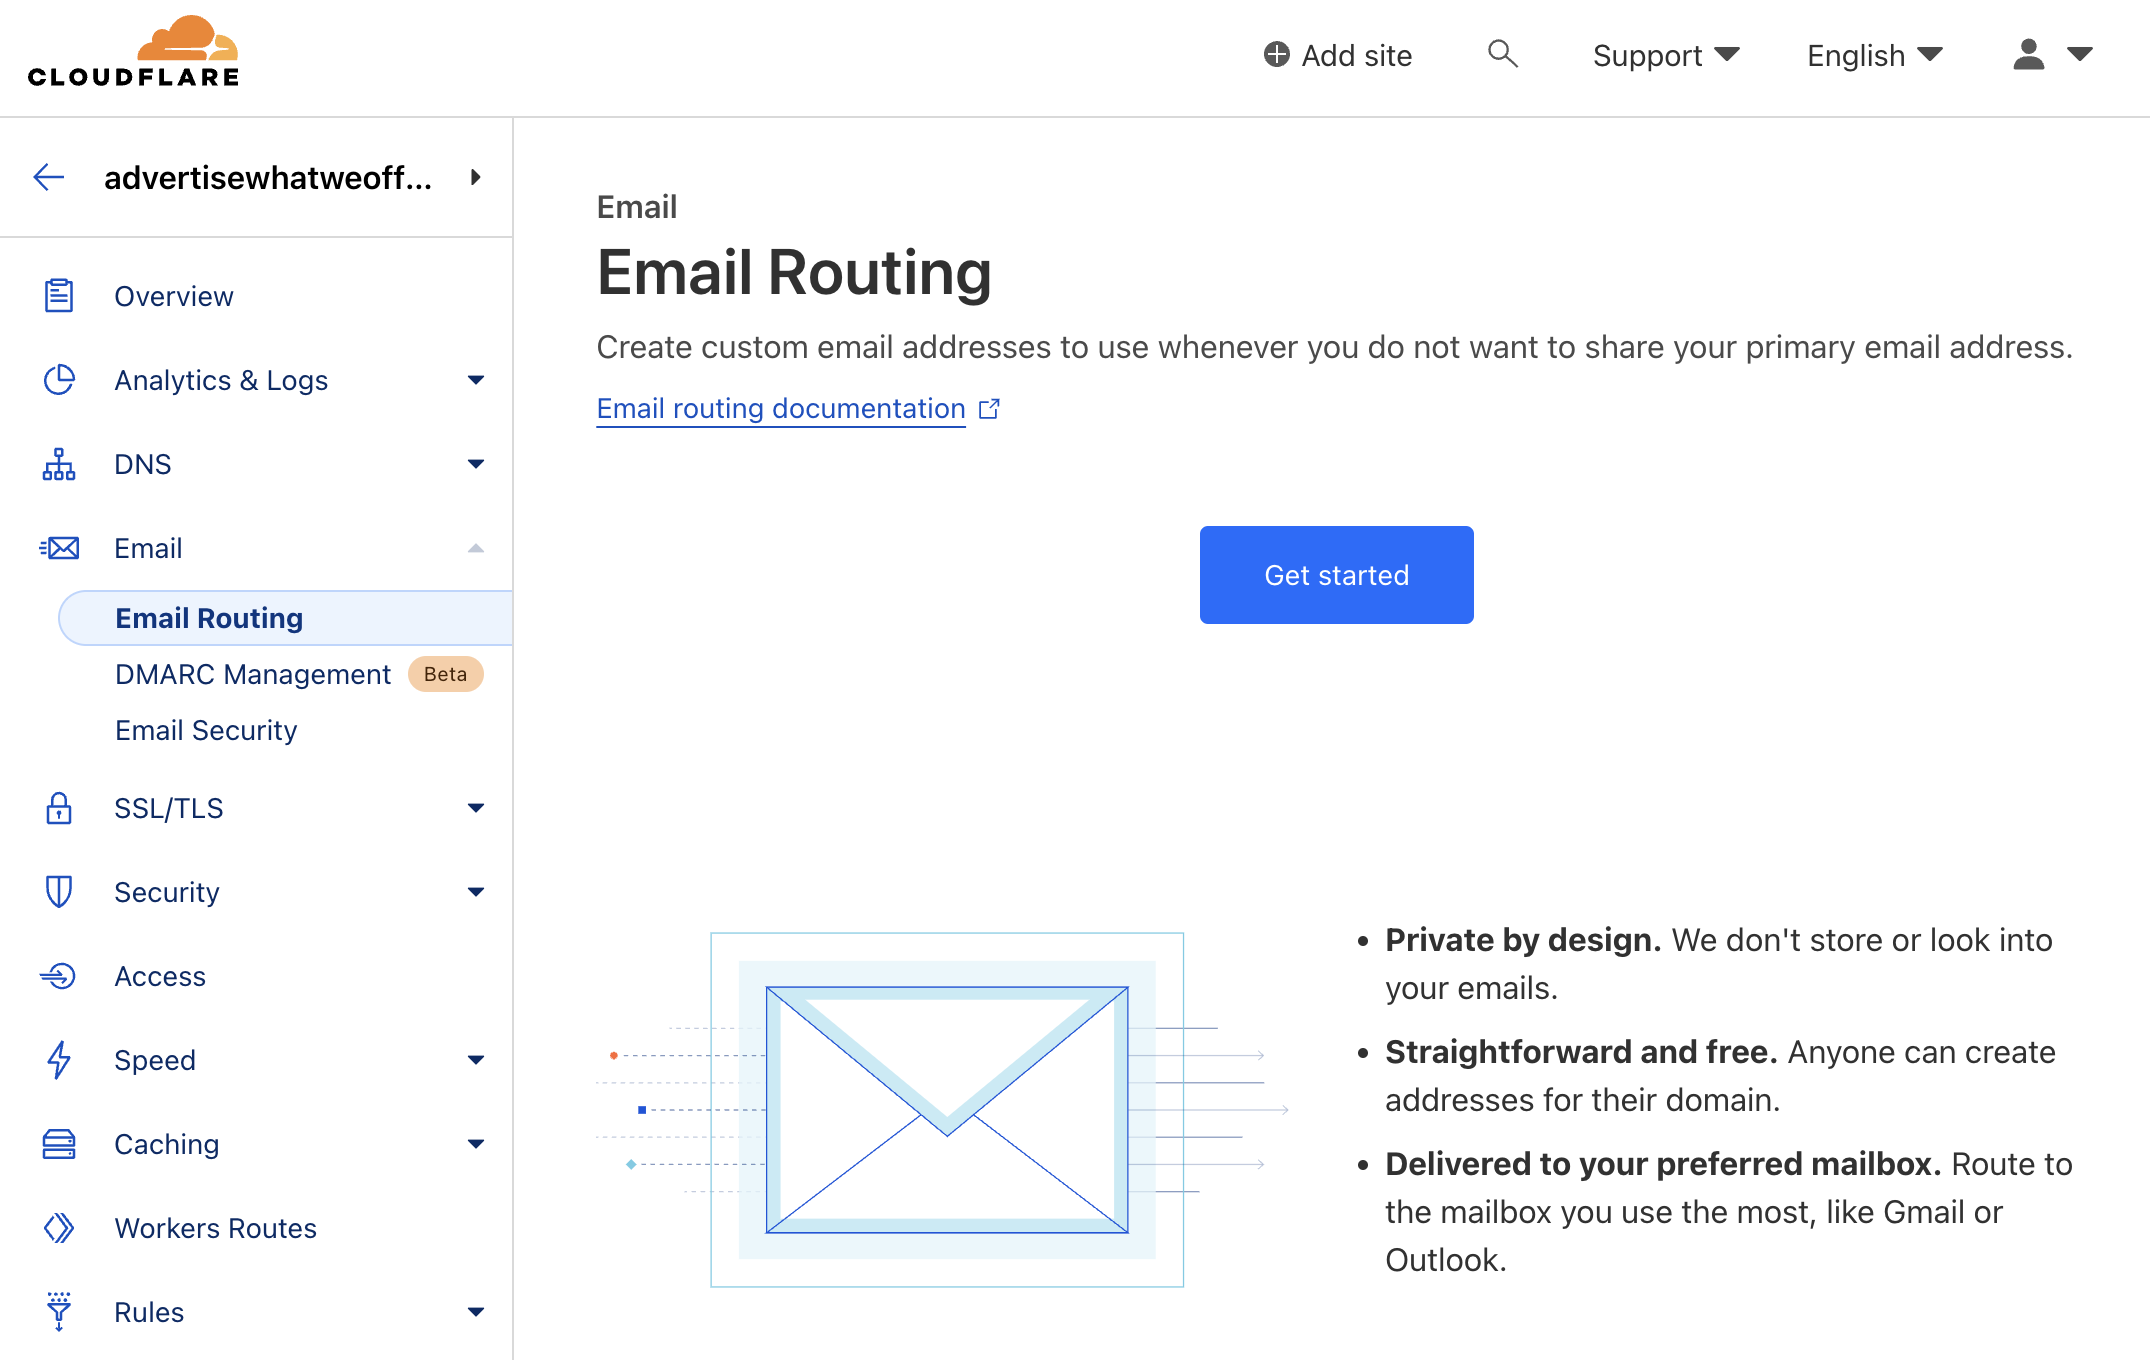
- Now go to Email > Email Routing and click on the Get started button.
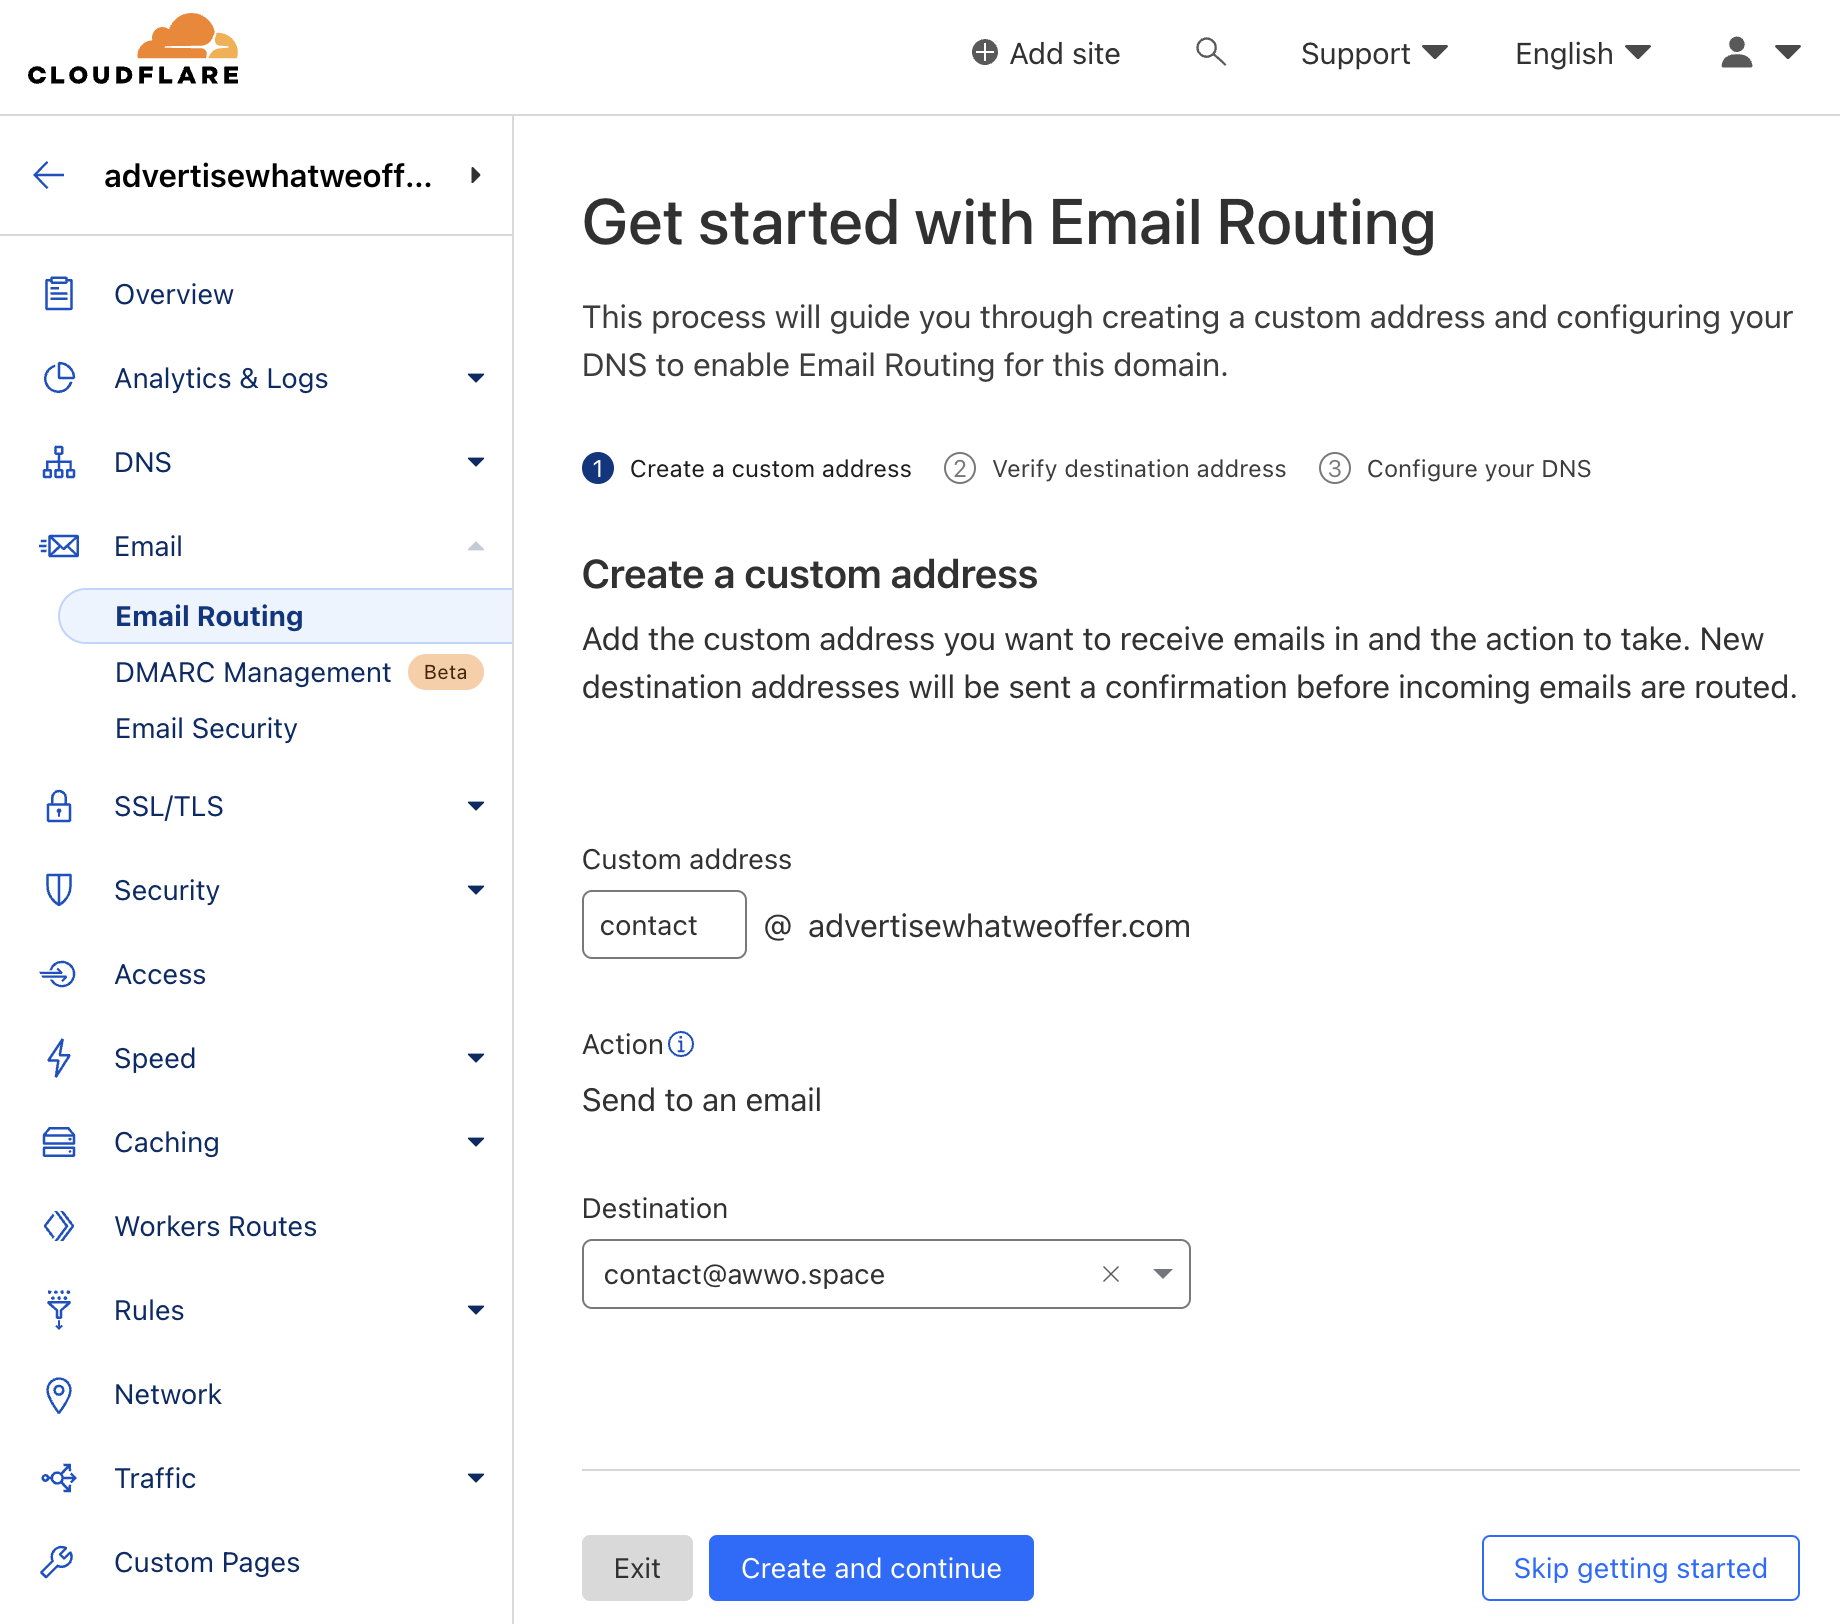
- Add your custom inbox name inside the field prior to the domain name, then type in your designated email address.
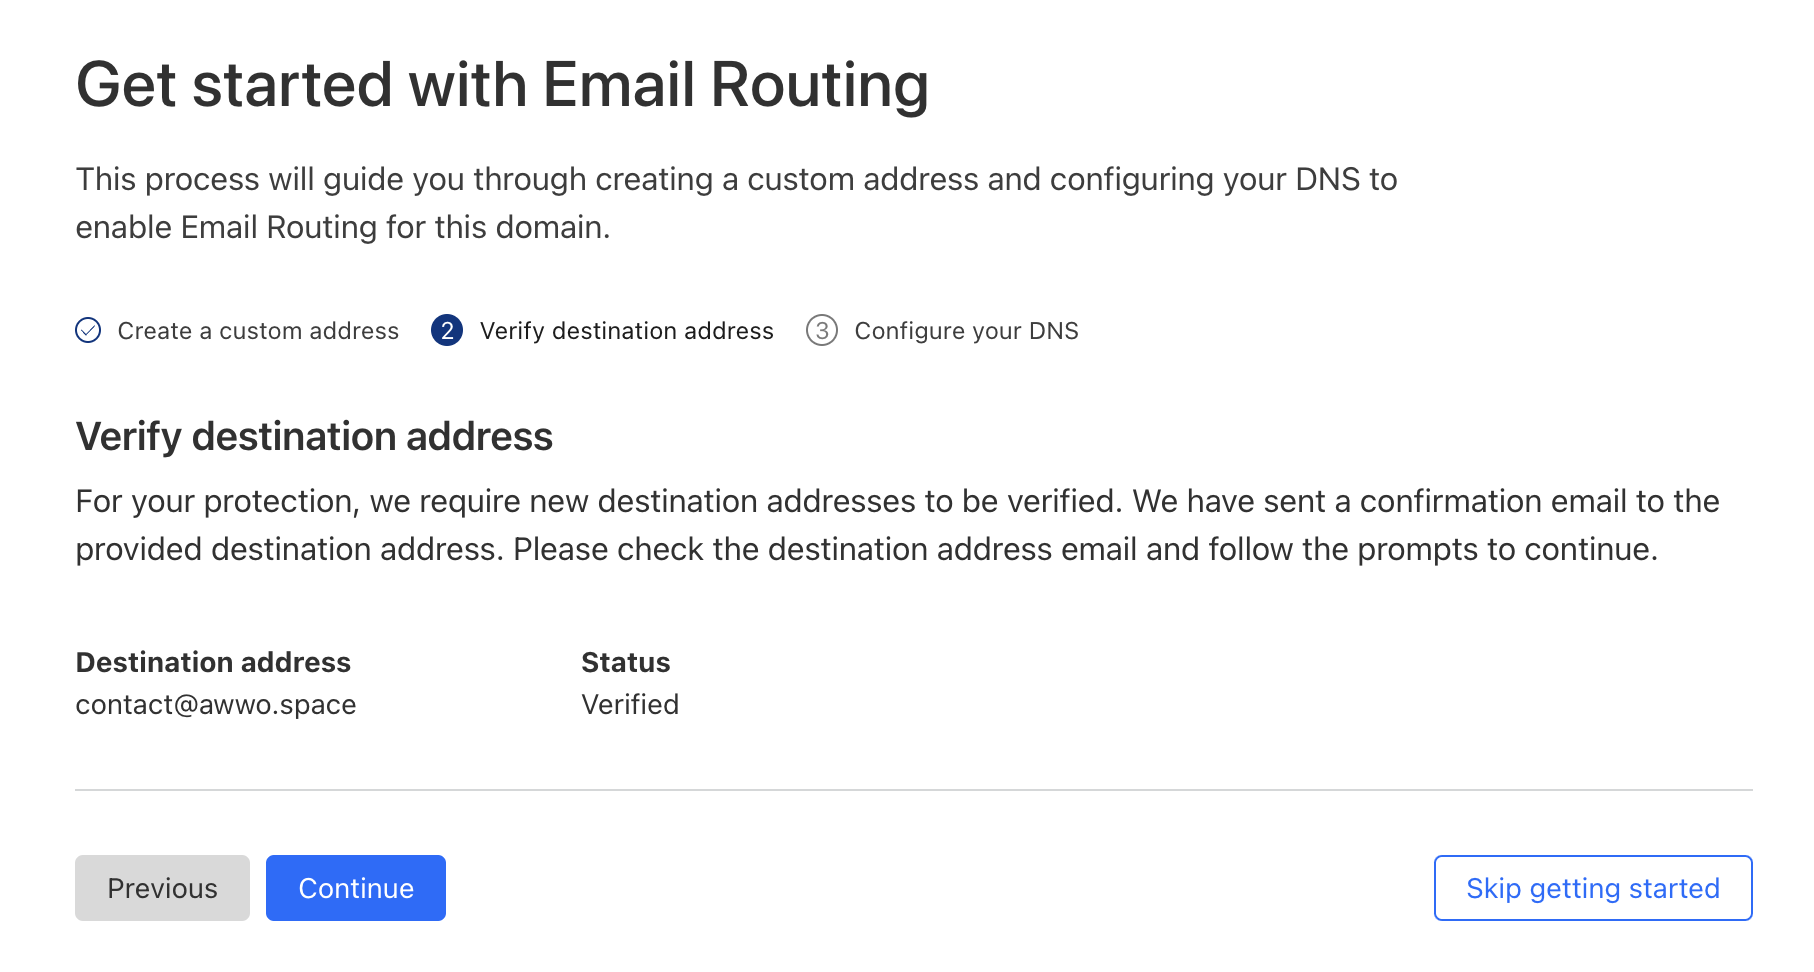
- The system will deliver a confirmation email to your designated email address. Access the available link in order to confirm. If the process was successful you will see the following page. Click te Continue button for the next step.
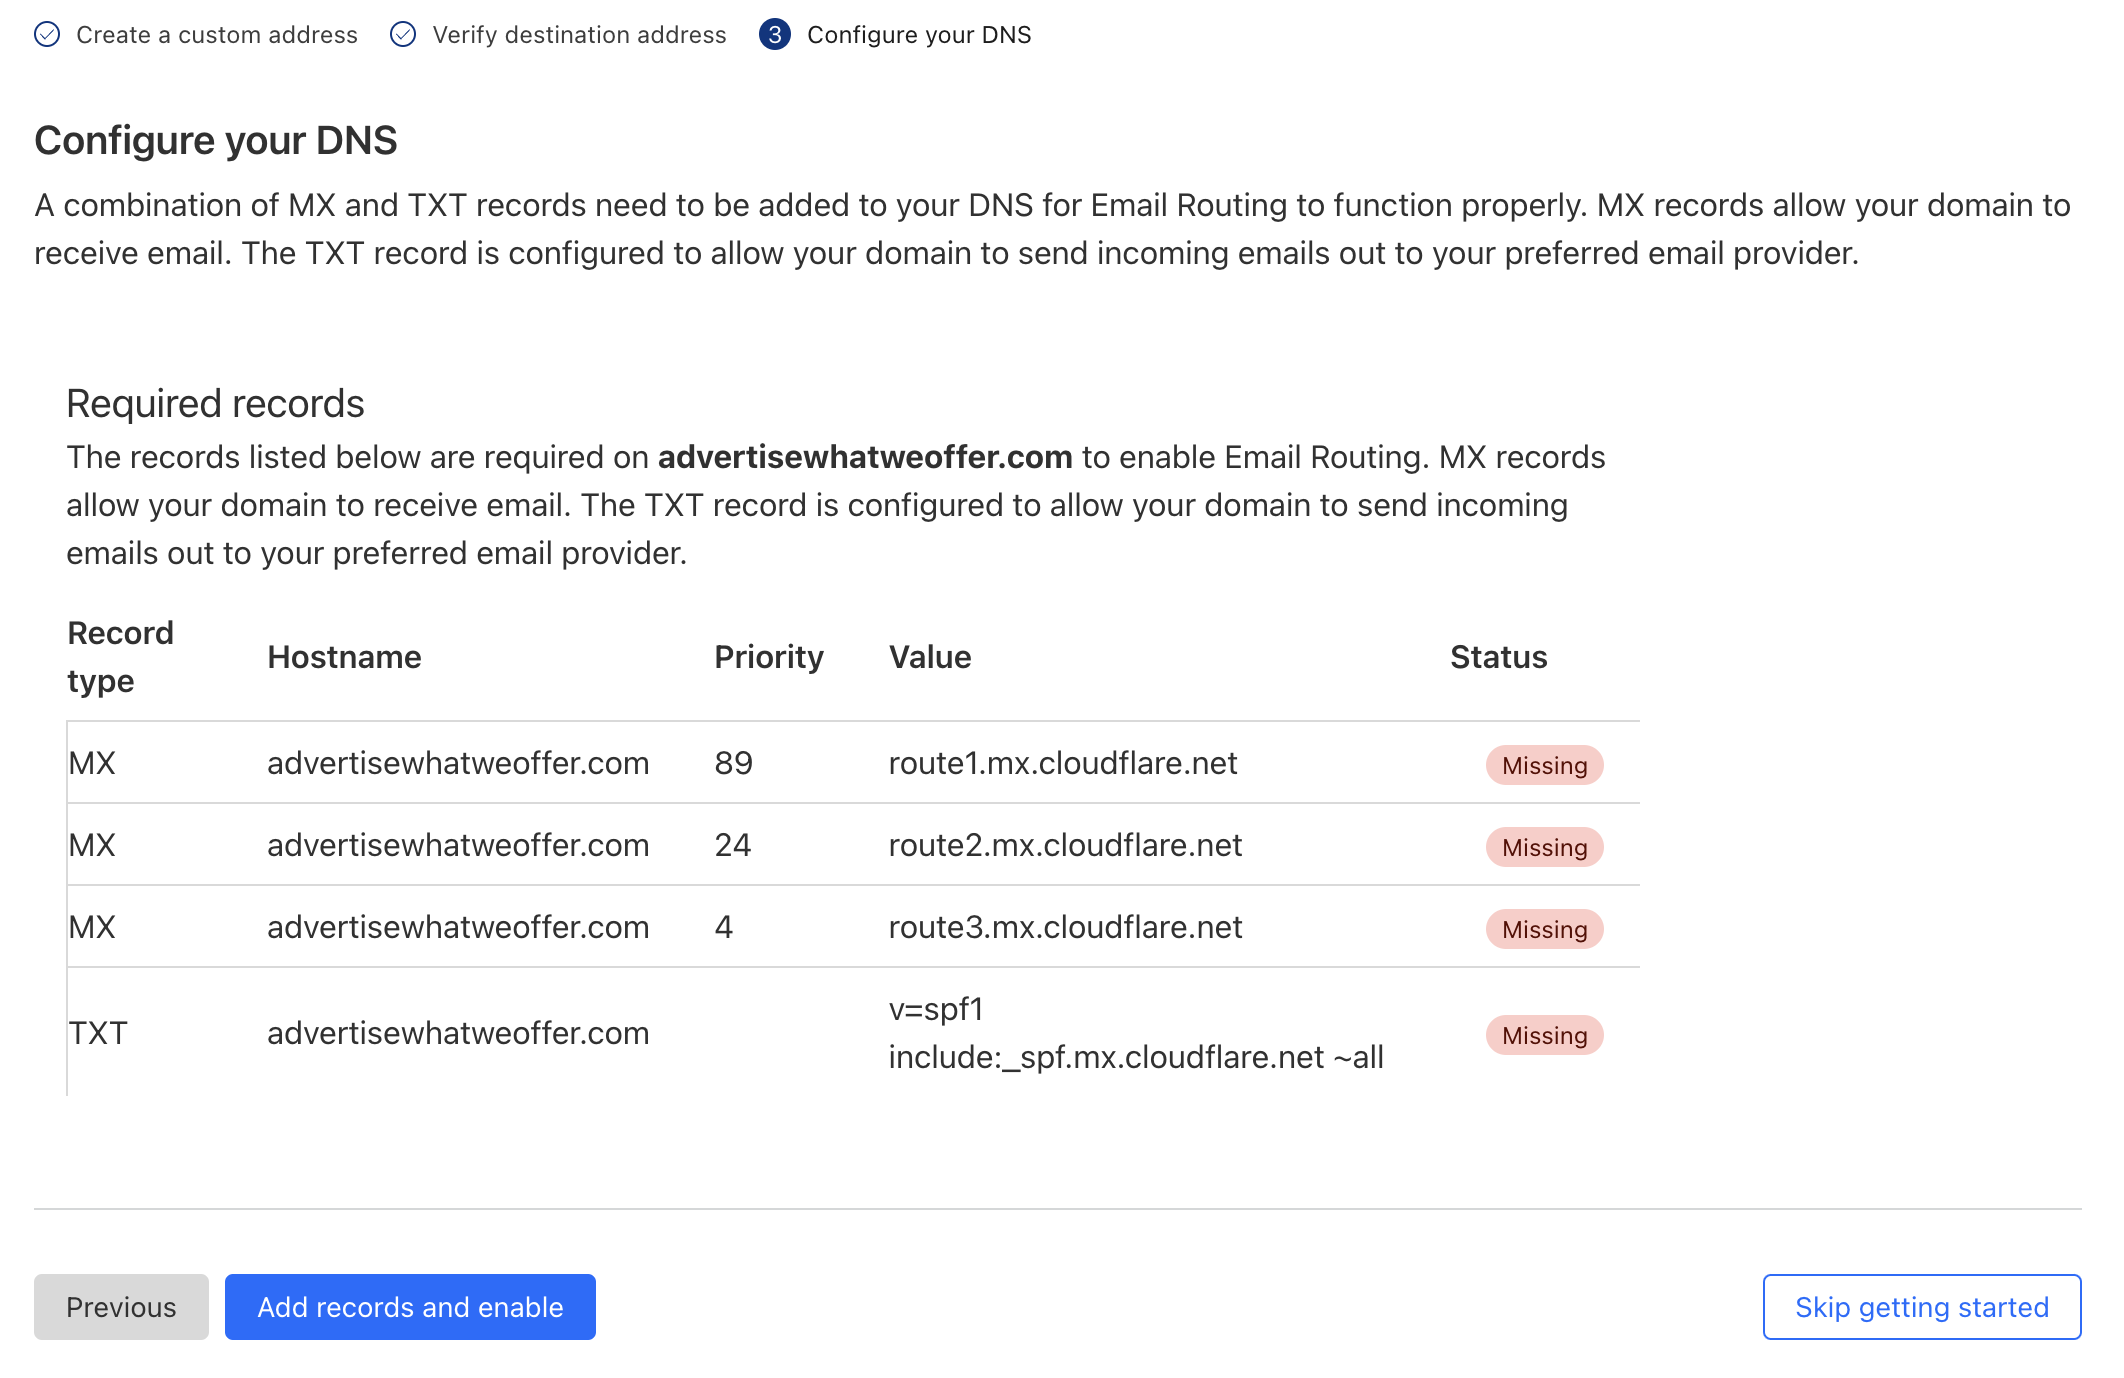
- You'll be prompted to do additional modifications to your domain name. Click the Add records and enable button to proceed. In this current stage you'll notice that Status column is presenting the Missing tag for all records. Upon successful setup, the system will automatically redirect you the Email Routing Dashboard. We recommend you wait at least 10 minutes for the records to propagate globally, then try to send an email from any service you prefer to check if the email routing system works properly.
Enable DMARC Management
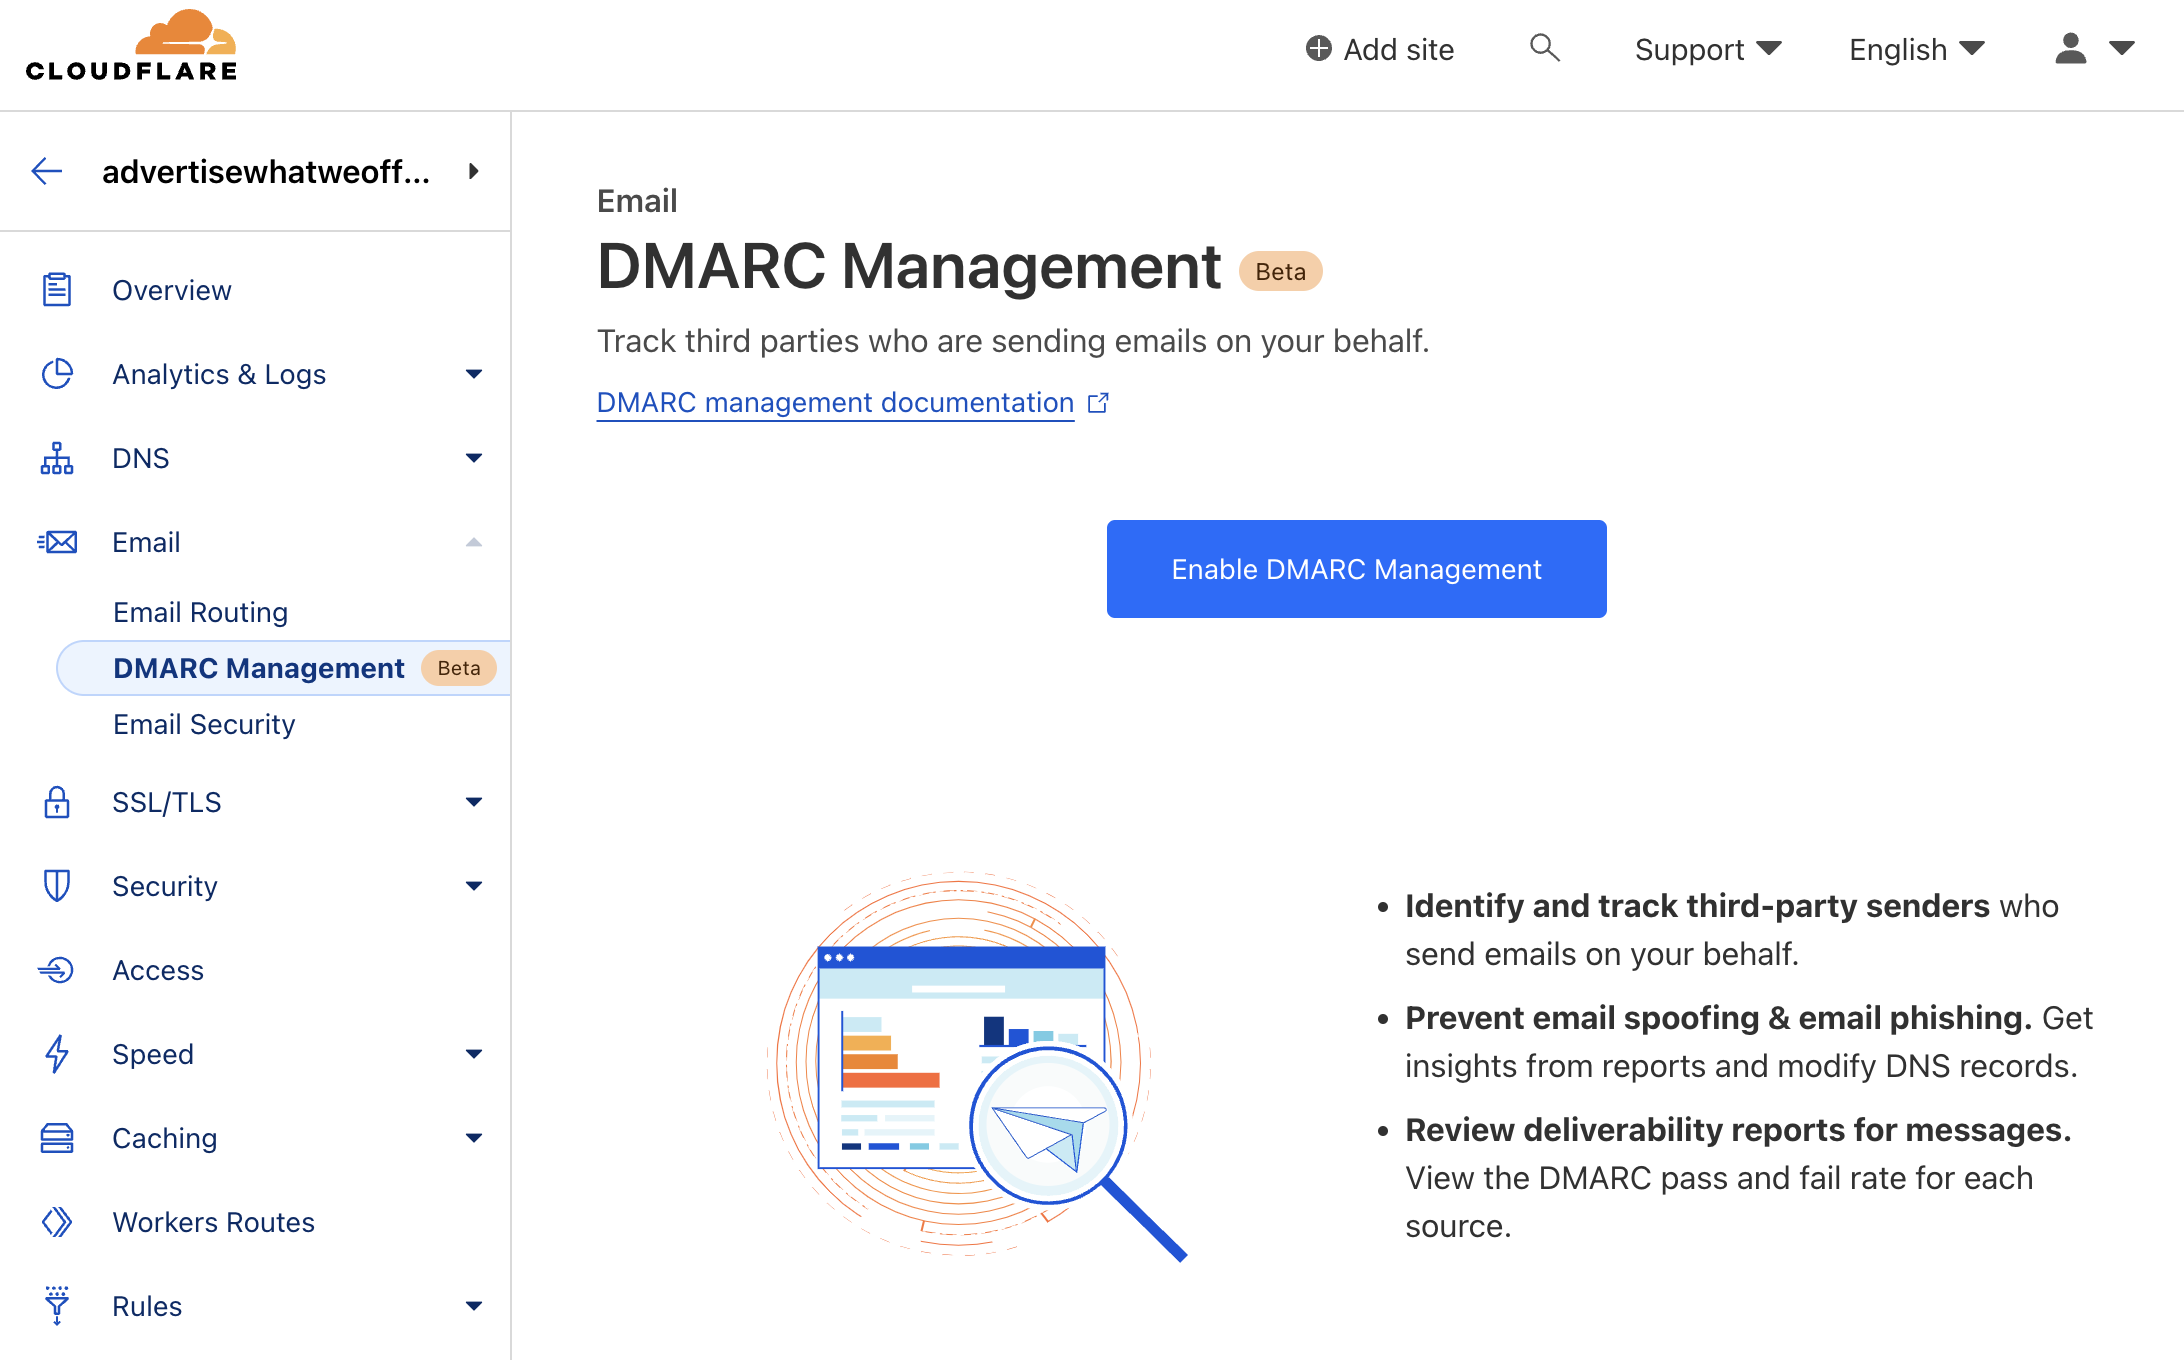
- Your last step now is to enable DMARC Management. This system will help you identify and track third-party senders who send emails on your behalf, prevent email spoofing & email phishing, get insights from reports and modify DNS records and review deliverability reports for messages. Click the Enable DMARC Management button in order to proceed.
- Preview configuration and click the Add button.
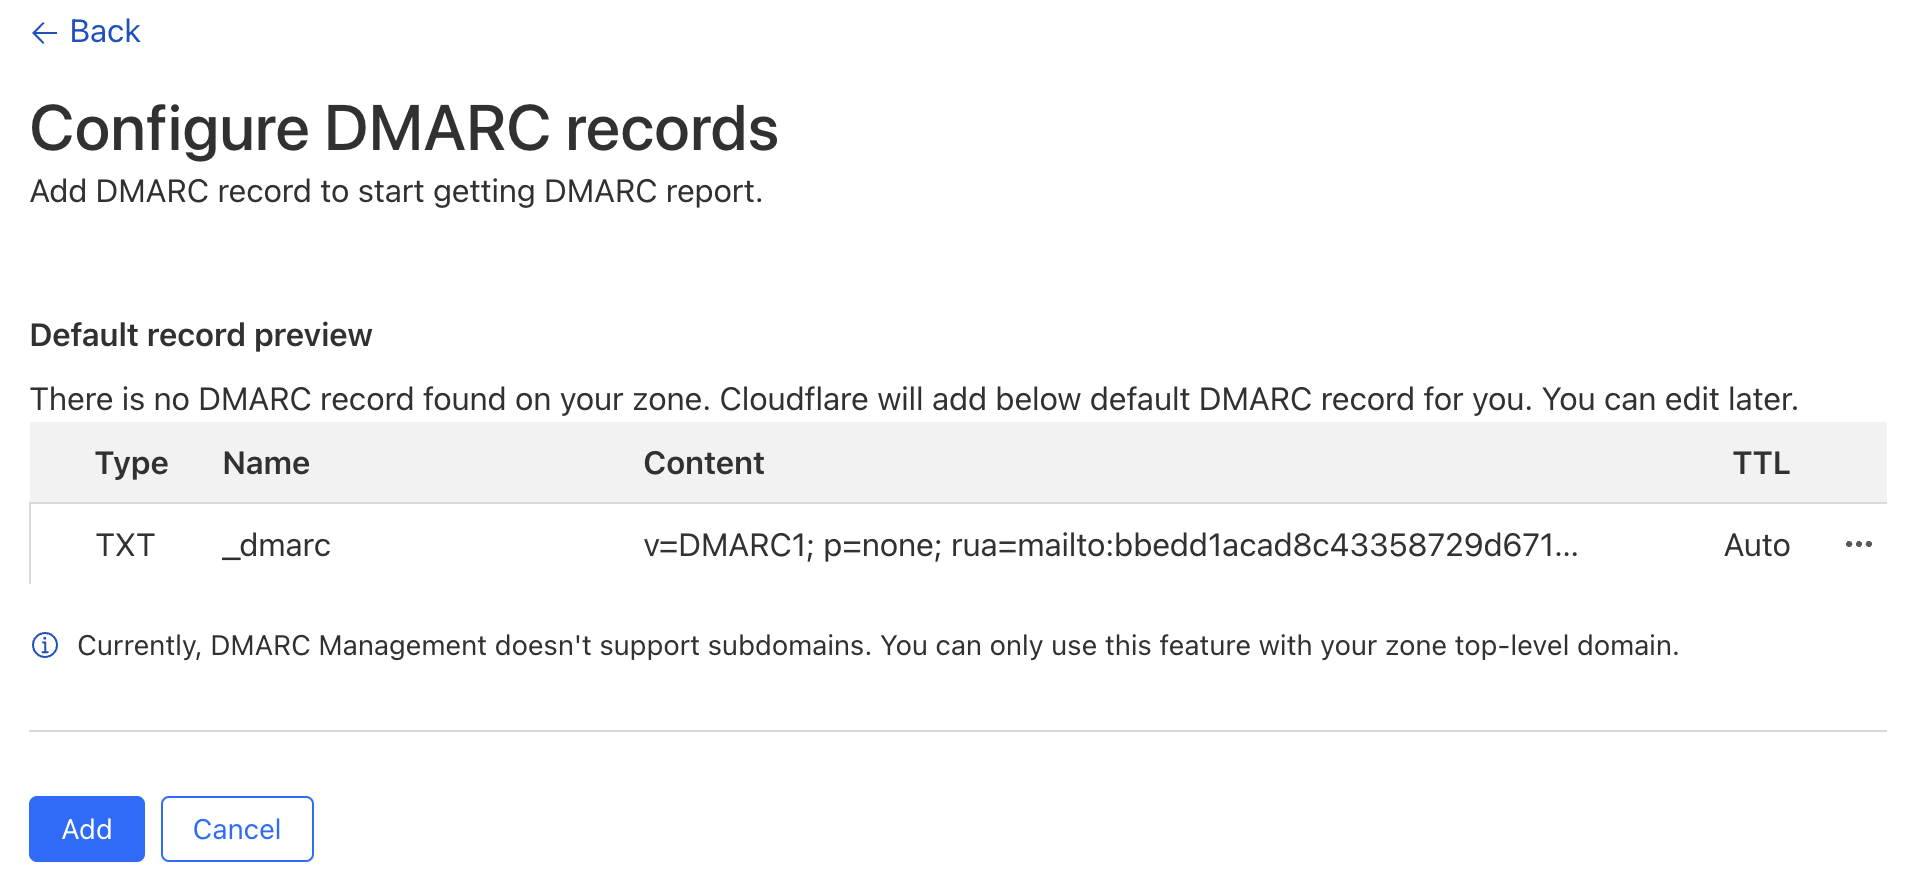
- Once finished the system will redirect you to the Email Routing dashboard.